This Post will descirbe how to enable oracle database vault in database 11GR2.
Check the document from here.
Thanks
Osama Mustafa
For the people who think differently Welcome aboard
Check the document from here.
Thanks
Osama Mustafa
Connected to: Oracle Database 11g Enterprise Edition Release 11.2.0.1.0 – 64bit Production
With the Partitioning, Real Application Clusters, Automatic Storage Management, Oracle Label Security,
OLAP, Data Mining, Oracle Database Vault and Real Application Testing optio
ORA-31626: job does not exist
ORA-31633: unable to create master table “SYSTEM.SYS_EXPORT_SCHEMA_07”
ORA-06512: at “SYS.DBMS_SYS_ERROR”, line 95
ORA-06512: at “SYS.KUPV$FT”, line 1020
ORA-47401: Realm violation for CREATE TABLE on SYSTEM.SYS_EXPORT_SCHEMA_07
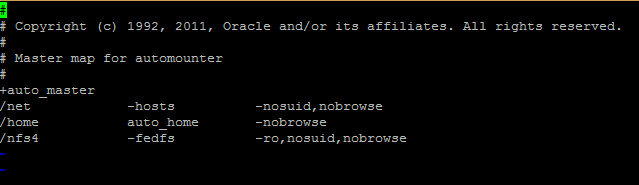
The above error related because the system user is not allow to access data Dictionary files.
Run the below command
SQL>
BEGIN
DVSYS.DBMS_MACADM.ADD_AUTH_TO_REALM(
realm_name => ‘Oracle Data Dictionary’,
grantee => ‘SYSTEM’);
END;
/
PL/SQL procedure successfully completed.
Or you can use the GUI in Database vault and under Data Dictionray realms add the system user as participant.
Thank you
Oracle Grid Infrastructure 11.2.0.4
Nodes # : 4
Operating system : Redhat 6.6
When trying to configure enterprise manager the following error appeared :-
Connection to the database cannot be established because the listener could be down. Please make sure that the service is registered with a listener and the listener is up.
The listener is up, VIP is working on all nodes without any issue when check dbca logs looking for more details i found this error :-
dbca trace in $ORACLE_BASE/cfgtoollogs/dbca.
ORA-1017: invalid username/password
Both was correct, because of this i recreate password file on all nodes and restart my operation it’s working without any issue this time.
Thanks
Osama Mustafa
For second time i will be glad to Join OTN EMEA Tour 2015 with others oracle experts who consume much time in the Oracle Community.
We will cover the following country :-
View the document here.
Thank you
Osama Mustafa
Since this is the first event before the biggest one, it’s only introduction for the group and to introduce the local people and let them know about the group.
We prepare the poster today and seems perfect.
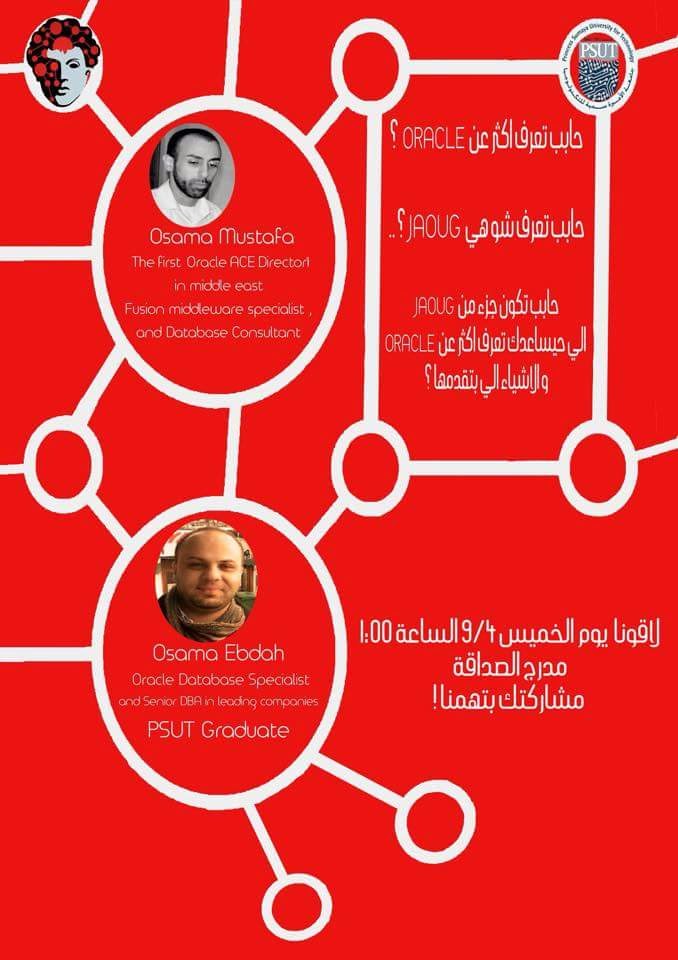
Now it’s Officially, the first event will be organized 09/April/2015 as introduction to this group, the volunteers working so hard, the second event will be surprise since it will be the biggest one in Jordan i will be announce about it soon. we still working on the logo but this is the initial one.
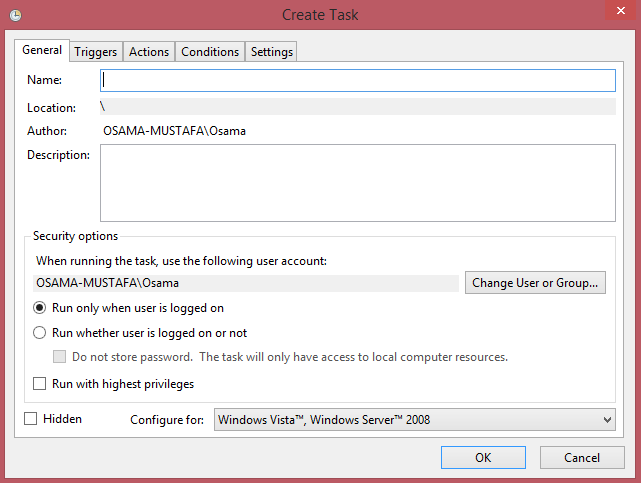
C:
cd E:\app\ADM-BSS01\product\11.2.0\dbhome_1\BIN
rman @E:\RMAN\Scripts\backup.rman
connect target /
run
{
ALLOCATE CHANNEL c1 DEVICE TYPE disk;
ALLOCATE CHANNEL c2 DEVICE TYPE disk;
ALLOCATE CHANNEL c3 DEVICE TYPE disk;
ALLOCATE CHANNEL c4 DEVICE TYPE disk;
backup AS COMPRESSED BACKUPSET tag Full_database_open format ‘E:\RMAN\backup\db_%t_%s_p%p.bkp’ database;
backup AS COMPRESSED BACKUPSET archivelog all format ‘E:\RMAN\backup\archivelog\al_%t_%s_p%p.arch’ delete all input;
backup AS COMPRESSED BACKUPSET current controlfile tag =cf1 format ‘E:\RMAN\backup\cf_%t_%s_p%p.bkp’;
backup tag ORCL_CONTROL current controlfile format ‘E:\RMAN\Controlfile\%d_%T_%s_%p_CONTROL’;
delete noprompt expired backup;
release channel c1;
release channel c2;
release channel c3;
release channel c4;
}
Follow the screen now :-