As all of you know Oracle open world 2015 finished before 2 days ago, and simply it’s was amazing, my trip started on OCT-21-2015 Wenseday and it’s was totally morning flight which mean i supposed to be in airport at 4:00 am because of to avoid miss my flight i didn’t sleep, the flight was from Jordan – Amman to Turkey – IST and then to SF, when i landed in IST i met my old friend Gurcan Orhan this man is awesome, he managed everything from our seats to waiting in the lounge but i have to say he spent 11 hours sleeping from IST- SF. meanwhile i was watching San Andres movie which i discovered later it was bad idea , in case you didn’t watch it’s movie talking about earthquake happened in San Francisco, actually i watched all the entertainment movie and i was thinking what i will go when i will be back home ? simply i watch San Andres again.


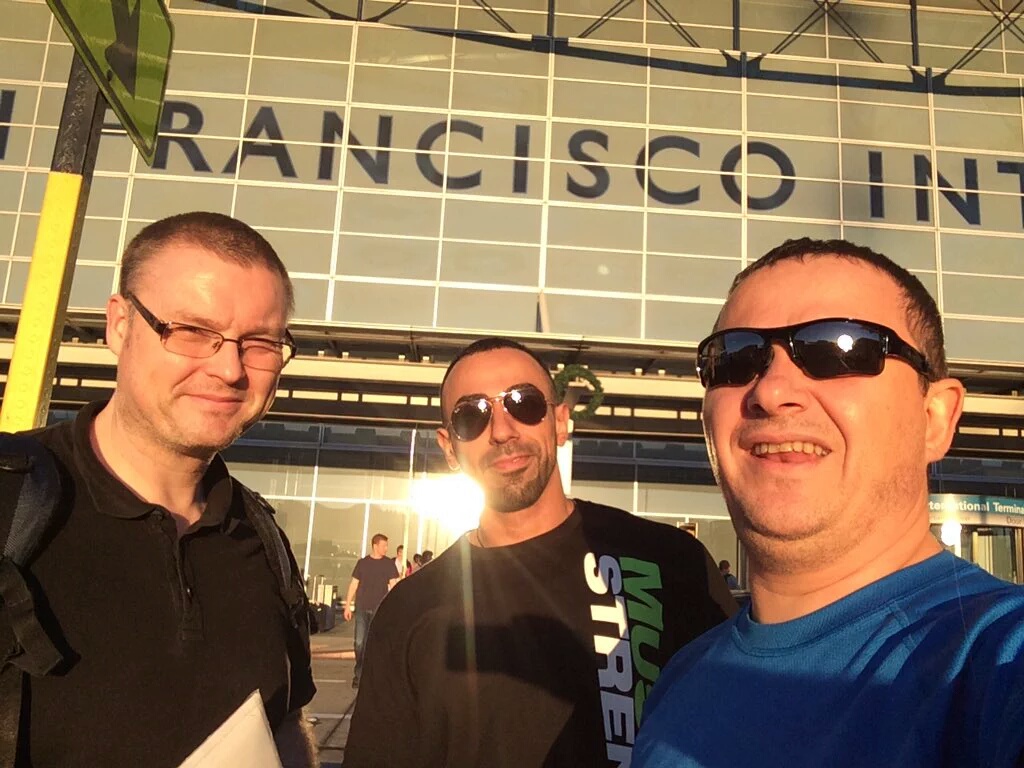
anyway we landed after 13 hours of flying and we met the great Tim Hall the great oracle guy i am sure this man is helping a lot of DBA with his amazing blog. so we took the shuttle “tim, Gurcan, Arup,cary , simon and me”.
Don’t forget this is was my first OOW15 as ACED :), so i attended ACED Breifing and meet my old friends there, during the two days i learnt alot of new things about Oracle that i can’t mention it here because the NDA, and i want to thanks Oracle ACE program to organizing all this and make it true so let’s skip this part.
OOW15 started on sunday with an amazing weather, attending session about RAC, Database just like arup said ” there is database and everything else” and sure the middleware sessions.
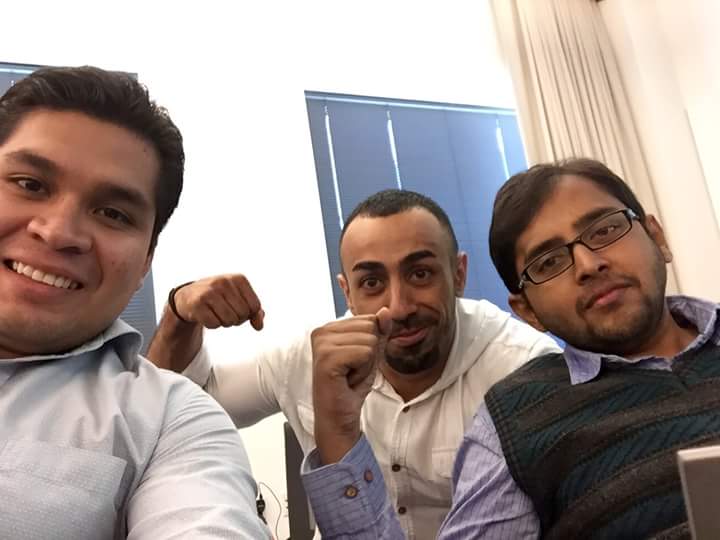
I had so much fun & learning, the funny thing that i met Deiby and nassyam for the first time and these guys are simply funny and crazy 🙂 i think we can be called the four musketeers “Me, Alex Zaballa, Deiby and Nassyam”

Let’s not forget the amazing friend all over the world such as : Bobby, Danny Bryant, Kellyn, Heli, Steve , Kevin ,Mahir, kamran, sai ram, Joel and a lot of amazing people and friends but i can’t feel my fingers 🙂
Also The ACE dinner on Sunday night was awesome,almost all the ACE’s in one place and we had so much there, in OOW I lost twice with F1 Simulation but i want one of these machine anyway.
and i noticed that i am not good at all when i am eating spicy food i spent my time like the following one hand drink water the other one wiping my tears. thanks for Sai , Nassyam and Hariharaputhran.
there is so much to say about OOW15 but this is as quick review for it and if you have any more question about it you can ask me 🙂
Thanks
Osama