This blog will focus on enhancing the security of your Oracle Cloud Infrastructure (OCI) environments using Oracle Cloud Guard. We’ll cover configuring Cloud Guard, creating custom detector and responder rules, and managing incidents for comprehensive cloud security.
Introduction to Oracle Cloud Guard
- Overview of Oracle Cloud Guard and its role in OCI security.
- Benefits of continuous monitoring and automated incident response.
2. Enabling Cloud Guard
Step-by-Step Configuration
- Enable Cloud Guard:
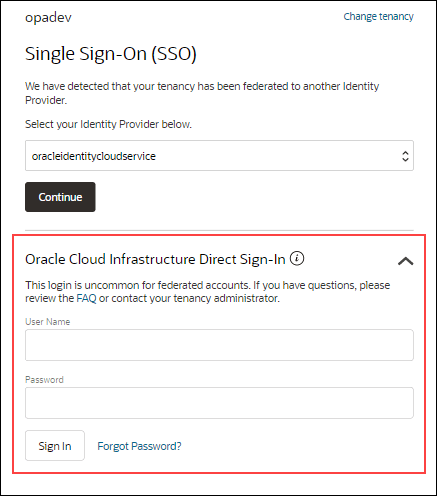
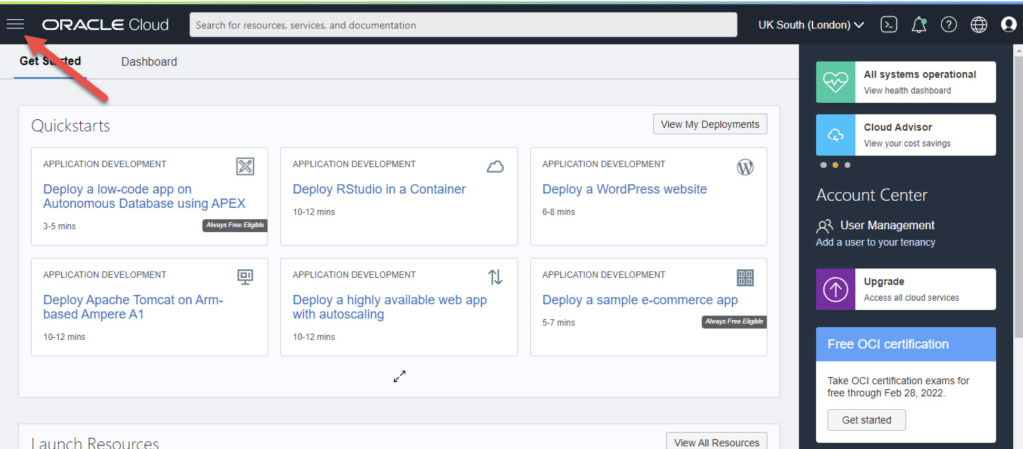
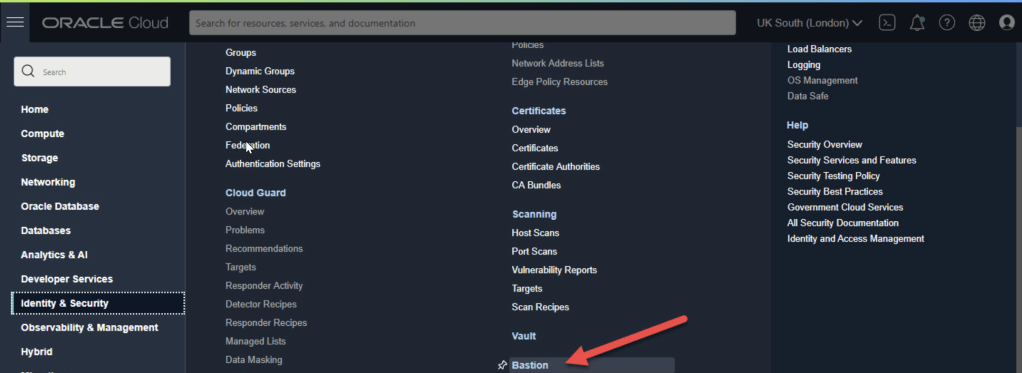
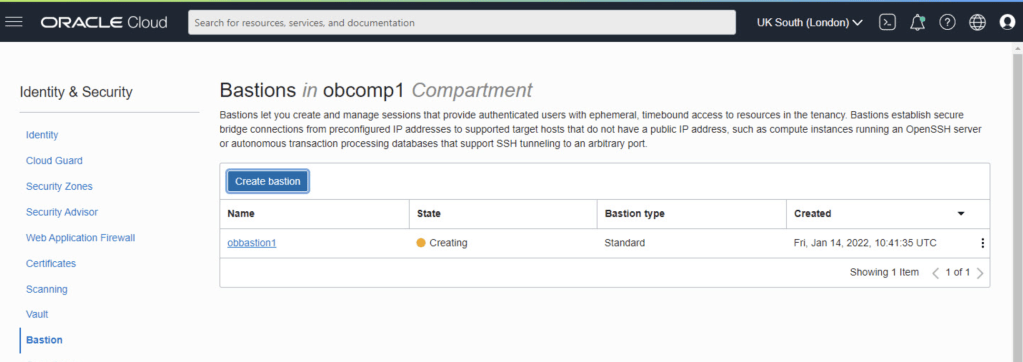
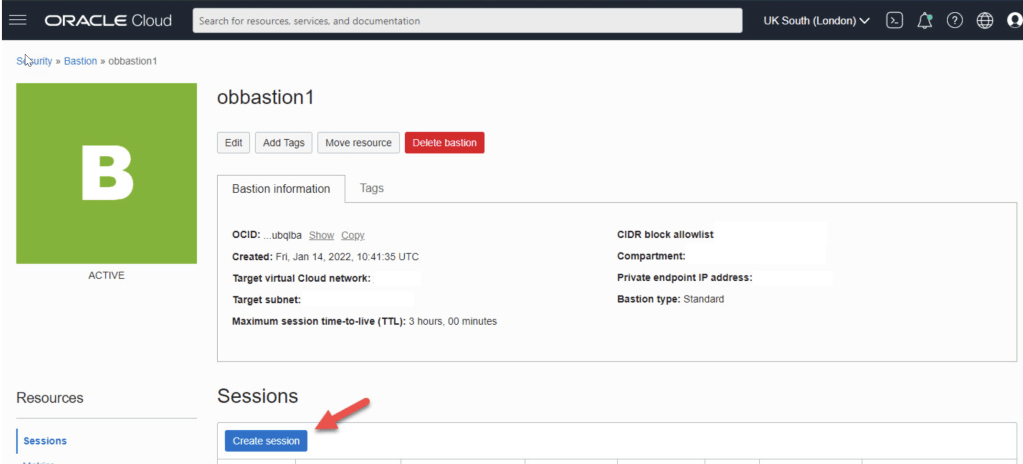
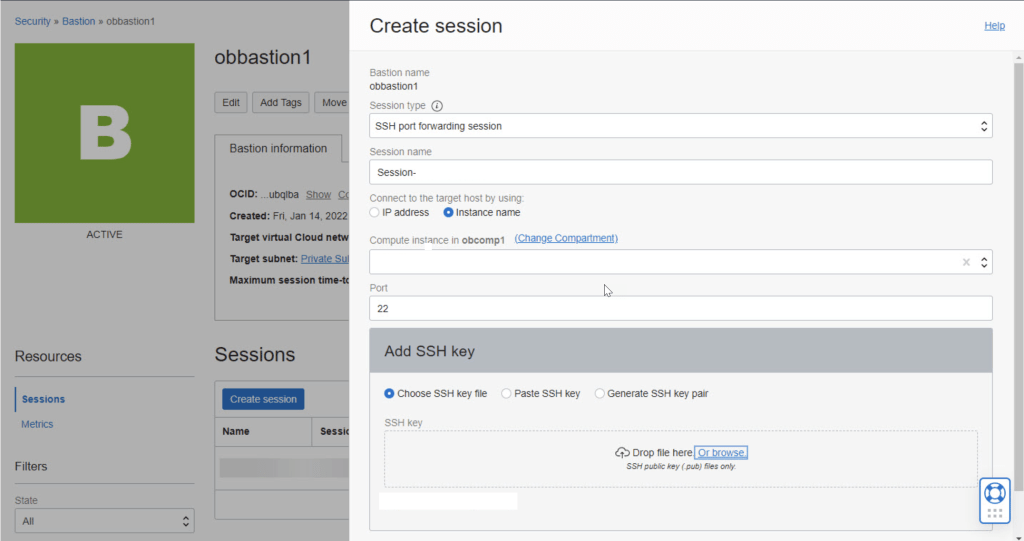
- Navigate to the OCI Console and access Cloud Guard.
- Enable Cloud Guard at the tenancy level.
- Select Target Compartment:
- Choose the compartments you want to monitor.
- Define the scope of resources to include.
3. Configuring Detector and Responder Rules
Creating Custom Rules
- Define detector rules to identify security risks.
- Create responder rules to automate the remediation process.
Example Configuration
- Set up a detector rule to monitor unauthorized access attempts.
- Create a responder rule to automatically block the offending IP address.
4. Automating Incident Response
Using Cloud Guard Recipes
- Customize detector and responder recipes for specific use cases.
- Example: A recipe to detect and respond to misconfigured security groups.
Integrating with Other OCI Services
- Integrate Cloud Guard with OCI Logging and Notifications for comprehensive incident management.
5. Monitoring and Managing Security Posture
Using the OCI Console
- Access the Cloud Guard dashboard for real-time insights.
- Monitor incidents and alerts from a centralized interface.
Automating with OCI CLI
- Example command to list Cloud Guard incidents:
oci cloud-guard detector-recipe list --compartment-id <compartment_OCID>
Best Practices for Cloud Guard Deployment
- Regularly update and review detector and responder rules.
- Implement least privilege principles and regularly audit IAM policies.
- Conduct regular security assessments using Cloud Guard insights.