Install EMCLI For EM12C

The Enterprise Manager Command Line Interface (EM CLI) enables users to access Enterprise Manager functionality through a command-line interface or scripts. It is accessible through classic programming language constructs, enabling tasks to be created and run either from the command-line or programatically. EM CLI enables you to access Enterprise Manager Cloud Control functionality from text-based consoles (shells and command-line windows) for a variety of operating systems.

For Overview and concept about it Read Oracle Documentation Here

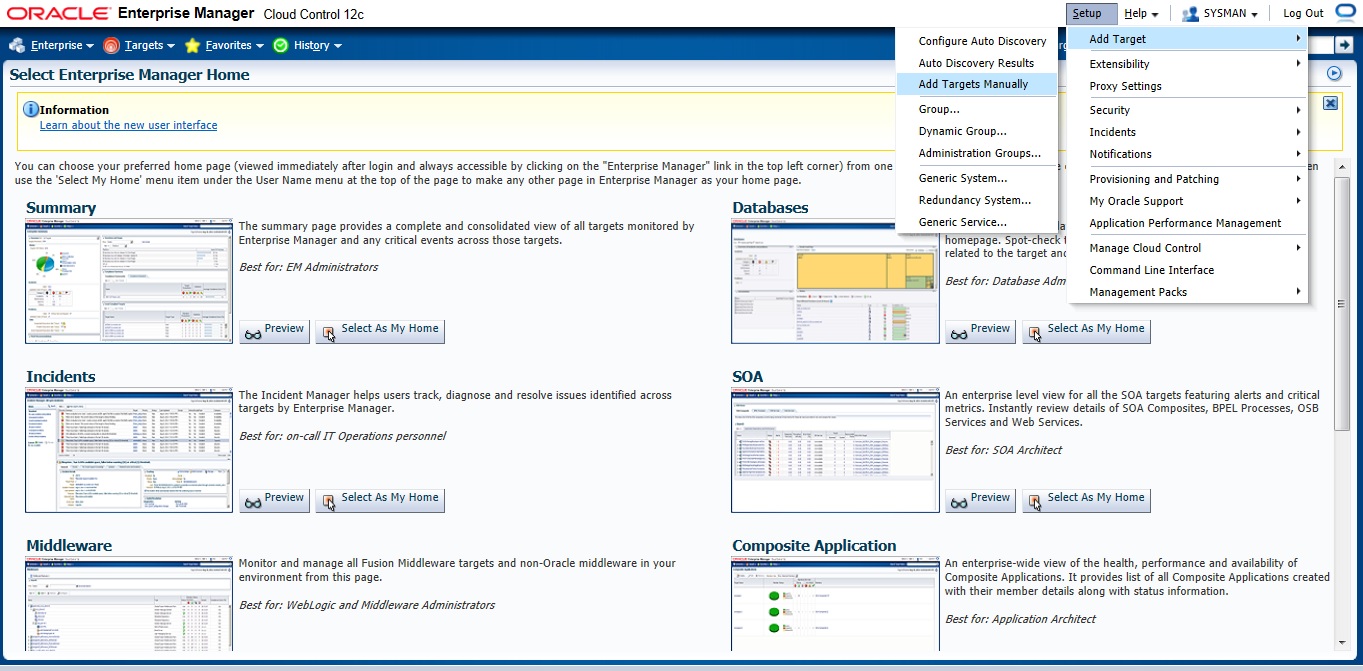
The Setup to enable emcli so simple and already provided with Enterprise manager 12c,

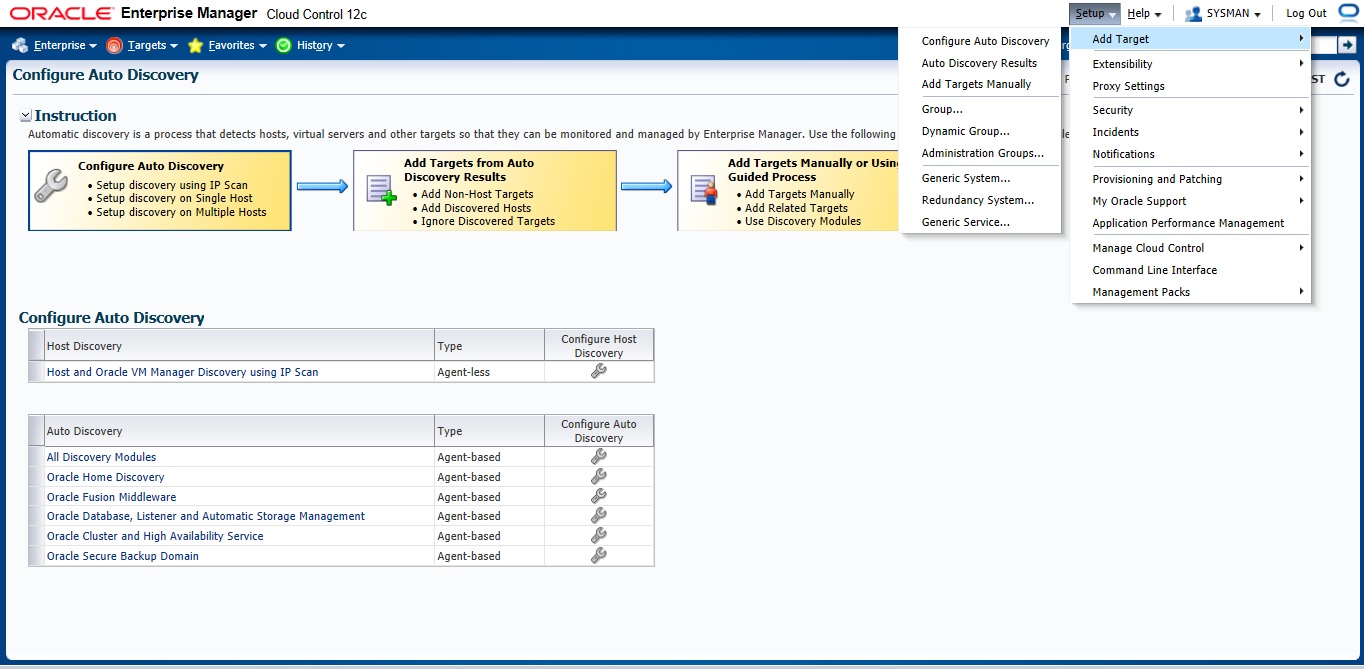
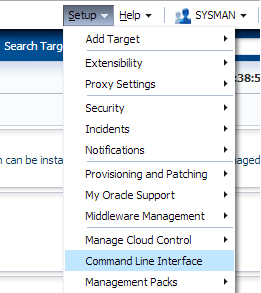
From Setup –> Command Line Interface.

After Access Command Line Interface you should be able to install emcli kit by press the below :

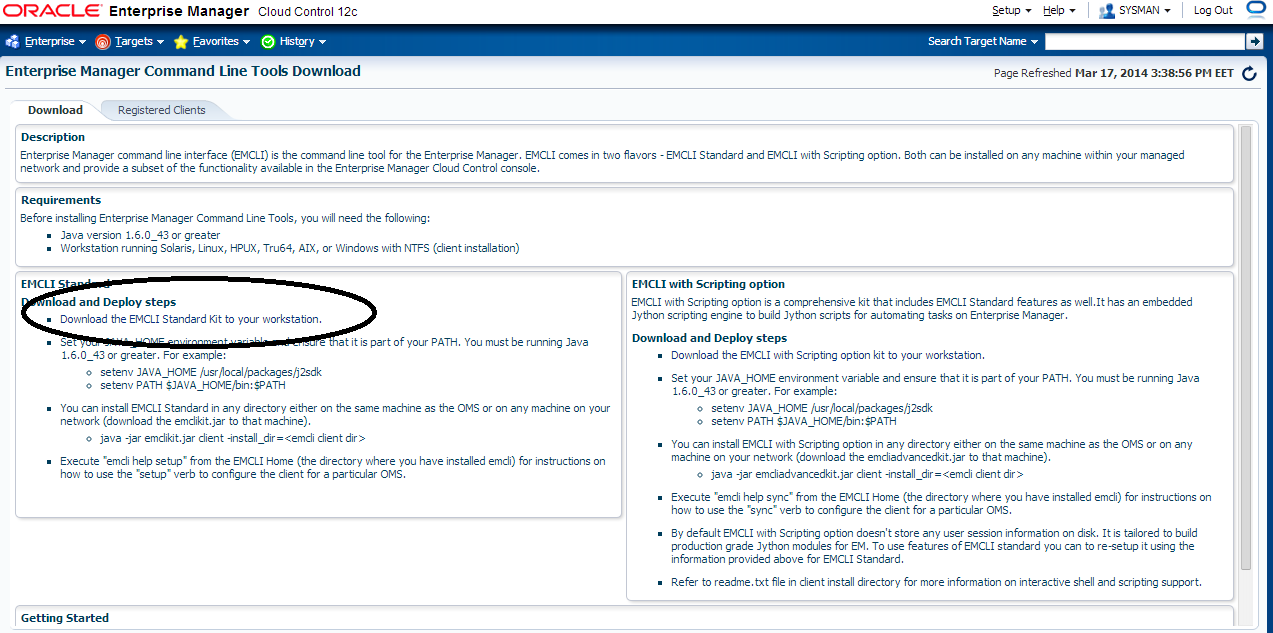
Jar File will be installed,Upload it to the server.

Create New Folder On the Server Using :

mkdir /u01/emcli 

Set The Variable:-

export JAVA_HOME=/u01/app/fmw/jdk
export PATH=$JAVA_HOME/bin:$PATH 

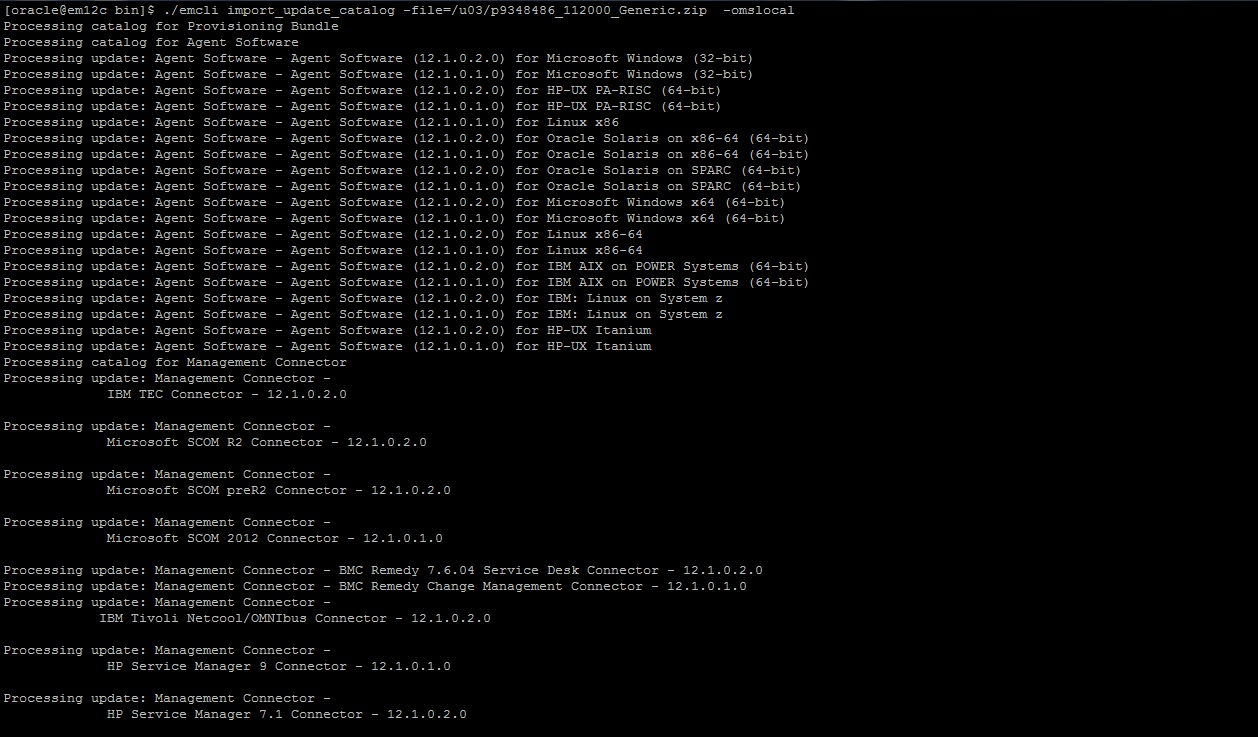
Run the Below Command

java -jar emcliadvancedkit.jar client -install_dir=/u01/emcli 

cd /u01/emcli  

emcli setup -url=https://EM12c:7802/em -username=sysman -trustall -autologin

Thank you
Osama Mustafa

em12c agent software unavailable

Sometimes you need to deploy new agent to different machine or database, and to do that you have to add target and choose which platform installed but Agent software unavailable  this is the message you will see.

to solve this :

Setup >> Extensibility >> Self Update

Connection mode should be Offline ( you need to configure System Library to change Connection mode or Error will be appeared )

After change Connection mode to offline back to self_update main screen And Press Check Updates

New Box Dialog will appear 

You need to visit https://support.oracle.com and download patch number 9348486 after finish downloading copy to OMS server using FTP and don’t unzip it.

Run the below command

 ./emcli import_update_catalog -file=/u01/p9348486_112000_Generic.zip -omslocal

if the below error show up :

Error: The command name “import_update_catalog” is not a recognized command.
Run the “help” command for a list of recognized commands.
You may also need to run the “sync” command to synchronize with the current OMS.

Do the following :

 ./emcli login -username=’SYSTEM’
Enter password
Login successful

 ./emcli sync
Synchronized successfully

And Re-Run The Above Command Again,
The output will look like this 
after doing this will be able to see  all the agent Software in Self-update like the below.
now each kind of agent you need to download you have to install the patch and apply

 ./emcli import_update_catalog -file= ….. 

You can download the article from here

Thank you
Osama Mustafa

Add Target Manually / Enterprise Manager 12c

previously I mentioned how to deploy agent in enterprise manager using Auto Discovery, But today I will Post about the second way which called “Add target Manually” all you have to do is follow the screen shot and the instruction :

Setup –> Add target –> Add Target manually

Choose the first Option

 New Page will appear — > Press add and Type Hostname for the server and which Operating system installed it on it.

Insert your Agent Path ( where you want to install agent ) and username

Review and then Deploy Agent

You can download this article here

Thank you
Osama Mustafa

Deploy Agent In Enterprise Manager 12c

After I post about how to install Oracle Enterprise manager ( em12c ) today i will talk how to deploy em12c agent

there’s two method to do that

1) Configuring Automatic Discovery
2) Adding targets Manually

I will describe the both 🙂 each one separately

Before deploy you need to decide if you want to use Oracle user or root user the below steps you have to do before using oracle :

[root@em12c ~]# vi /etc/sudoers

and change and add the following lines :
Comment this line :

#Defaults    requiretty

add the below line

oracle  ALL=(ALL)       ALL

and remove ! from this line :

Defaults   visiblepw

Now On em12c There’s something called privilege delegation

Privilege delegation allows a logged-in user to perform an activity with the privileges of another user. Sudo and PowerBroker are privilege delegation tools that allow a logged-in user to be assigned these privileges. These privilege delegation settings will be used for all provisioning and patching activities on these hosts.

Read more here.

in the screen below add these lines :
/usr/bin/sudo -u %RUNAS% %COMMAND%

/usr/bin/sudo —> location for sudo command.

 after all the above steps are done let’s configure Auto Discovery

Setup –> add target –> configure auto discovery  the below screen will open, choose the first option “Host and oracle vm manager Discovery using Ip scan”

 Press create Button

On add Button new Panel Will open , Choose your Host and Choose the Range Ip for scan The Format Mentioned above examples :

192.168.1.240-250
192.168.240/10
192.168.240,241

 Now you need to configure Job Summary

the job will start immeditaly as we choose press “Refresh Ip Scan Result” to check The result. you can check it also from here :

Check the Host

Next Post will be How to Add Agent Manually .

You can Download this Article From here.

Thank you
Osama Mustafa