Download Agent in EM12C manually

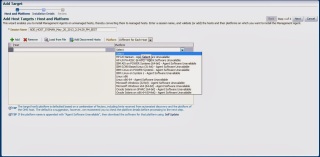
Adding target to EM12C needs to install agent to the Target Host Depend on Operating system, the agent is now always available which mean install Agent for this operating system is necessary, the below picture describe the above case :-

Enterprise manager cloud 12c contains two different type of Connection mode online and offline, this blog describe how to install manually :-

From Setup –> extensibility –> Self Update

Press On Agent Software., The below screen will appear :-

By pressing any of those agent new pop up will open included with link to download, copy the link and upload the file to OMS Host and run the below command :-

[oracle@EM12C emcli]$ ./emcli import_update -omslocal -file=….

File Path should be provided in the above command.

The output :-

Processing update: Agent Software – Agent Software (12.1.0.1.0) for Microsoft Windows x64 (64-bit)
Successfully uploaded the update to Enterprise Manager. Use the Self Update Console to manage this update.

After Run the above command Successfully, Back to Self Update screen –> Agent Software and Apply the Download Catalog by press apply.

Thank you
Osama mustafa

Create Group using Em12c

Sometimes you need to create Certain group for Enterprise manager to make monitor more easy , sepcially if you have lot of agent and components such as database , Host , application server … so if you want to manage them individually it will consume time and seems to be impossible.

Enterprise manager provide you with Group Features to combine components, and there’s two type :

  • Target at the same type 
  • Target contain different components such as database, Application server , Host.

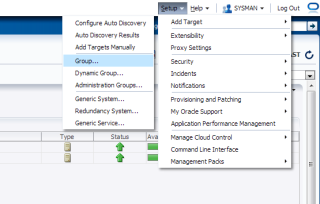
Check the below screenshot :

From Setup –> Add Target –> Group

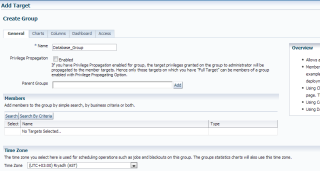
you have five tab each one of them contain different parameters, Choose the right option that works with your Work:

After Choose the name for the group you need to add Agents, from search button new popup screen will be open choose which agent type you want.

Another example on Chart tab :

After Create Group :

For More information about Enterprise Manager 12c Group Read Oracle Documentation Here
Thank you 
Osama mustafa
Some notes you maybe need for Em12c

I would like to share some MOS  Notes that could be useful please note that You can share yours in comments

EM12c R2: How to Upgrade to EM 12c R2 – Two System Method [ID 1363162.1]
EM12c: How to install JVM Diagnostics (JVMD) in Cloud Control [ID 1493862.1]
EM12c: How To Upgrade Plugin On 12.1 Management Agent [ID 1490762.1]
How to Install 12c Agent on Virtual Host [ID 1469995.1]

EM12c Upgrade : Agents Are Not Listed in the Upgrade Console With Error Inventory Data Is Missing From the Repository [ID 1489109.1]

EM 12c : How to Discover All Targets On a Single Host After Agent Installation ? [ID 1386817.1]
EM 12c : Understanding Promote Target Functionality [ID 1386161.1]

EM12c How to Perform Automatic Host Discovery Using IP Scan Method ? [ID 1386811.1]
EM12c Agent status Fails With “Peer Not Authenticated” Error. [ID 1510706.1]

EM12C: Agent Installation Failed With Error: “OMS_HOST and EM_UPLOAD_PORT is not active” [ID 1371873.1]

How To Upgrade Java Diagnostics In Enterprise Manager 12c With the Latest Patches [ID 1534023.1]
EM12c Cloud Control: Required Patches for Discovery and Monitoring of Coherence Targets [ID 1526316.1]

EM12c : Patch Conflict While Applying Patch 14040891 [ID 1479092.1]
Unable To Add host targets with EM12c – Valid Host Name check fails [ID 1433843.1]
Release Schedule of Current Enterprise Manager Releases and Patch Sets (10g, 11g, 12c) [ID 793512.1]
EM 12c: How to Deploy a Plug-In from Enterprise Manager Cloud Control 12.1.0.1 [ID 1364030.1]

Thank you
Osama Mustafa
Configure Email Notification and Incidents Rule

Before I talked about how to Install and Add Target in Enterprise Manager 12c today i will talk how to enable Email notification and Incidents Rule Step By Step and as usual you can download the article as PDF file :

Check the below picture the fill with Correct Parameter to enable email notification First

If you need to customize your Email format that will be deliver to you go to the below section in em12c :

The Below Page will appear to you choose which Type you want to customize

now Let’s work On Incident Rules, From Setup –> Incidents –> Incident Rules

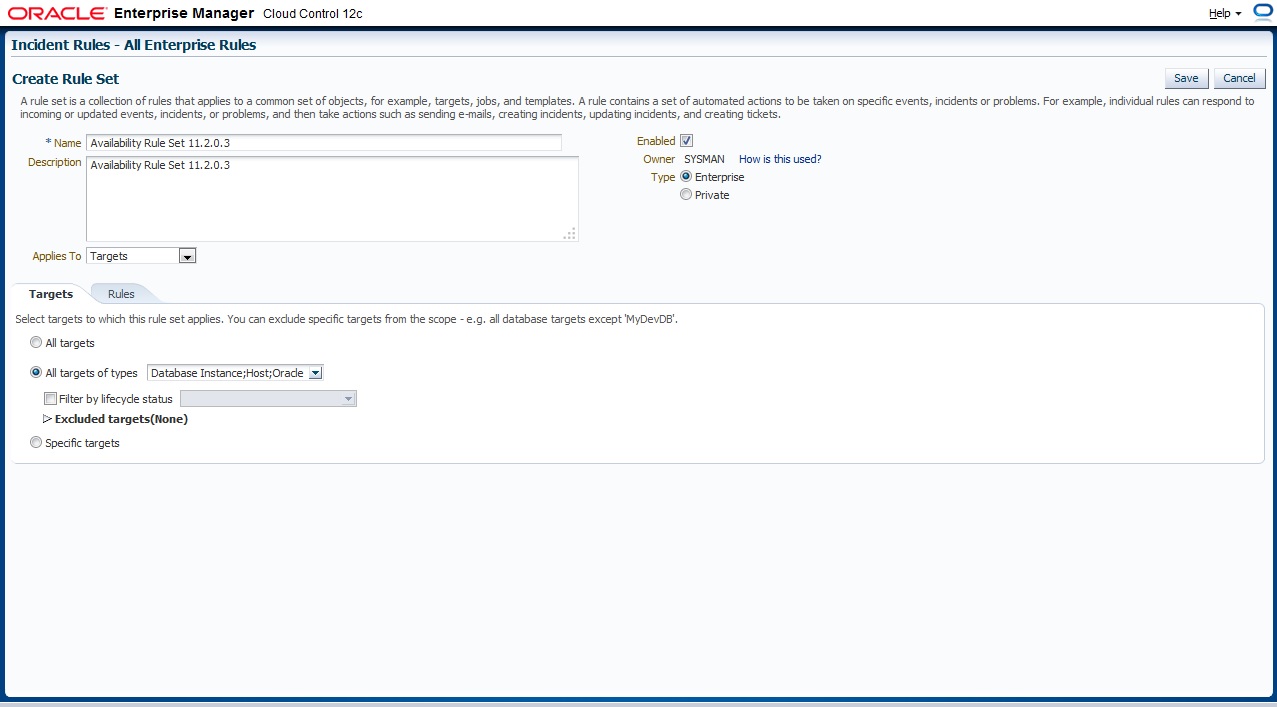
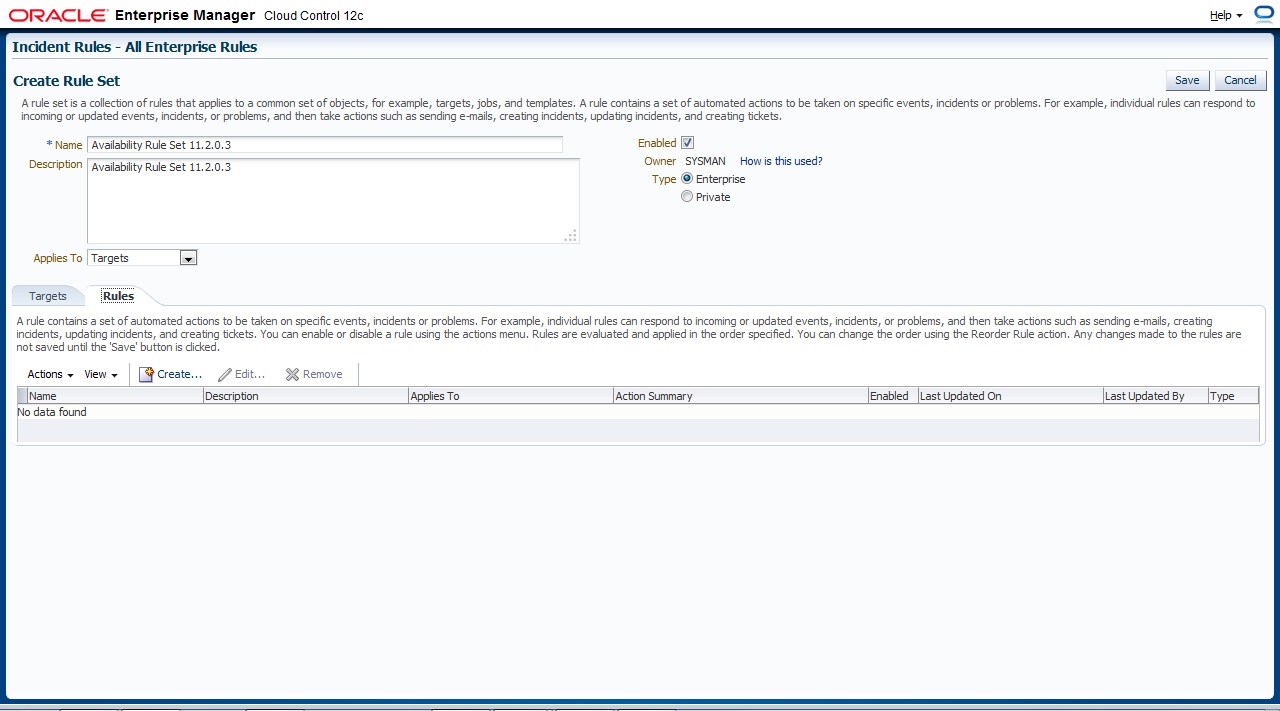
New Page will appear With Some Content All you have to do is Press “Create Rule Set” and below page will appear, Choose the name for Rule Set, which target this Rule set will be applied

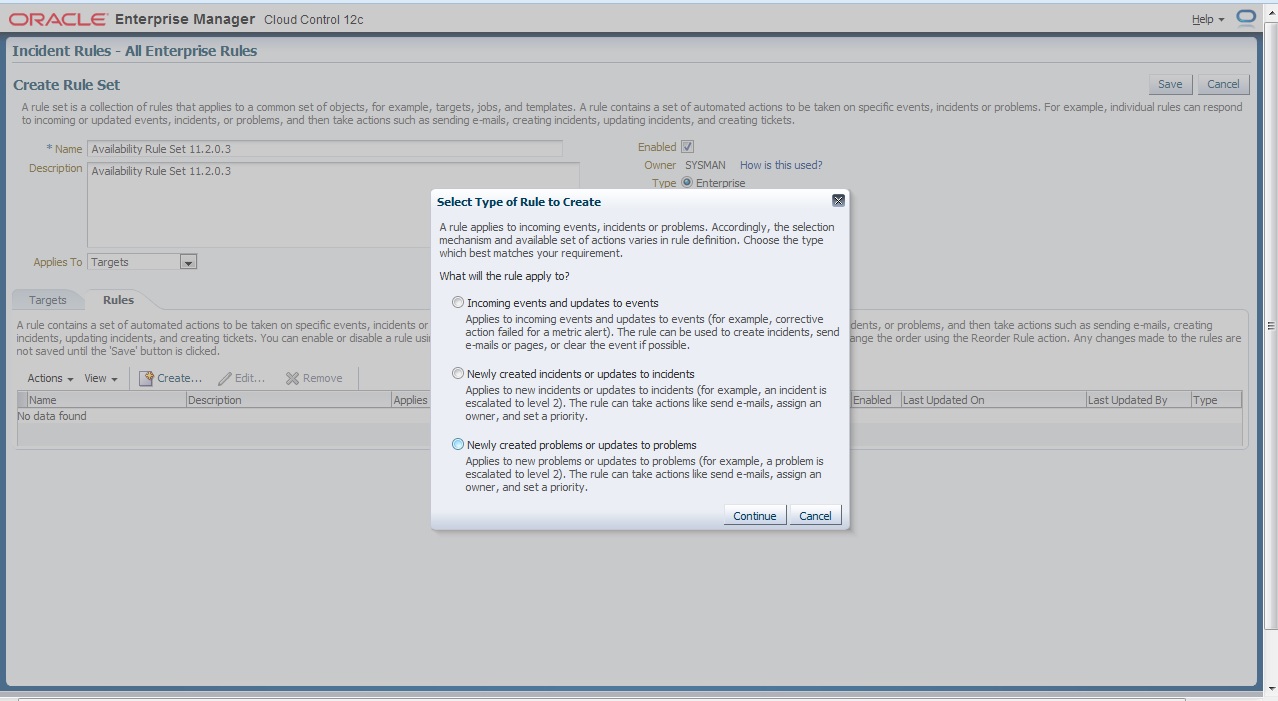
On Second Tab ” Rule” Press Create to add new One

There’s Description for each Type I will choose the first one

After That follow the instruction to create your own Rule Set ,
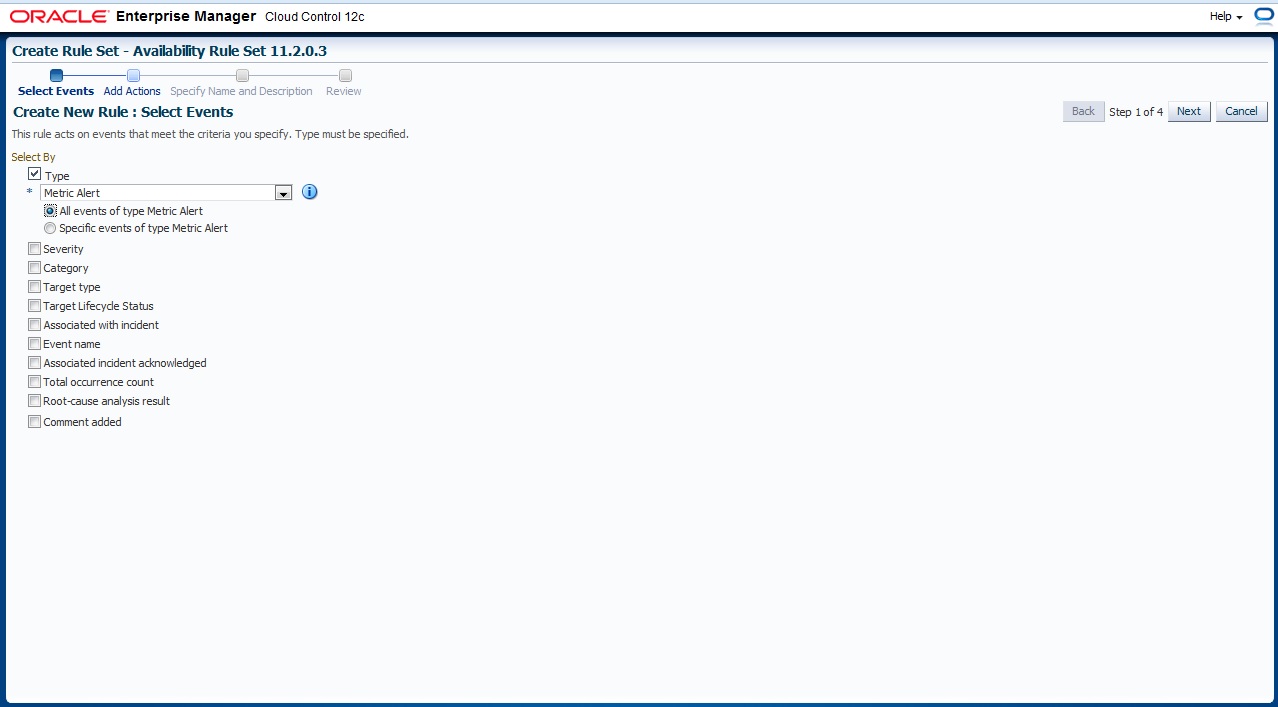
First you need to choose which type of event

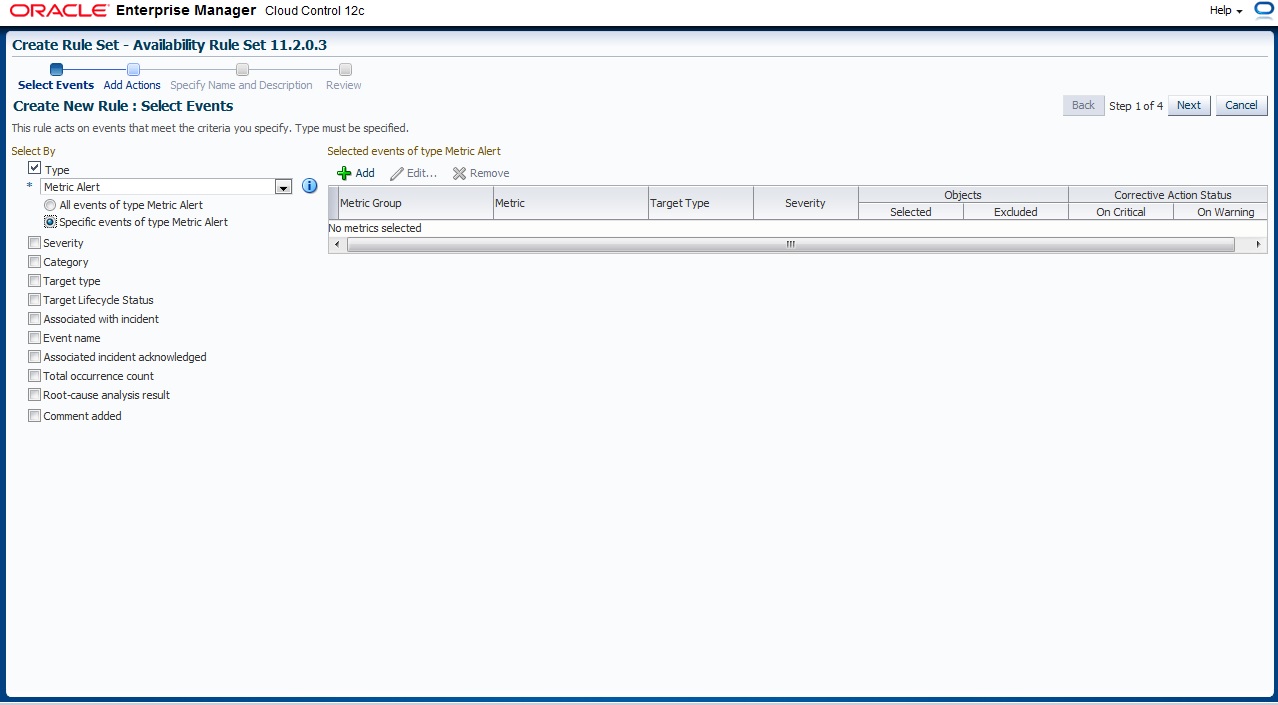
As you see there’s two option below Drop box if you need to create events for all target option one your choice otherwise choose #2  and which one you want to enable 


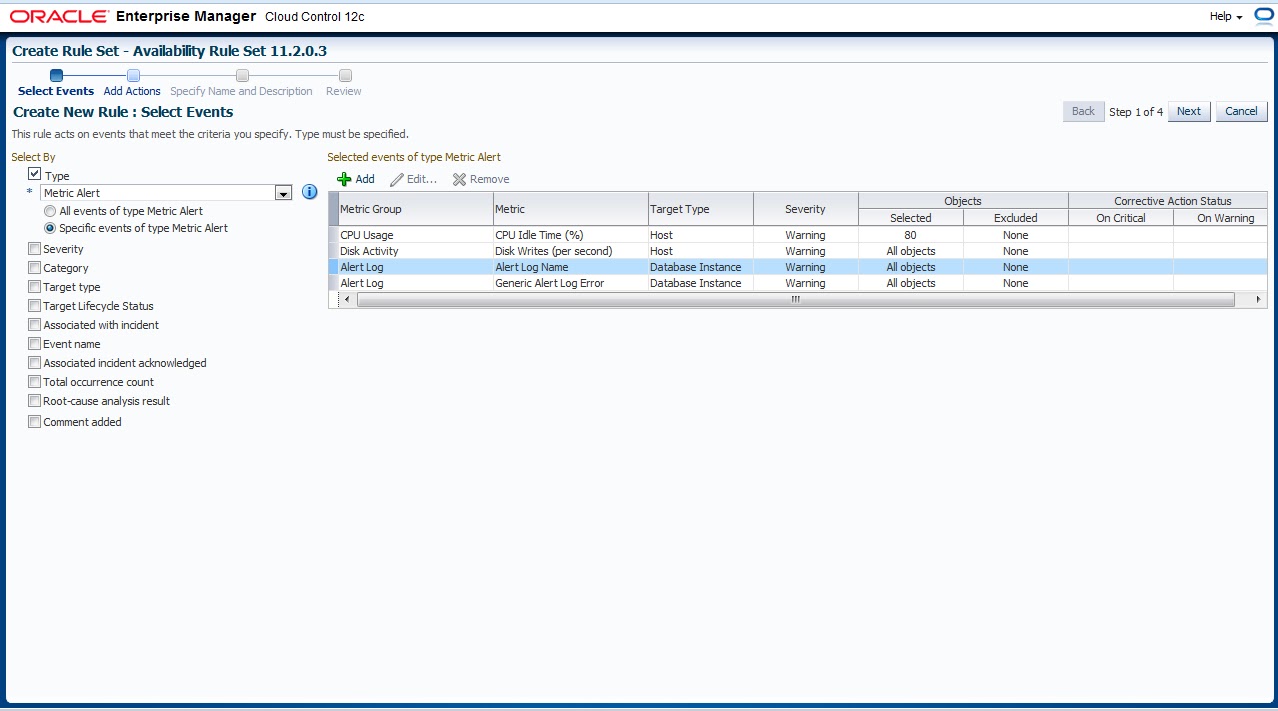
The below Picture describe what happened if you choose Option #2 

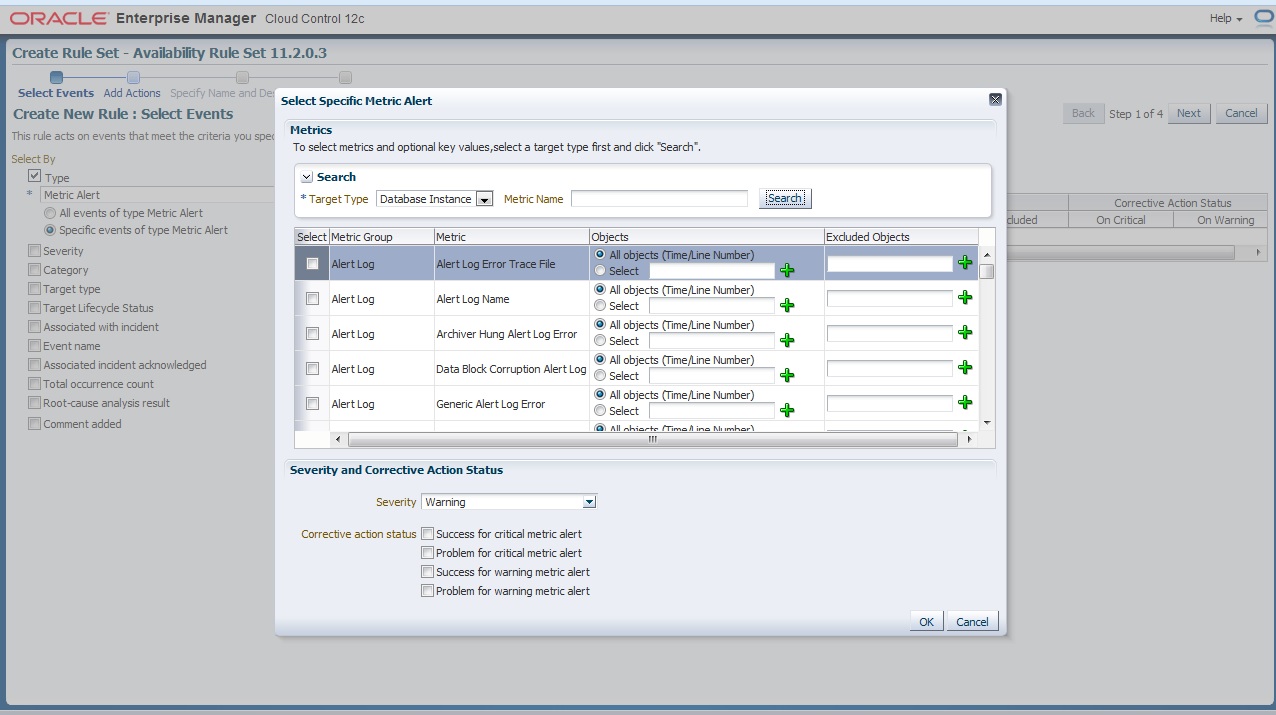
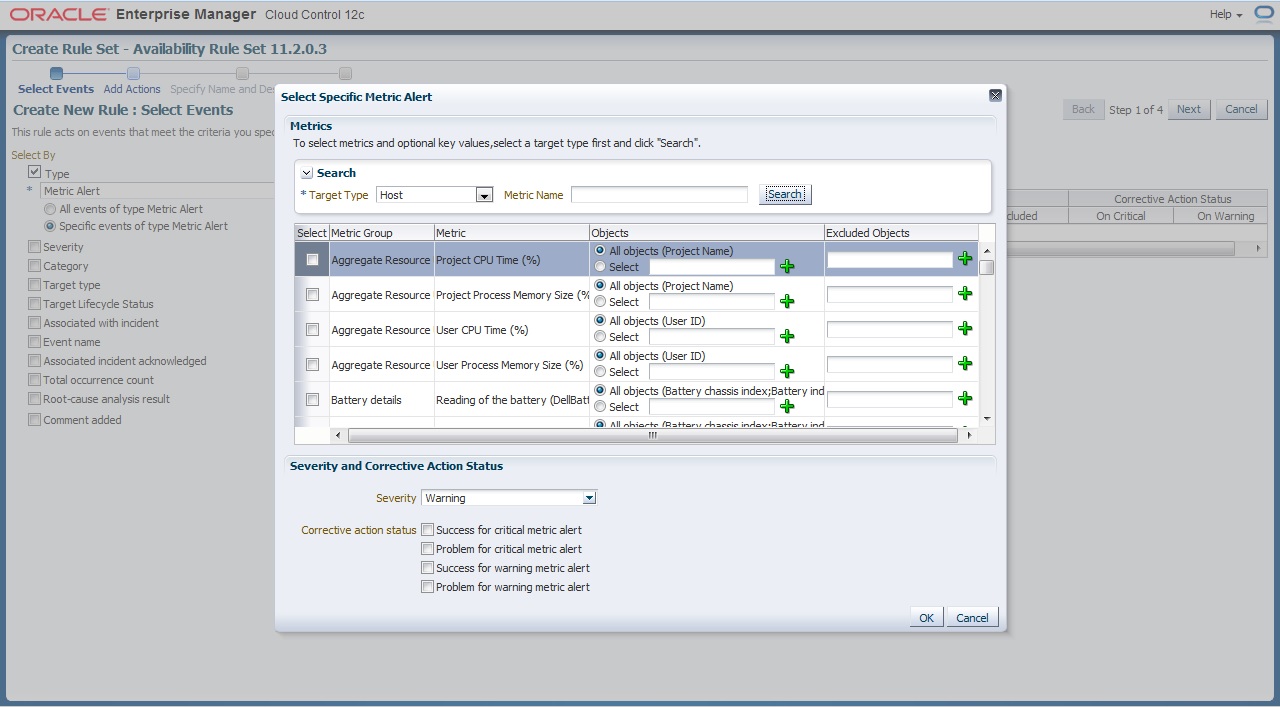
 Now what we choose before will appear to us here now you want to enable metrics for Which Target
and i provide some example for predefined metrics group

 The Overall will be look like this

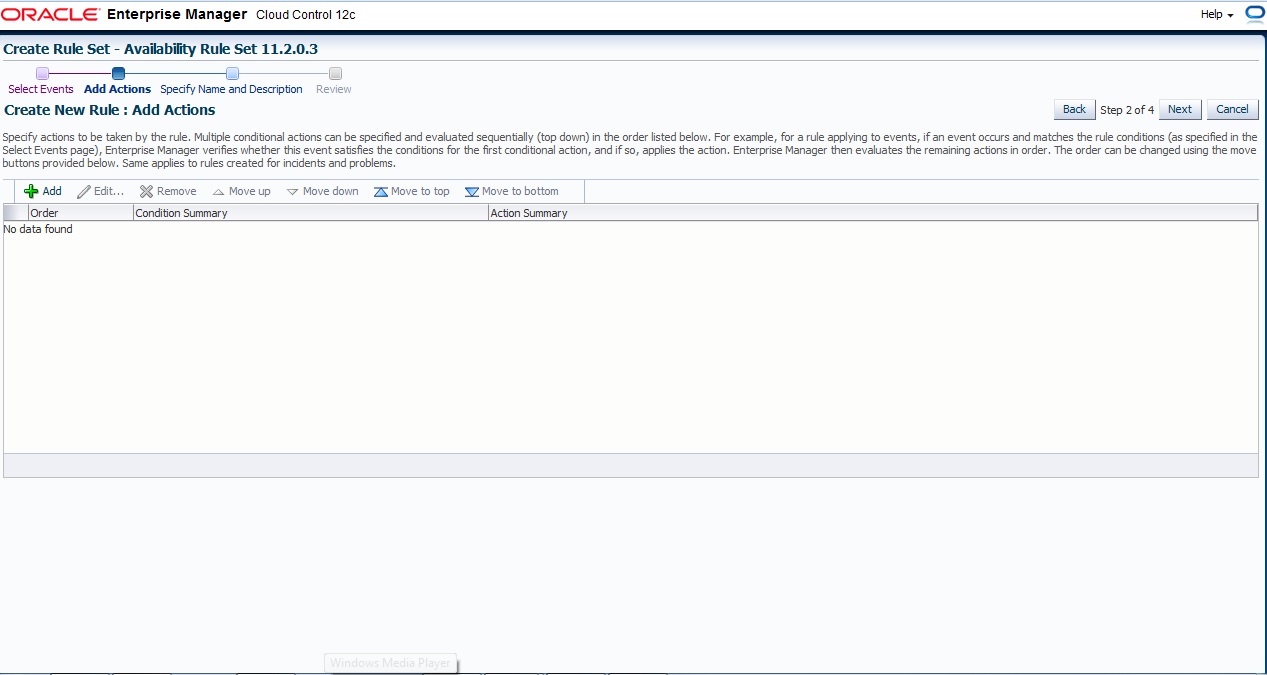
 Next , and Add Action page press add like usual

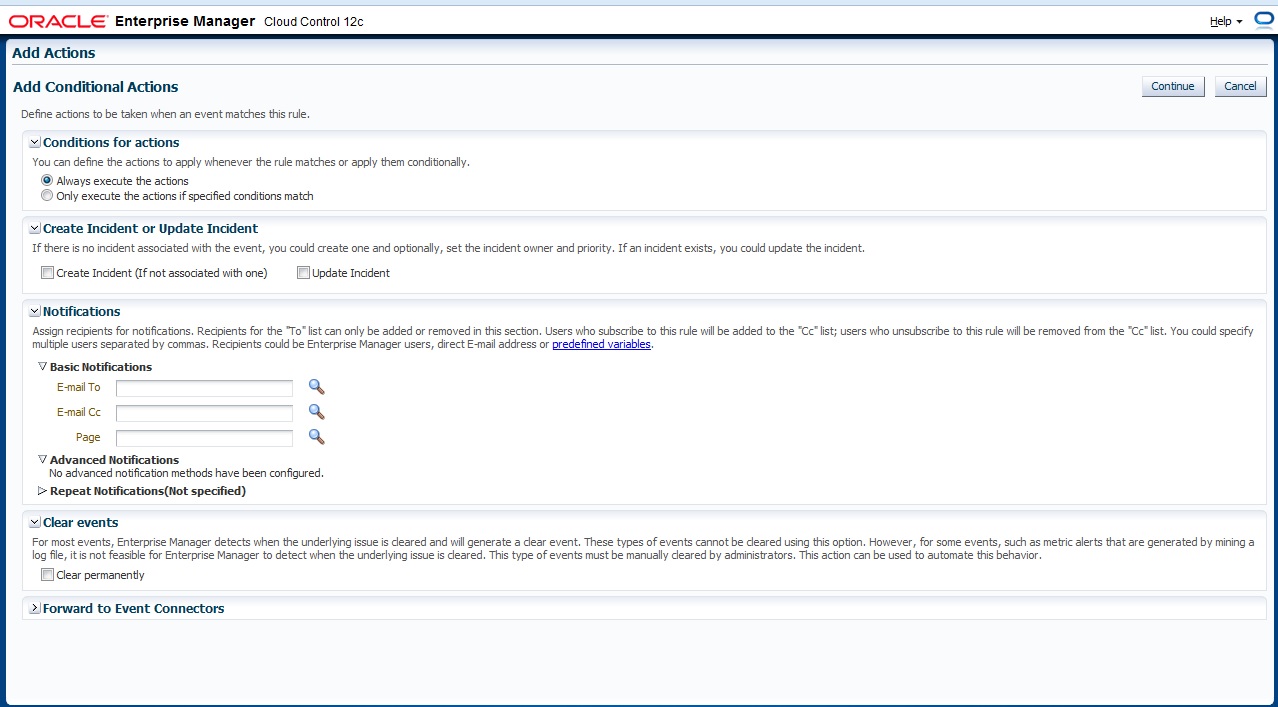
Define Which action will taken if event match

 Finally Name For Rule Set

 Review Page

you can download this article from here

Thank you
Osama Mustafa
Add Target Manually / Enterprise Manager 12c

previously I mentioned how to deploy agent in enterprise manager using Auto Discovery, But today I will Post about the second way which called “Add target Manually” all you have to do is follow the screen shot and the instruction :

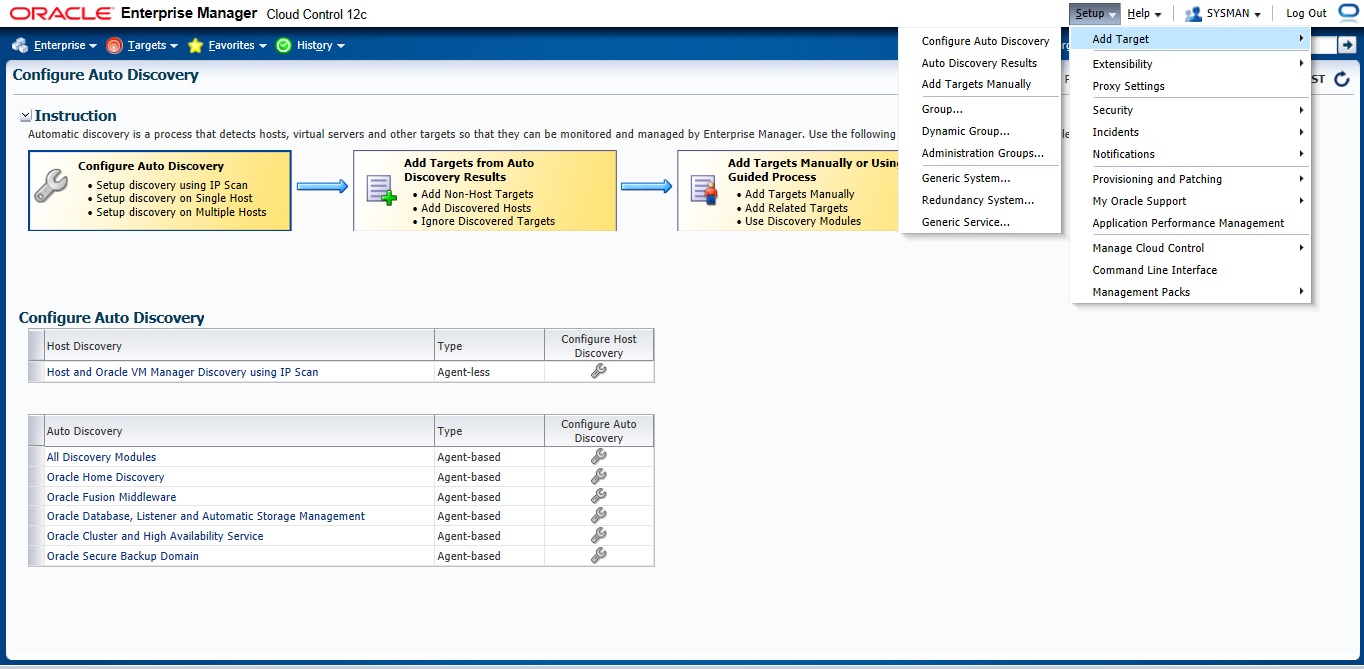
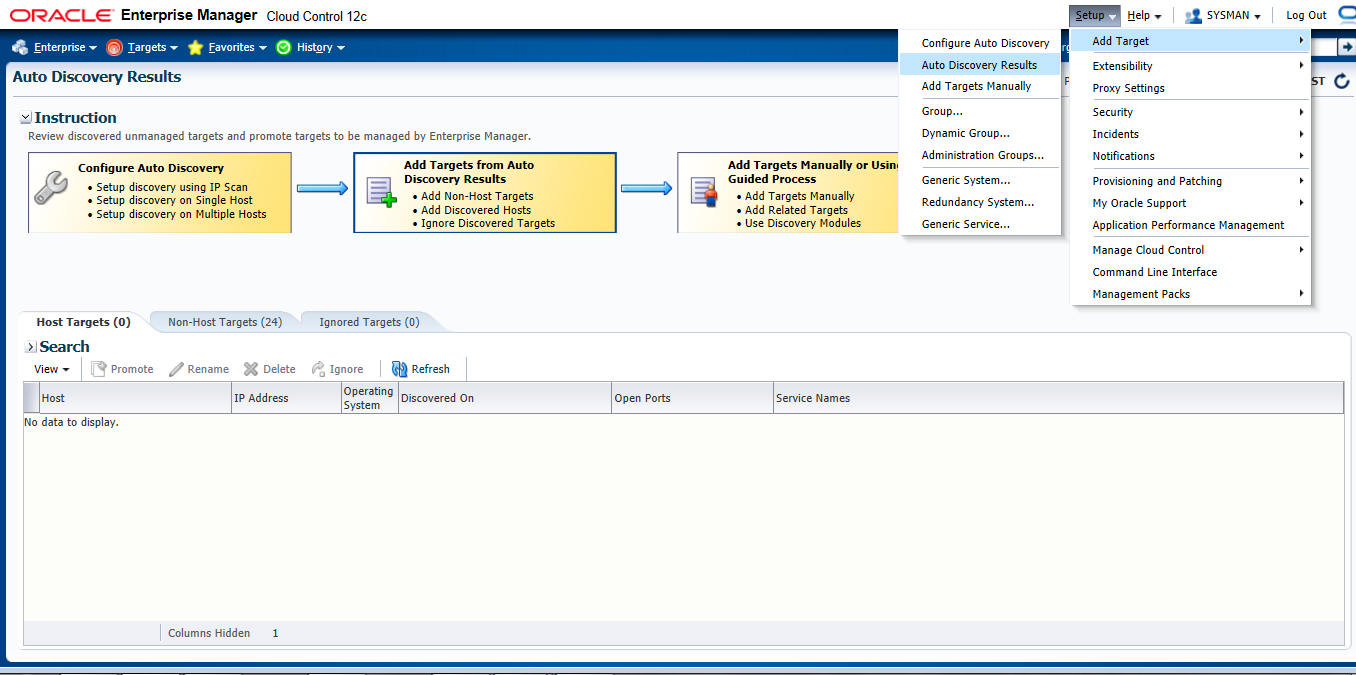
Setup –> Add target –> Add Target manually

Choose the first Option

 New Page will appear — > Press add and Type Hostname for the server and which Operating system installed it on it.

Insert your Agent Path ( where you want to install agent ) and username

Review and then Deploy Agent

You can download this article here

Thank you
Osama Mustafa
Deploy Agent In Enterprise Manager 12c

After I post about how to install Oracle Enterprise manager ( em12c ) today i will talk how to deploy em12c agent

there’s two method to do that

1) Configuring Automatic Discovery
2) Adding targets Manually

I will describe the both 🙂 each one separately

Before deploy you need to decide if you want to use Oracle user or root user the below steps you have to do before using oracle :

[root@em12c ~]# vi /etc/sudoers

and change and add the following lines :
Comment this line :

#Defaults    requiretty

add the below line

oracle  ALL=(ALL)       ALL

and remove ! from this line :

Defaults   visiblepw

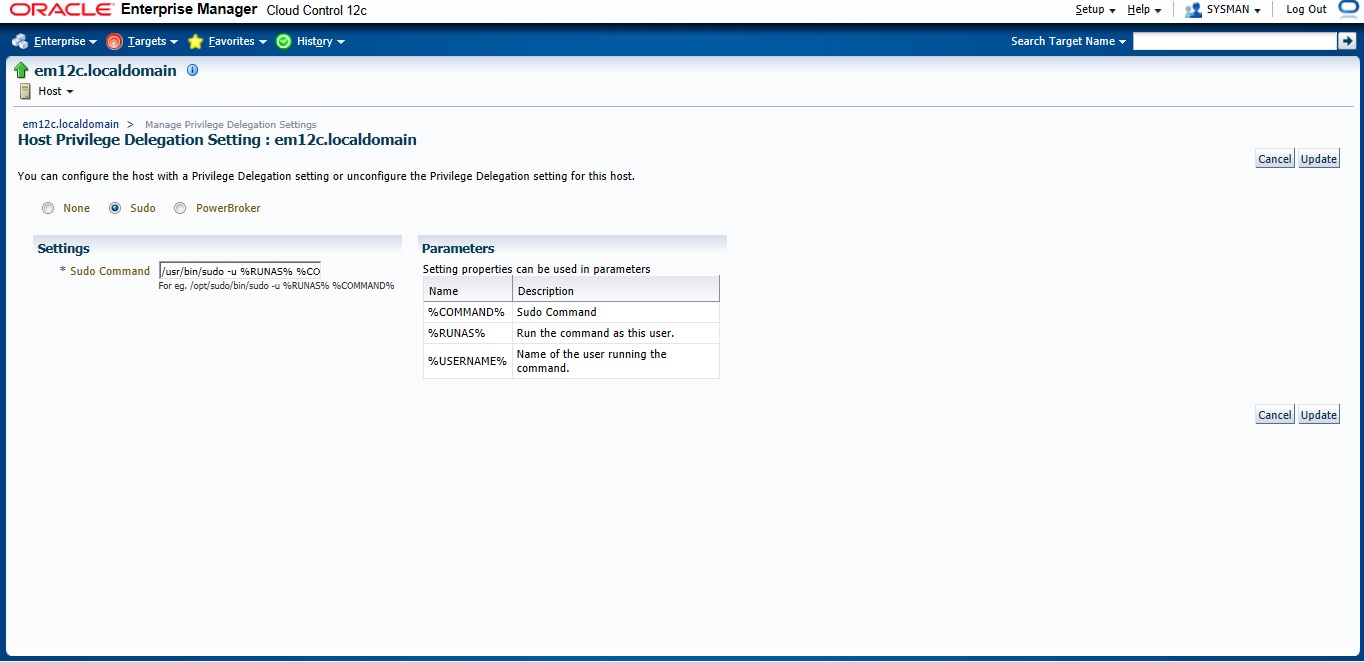
Now On em12c There’s something called privilege delegation

Privilege delegation allows a logged-in user to perform an activity with the privileges of another user. Sudo and PowerBroker are privilege delegation tools that allow a logged-in user to be assigned these privileges. These privilege delegation settings will be used for all provisioning and patching activities on these hosts.

Read more here.

in the screen below add these lines :
/usr/bin/sudo -u %RUNAS% %COMMAND%

/usr/bin/sudo —> location for sudo command.

 after all the above steps are done let’s configure Auto Discovery

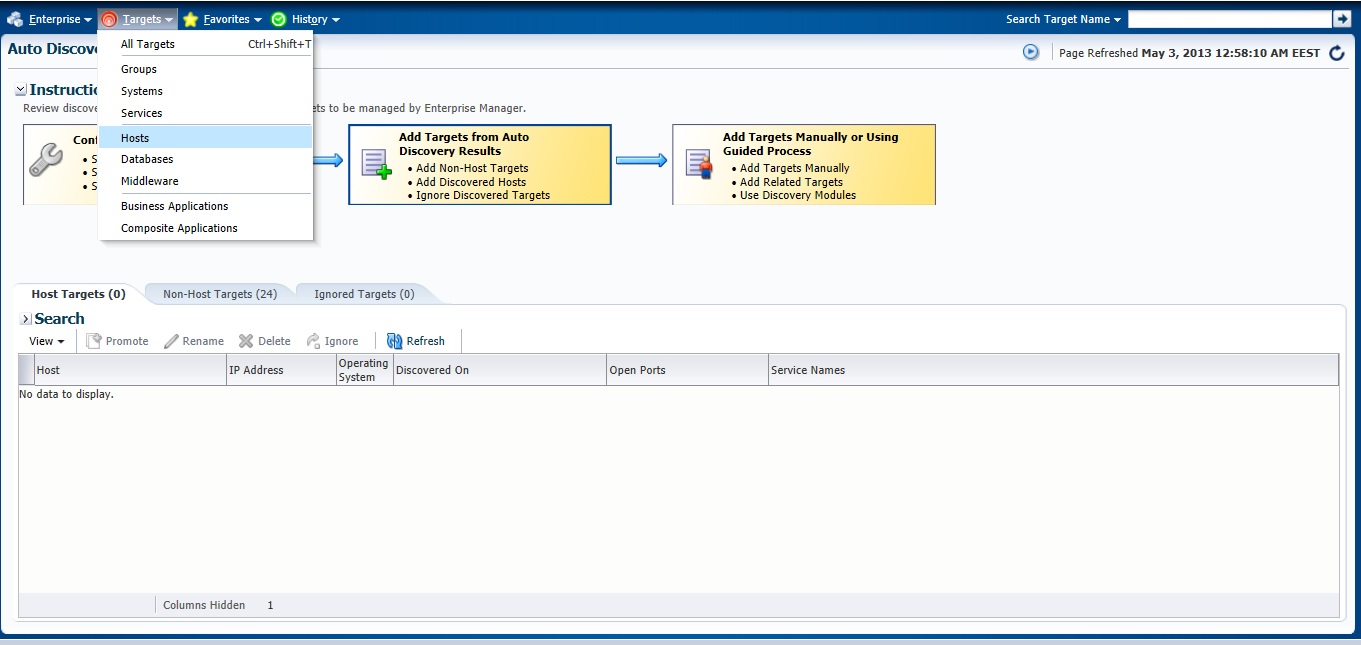
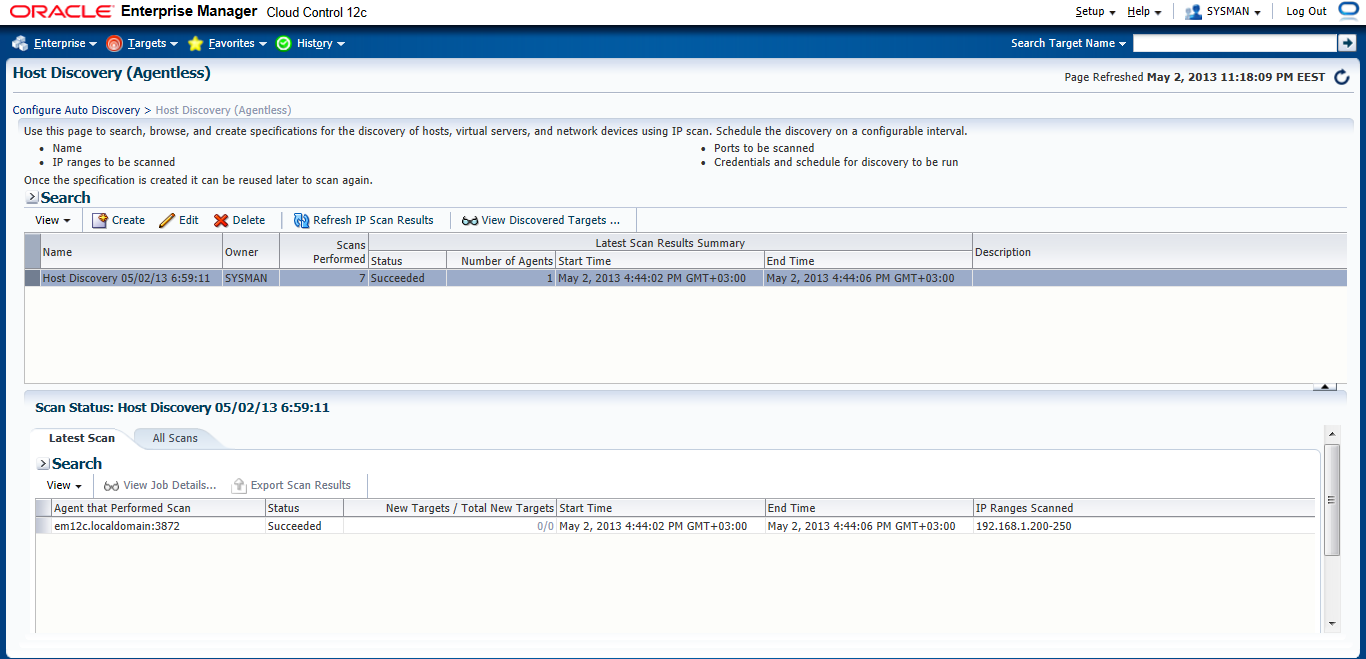
Setup –> add target –> configure auto discovery  the below screen will open, choose the first option “Host and oracle vm manager Discovery using Ip scan”

 Press create Button

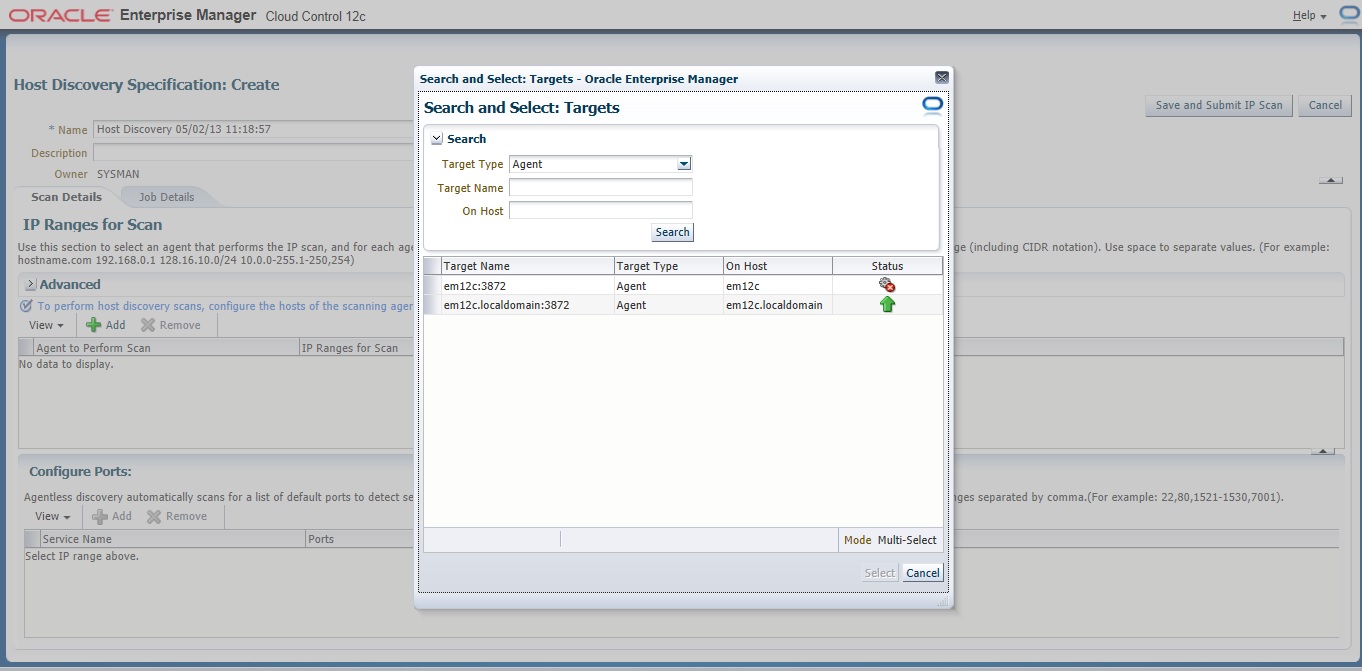
On add Button new Panel Will open , Choose your Host and Choose the Range Ip for scan The Format Mentioned above examples :

192.168.1.240-250
192.168.240/10
192.168.240,241

 Now you need to configure Job Summary

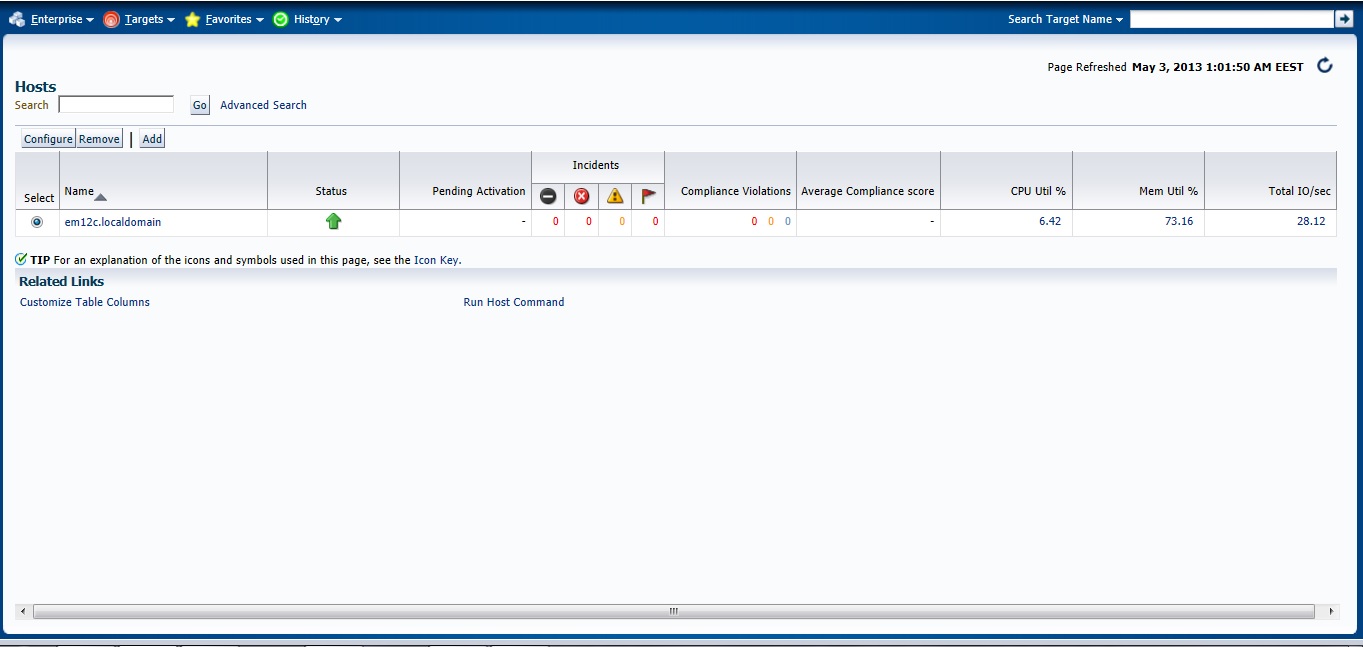
the job will start immeditaly as we choose press “Refresh Ip Scan Result” to check The result. you can check it also from here :

Check the Host

Next Post will be How to Add Agent Manually .

You can Download this Article From here.

Thank you
Osama Mustafa

3872 Actual Result: Port 3872 passed is busy Check complete

This error appear while trying to deploy agent for Enterprise manager 12c (em12c) and the cause for this error that port 3872 is already in use :

solution

[root@em12c Middleware]# netstat -anp | grep 3872

tcp        0      0 :::3872                     :::*                        LISTEN      2391/java    
     
[root@em12c Middleware]# kill -9 2391

[root@em12c Middleware]# netstat -anp | grep 3872

Deploy Again

Thank you
Osama Mustafa

Step By Step to Install Enterprise Manager 12c on Redhat 6.1

in this article you will have a look how to install Oracle Enterprise manager 12c ( em12c ) on Redhat 6 update 1 Operating system.
First Step is select supported OS and Database to install repository. and you can check about certification and to do that :

1.Log in to My Oracle Support, which is accessible at the following URL: https://support.oracle.com
2. Click the Certifications tab.
3. In the Certification Search region, select Enterprise Manager Cloud Control from the Product list.
4. From the Release list, select 12.1.0.2.0, then click Search.
5. Expand the Databases node.

after checking the certification you need to install the following :

  • Enterprise manager 12c from here.
  • Redhat 6 from here
  • if you install on Linux 64bit you need to apply Patch 10404530 Download from here.

Enterprise manager needs the following Requirement :

Hardware
Minimum: 6 GB of RAM.
Disk Space Requirements 30Gb to 50Gb for installation of the software.
Software

OMS Package

make-3.81
binutils-2.17.50.0.6
gcc -4.1.1
libaio-0.3.106
glibc-common-2.3.4
libstdc++ -4.1.1
sysstat-5.0.5
glibc-2.5.12
glibc-devel-2.5-49

agent Package

make-3.81
binutils-2.17.50.0.6
gcc -4.1.1
libstdc++ -4.1.1

I will not mention the prerequisites since in 11gr2 and 12c while installation it will give what missing in OS, Database configuration and fix it thru installation, and if missing package found ,  the package name will appear and all you need is install it from media ( OS CD/DvD).

you need to configure database also before start install em12c :

  • Remove Dbconsole from database with the below command :

emca -deconfig dbcontrol db -repos drop

  • Change the below database parameters :

ALTER SYSTEM SET processes=300 SCOPE=SPFILE;
ALTER SYSTEM SET session_cached_cursors=200 SCOPE=SPFILE;
ALTER SYSTEM SET sga_target=2G SCOPE=SPFILE;
ALTER SYSTEM SET shared_pool_size=600M SCOPE=SPFILE;
ALTER SYSTEM SET pga_aggregate_target=1G SCOPE=SPFILE;
ALTER SYSTEM SET job_queue_processes=20 SCOPE=SPFILE;
ALTER SYSTEM SET open_cursors=300 SCOPE=SPFILE;

  • Restart Database.
  • create new folder to install em12c 

mkdir -p /u02/app/oracle/middleware/
cd /u02/app/oracle/middleware
mkdir om12c
mkdir agent12c 

  • you suppose to finish download unzip and start install (./runInstaller).
I will Provide you with Screenshot for the installation :
Asking for MOS account
Asking for Updates 

 Check prerequisites

Sometimes you will receive warning related to glibc error Press Yes:

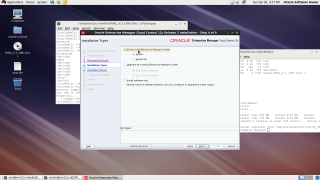
Now you need to choose installation type

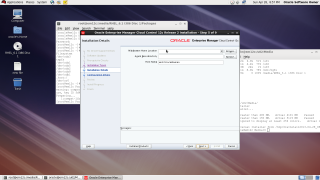
Choose location where you want to install
Middleware location : /u02/app/oracle/middleware/oms12c
Agent Location : /u02/app/oracle/middleware/agent12c

Next Screen you need to choose password and create connection with database

On the first warning dialog, click the “Yes” button to disable the stats gathering job.

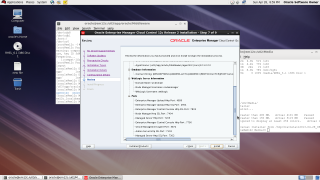
review :

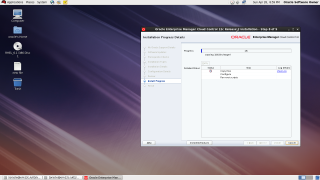
During the installation :

Done

also you can download this article from here

Thank you
Osama mustafa