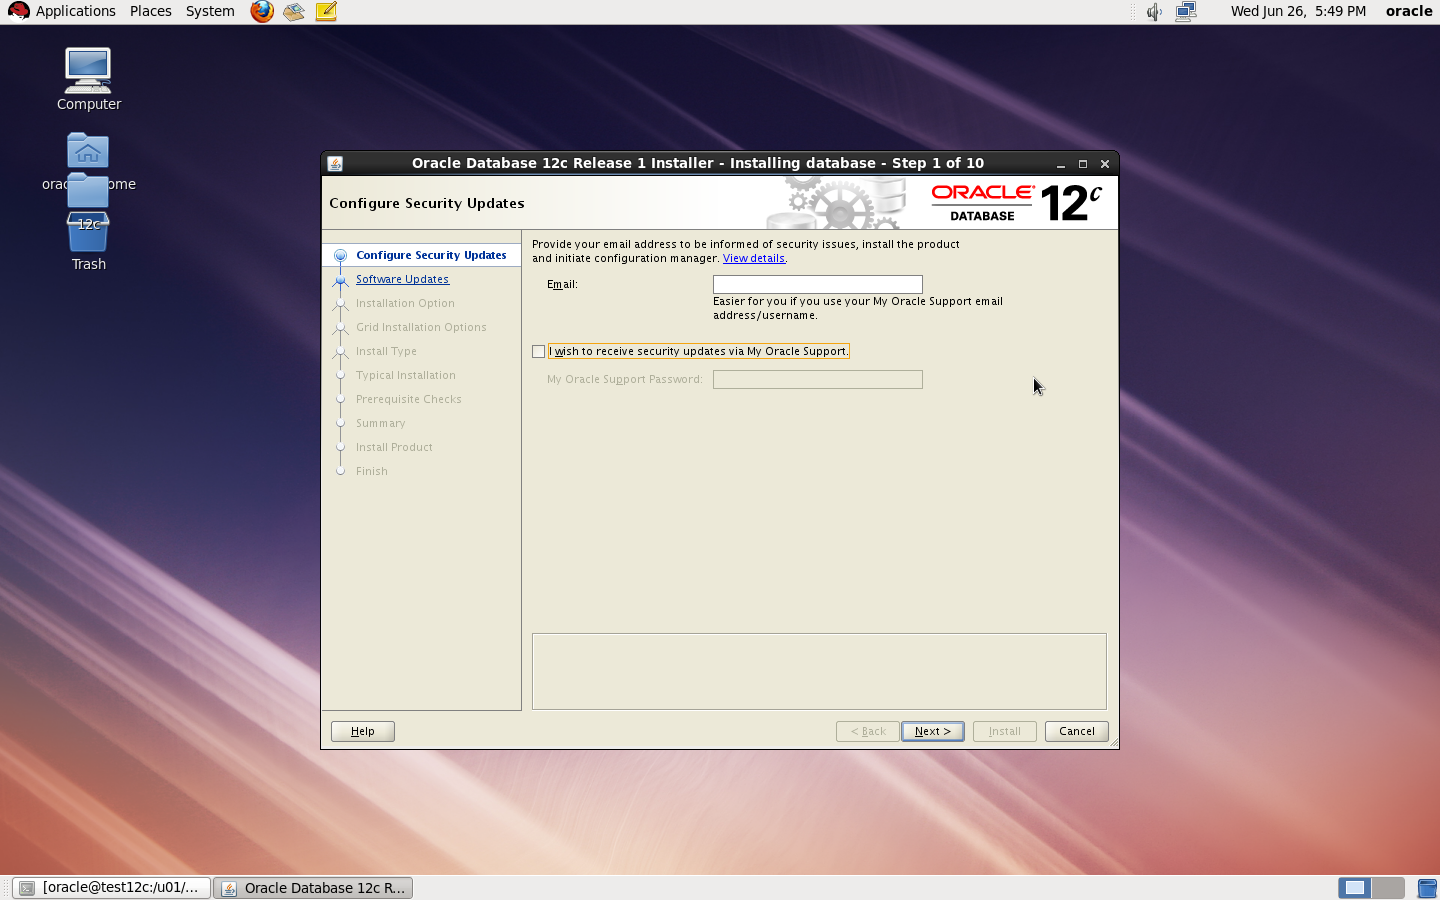
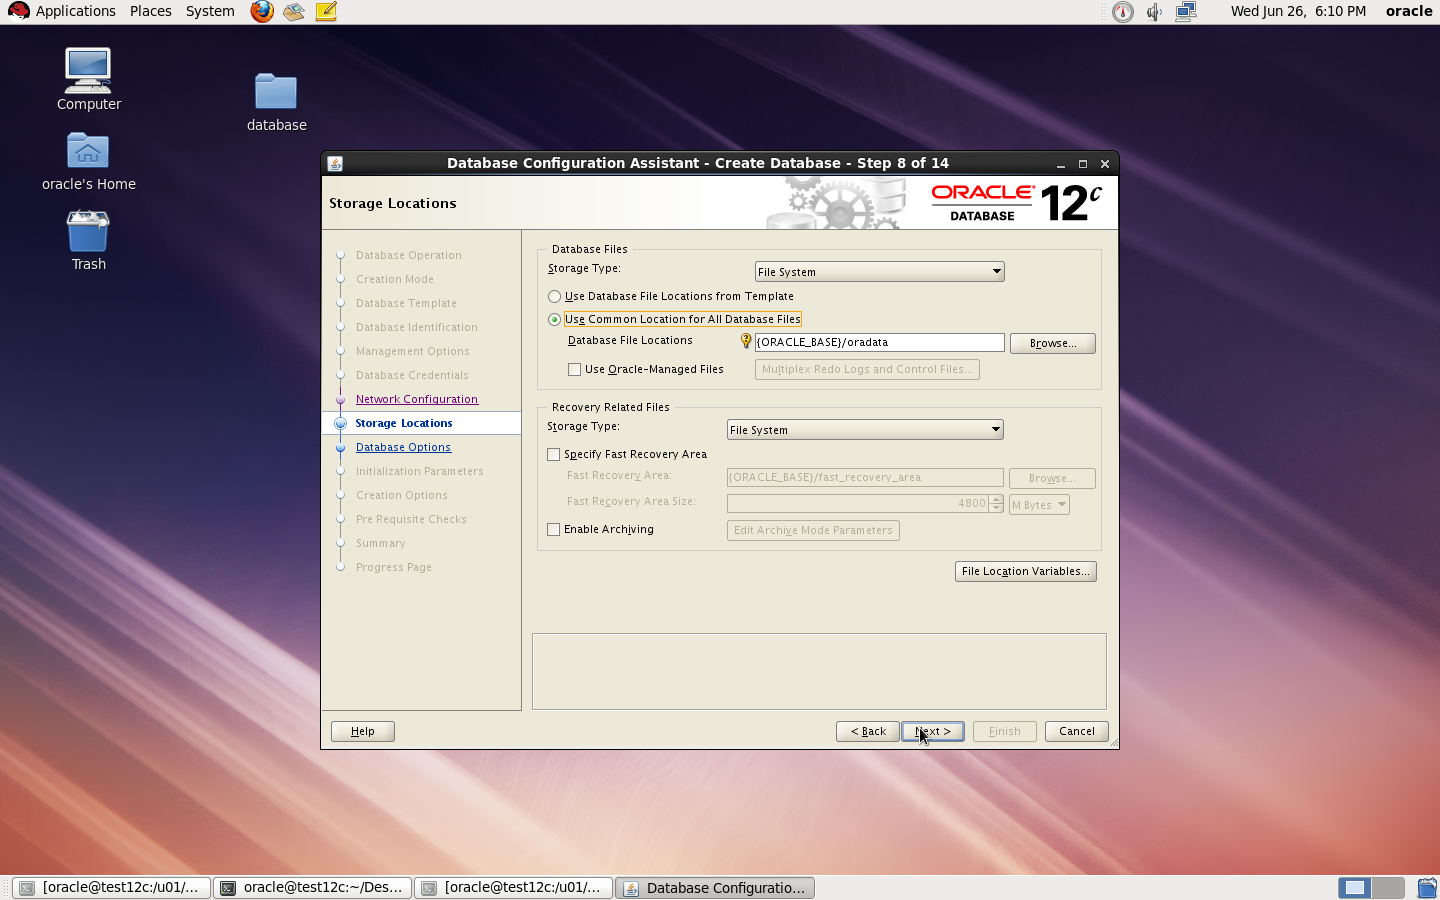
Before I talked about how to Install and Add Target in Enterprise Manager 12c today i will talk how to enable Email notification and Incidents Rule Step By Step and as usual you can download the article as PDF file :
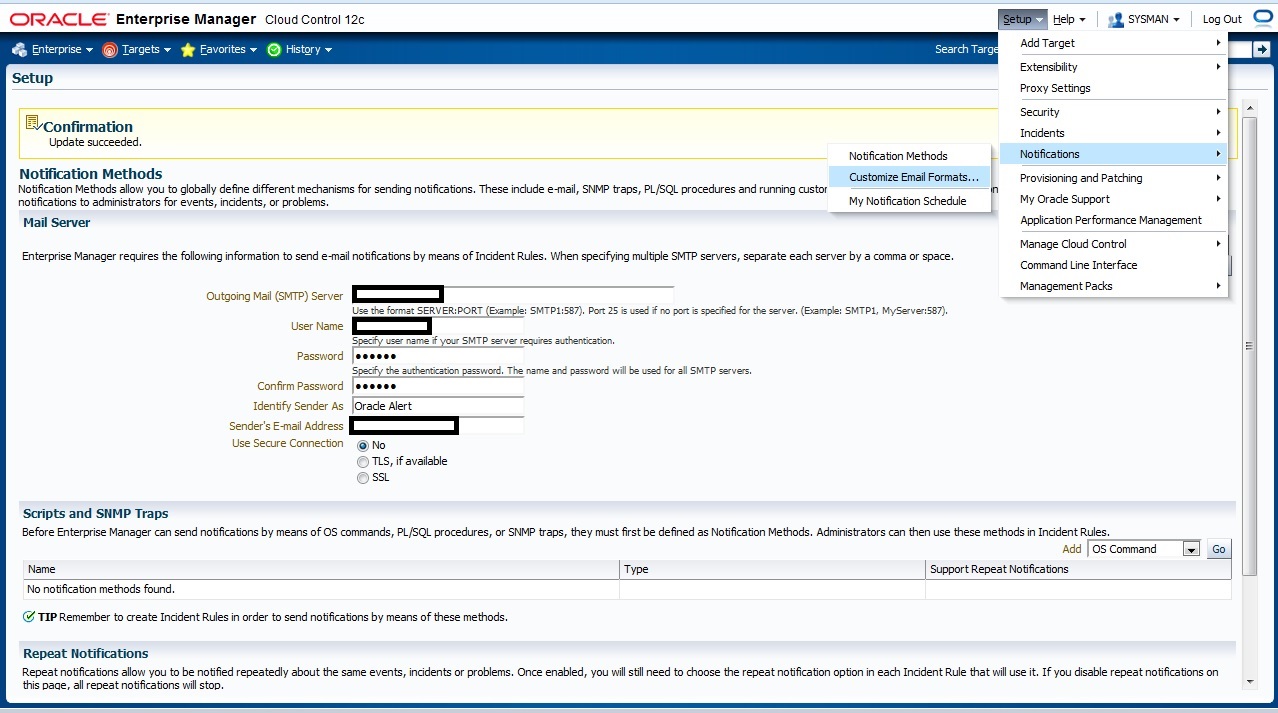
Check the below picture the fill with Correct Parameter to enable email notification First
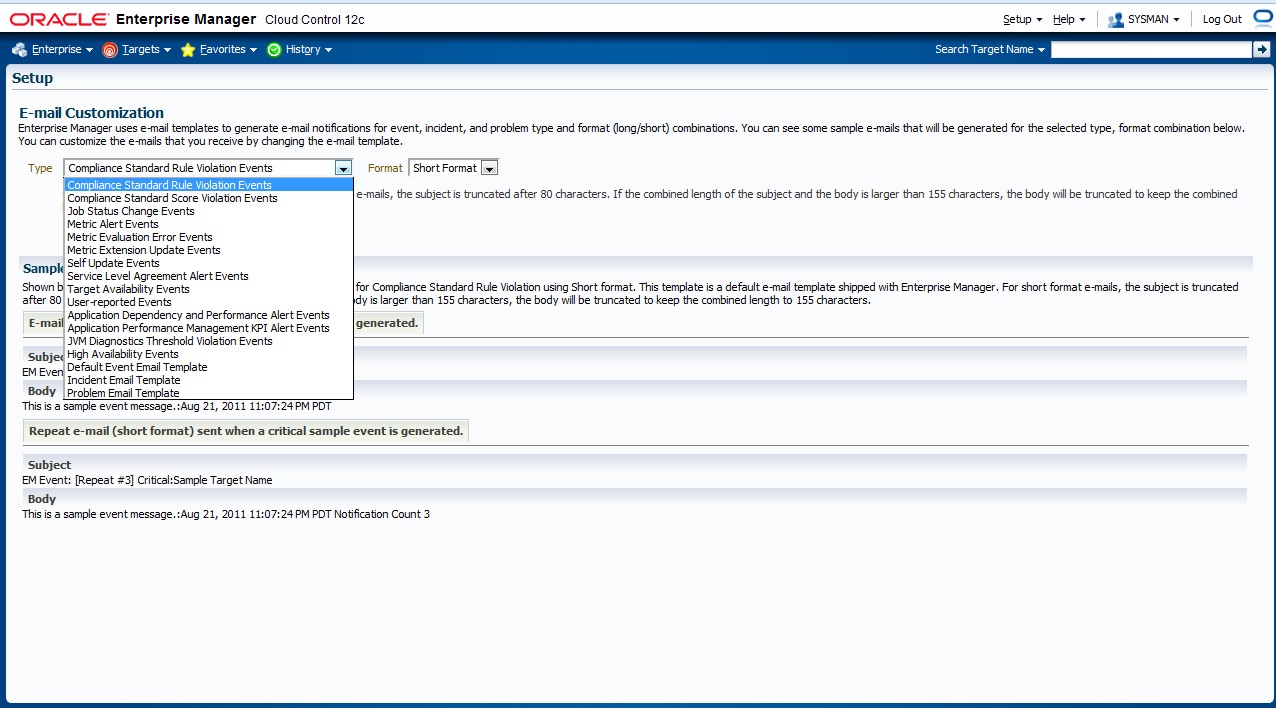
If you need to customize your Email format that will be deliver to you go to the below section in em12c :
The Below Page will appear to you choose which Type you want to customize
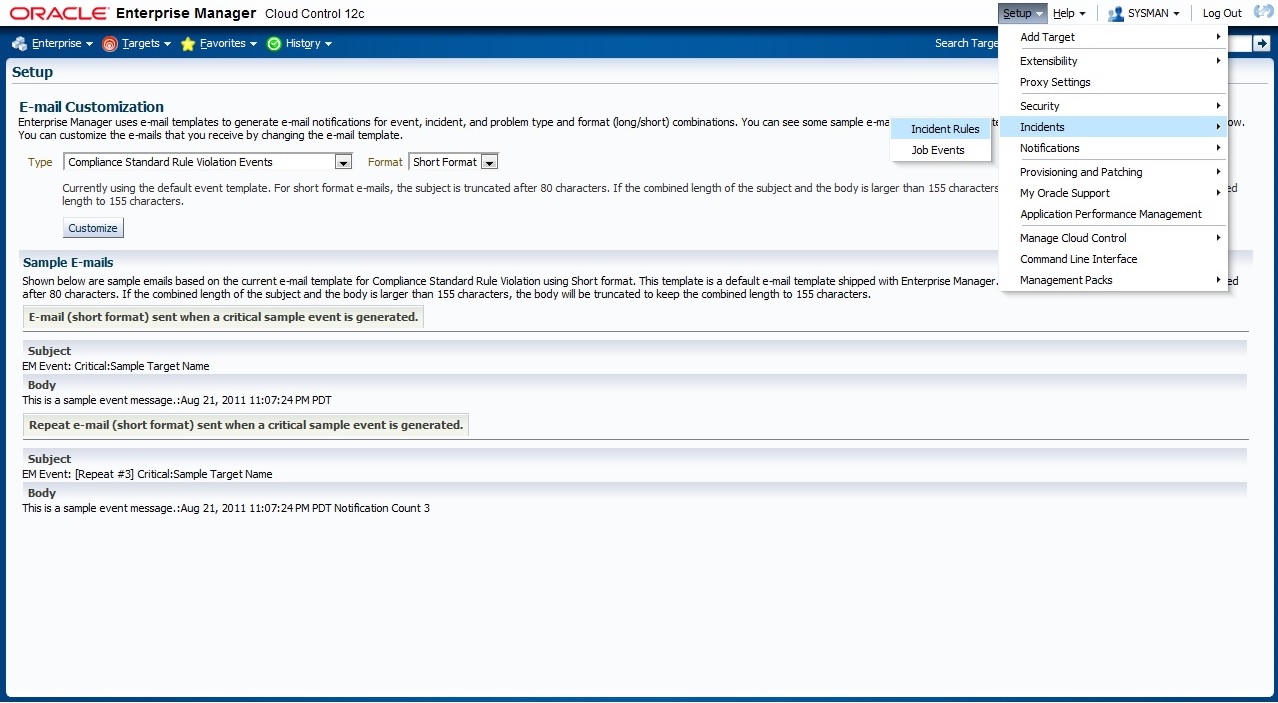
now Let’s work On Incident Rules, From Setup –> Incidents –> Incident Rules
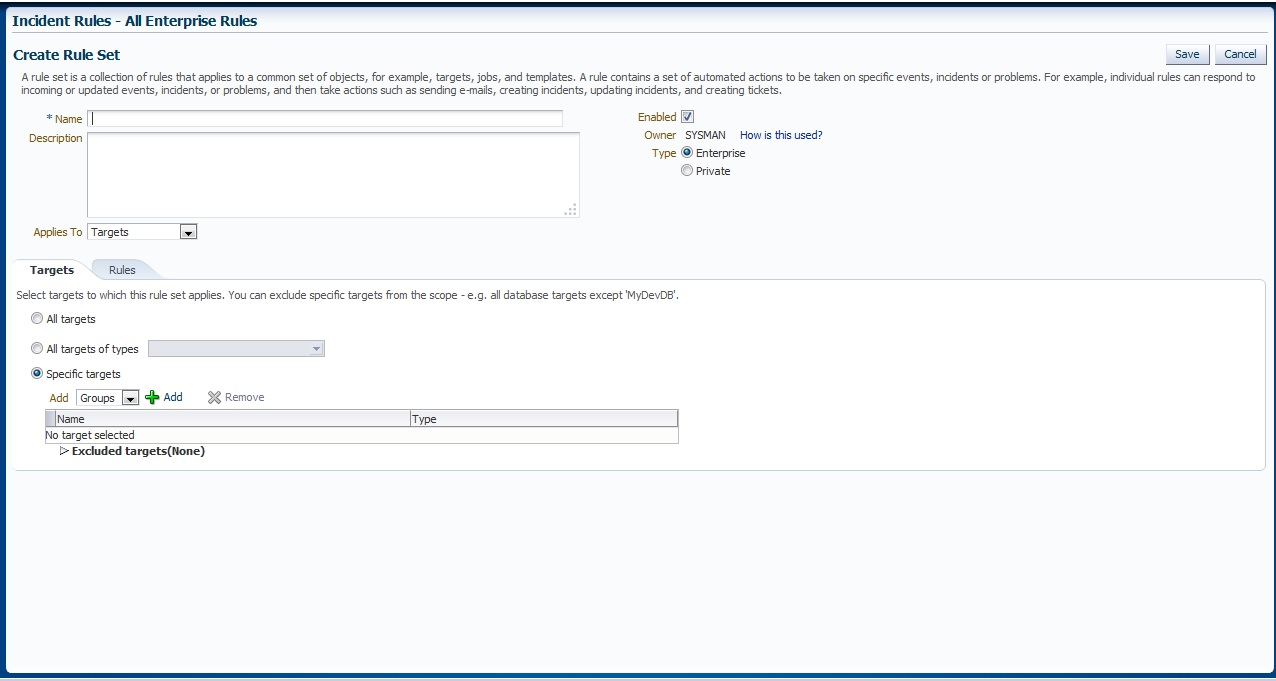
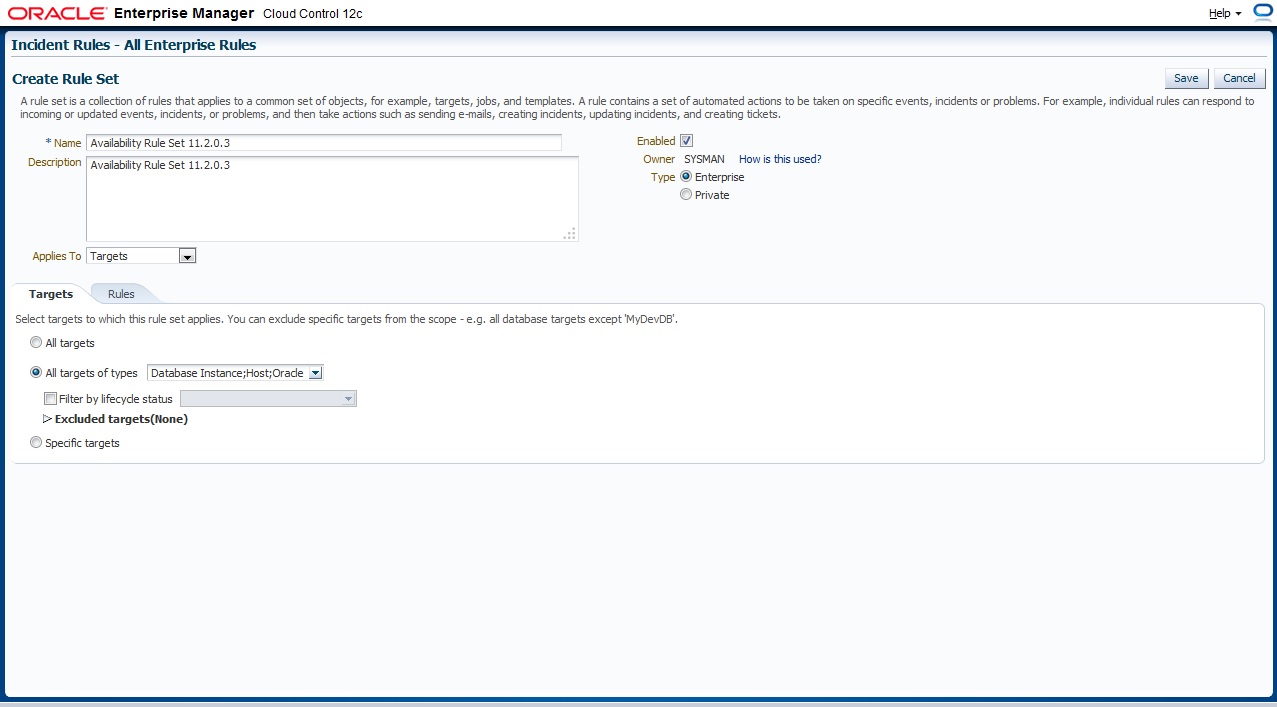
New Page will appear With Some Content All you have to do is Press “Create Rule Set” and below page will appear, Choose the name for Rule Set, which target this Rule set will be applied
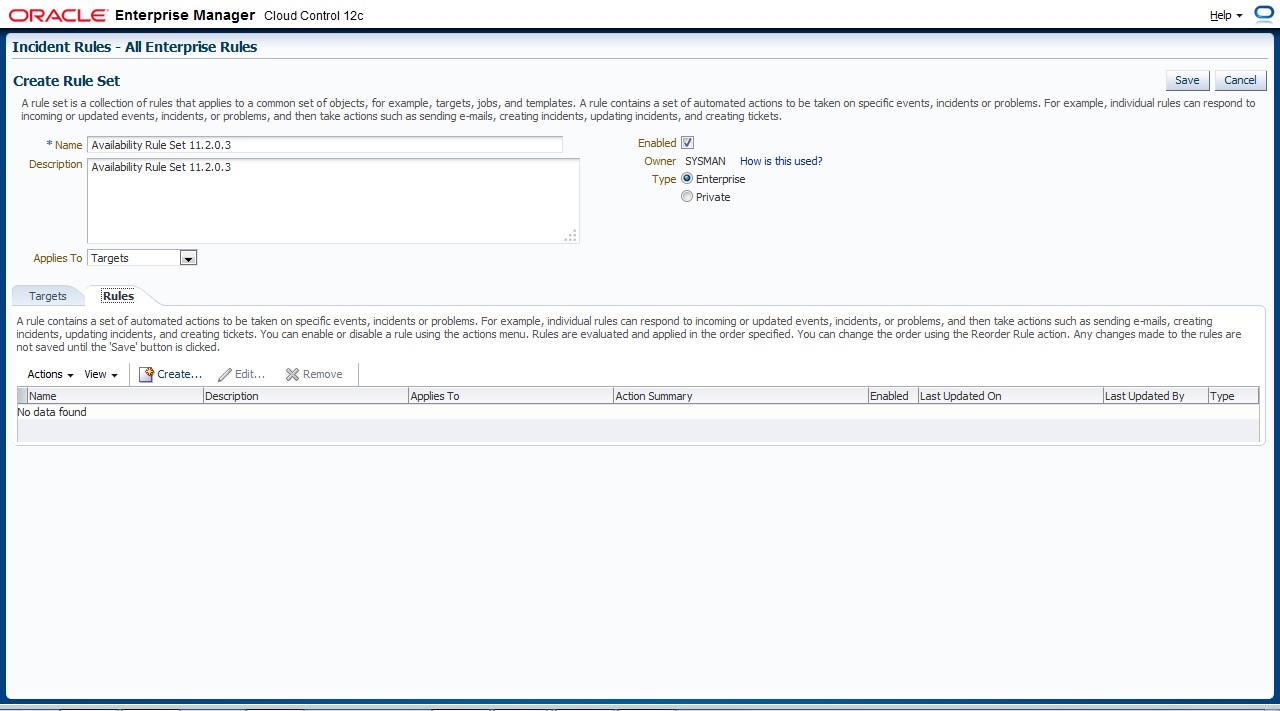
On Second Tab ” Rule” Press Create to add new One
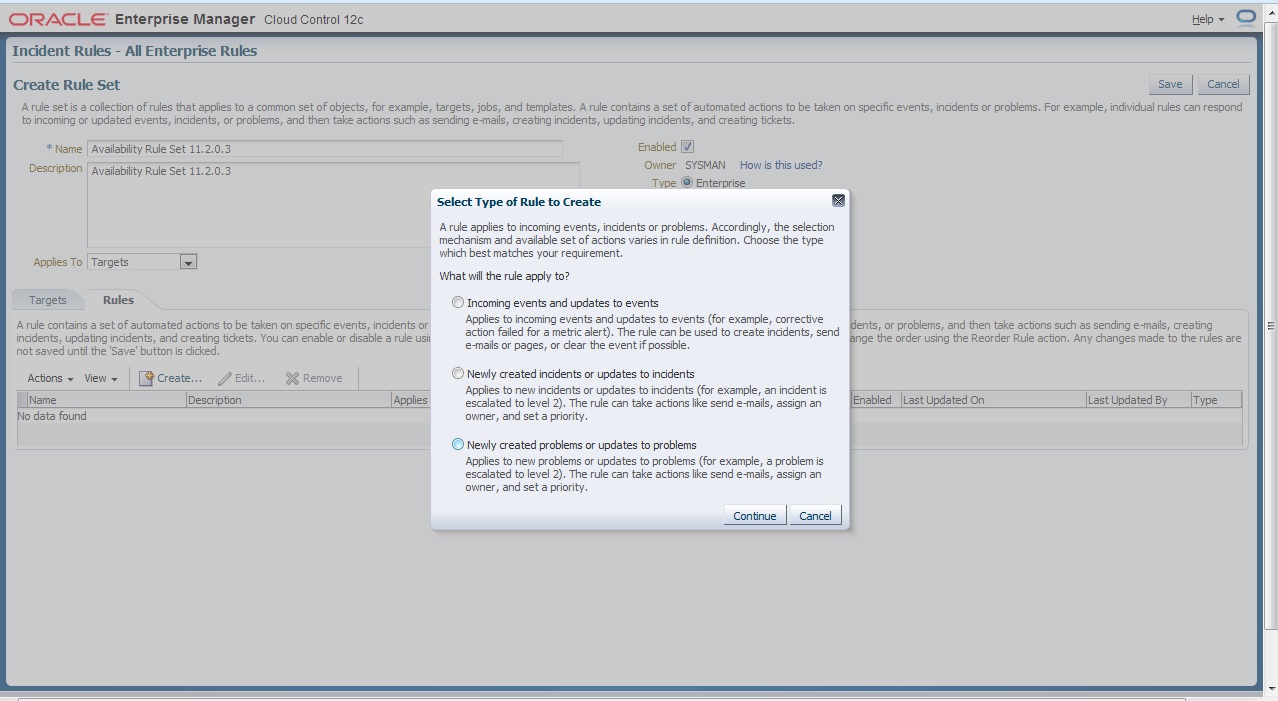
There’s Description for each Type I will choose the first one
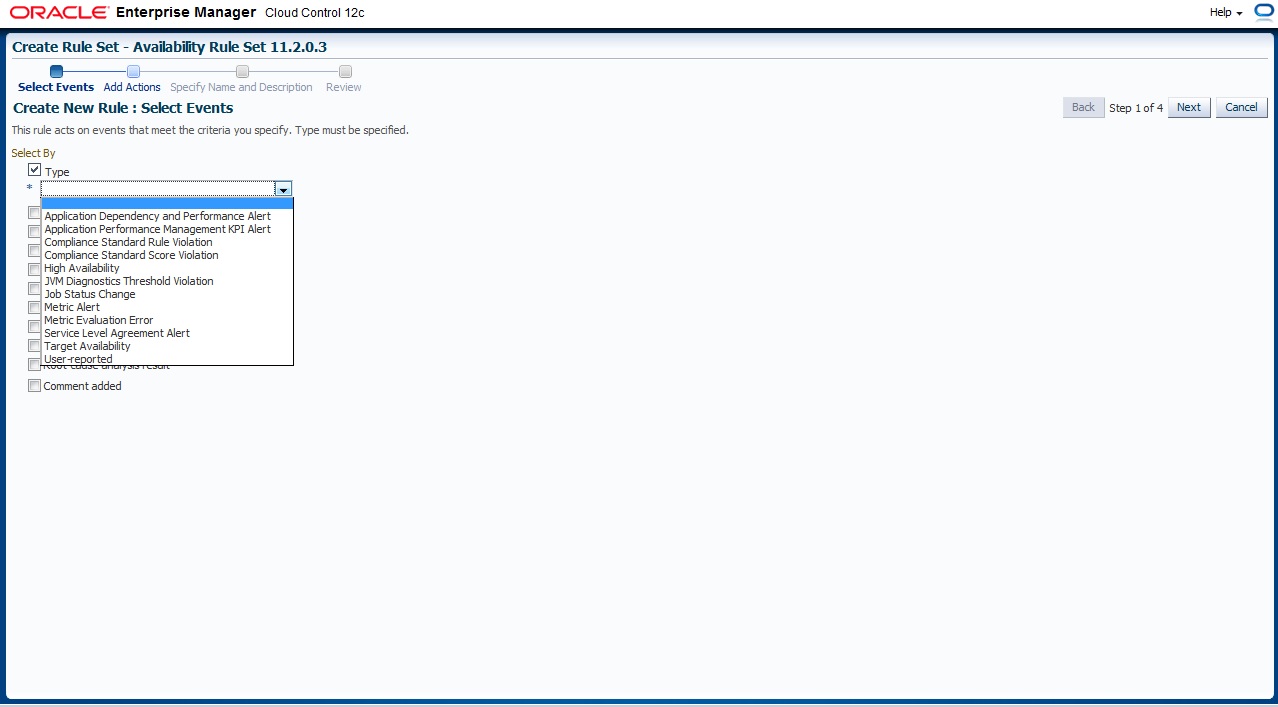
After That follow the instruction to create your own Rule Set ,
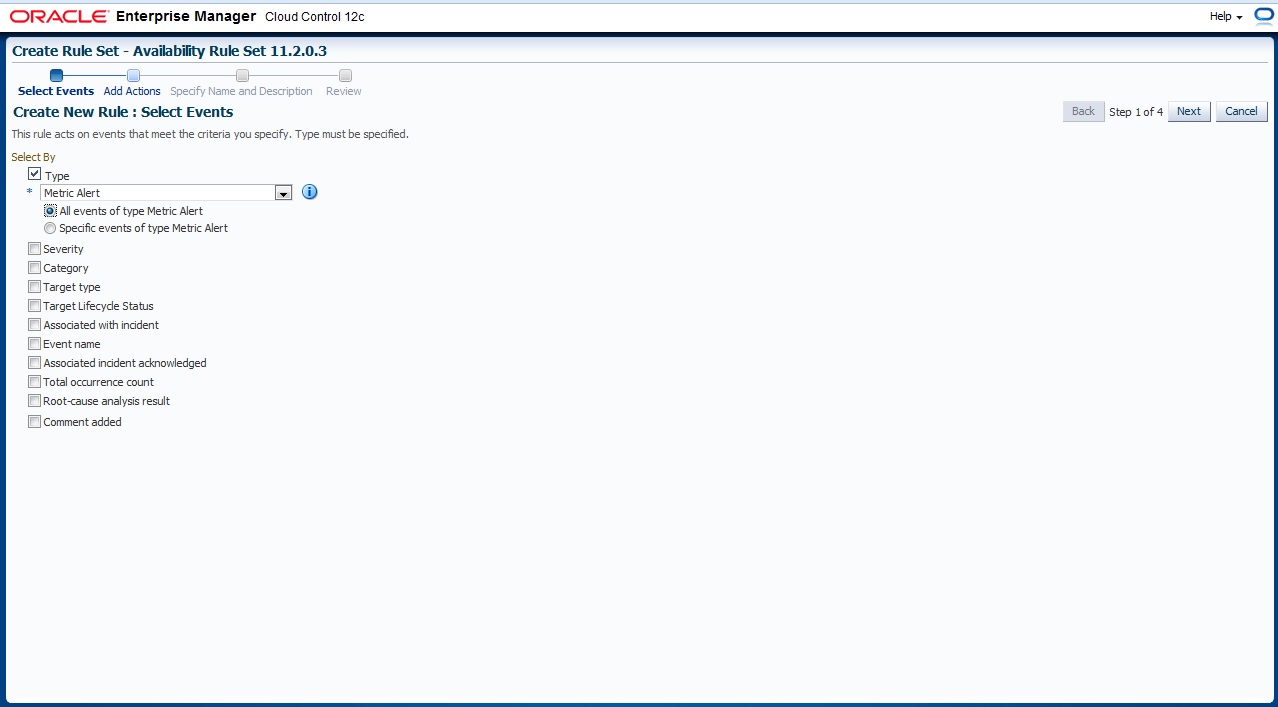
First you need to choose which type of event
As you see there’s two option below Drop box if you need to create events for all target option one your choice otherwise choose #2 and which one you want to enable
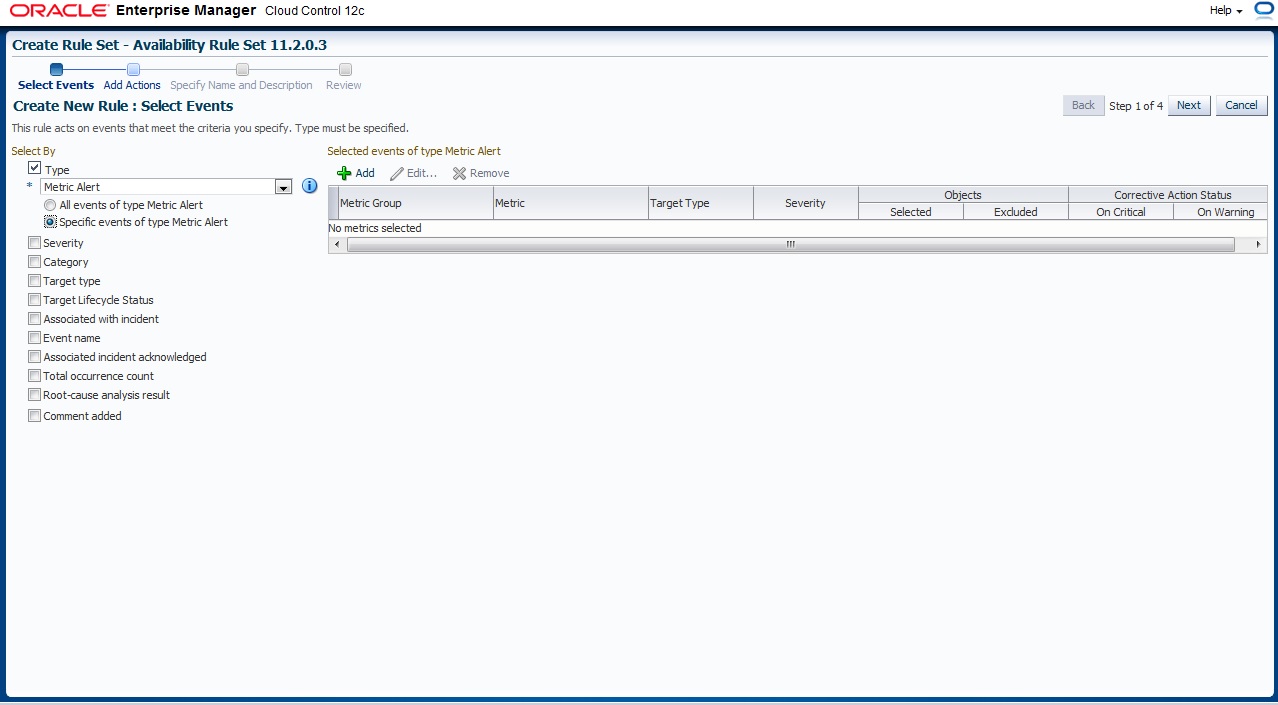
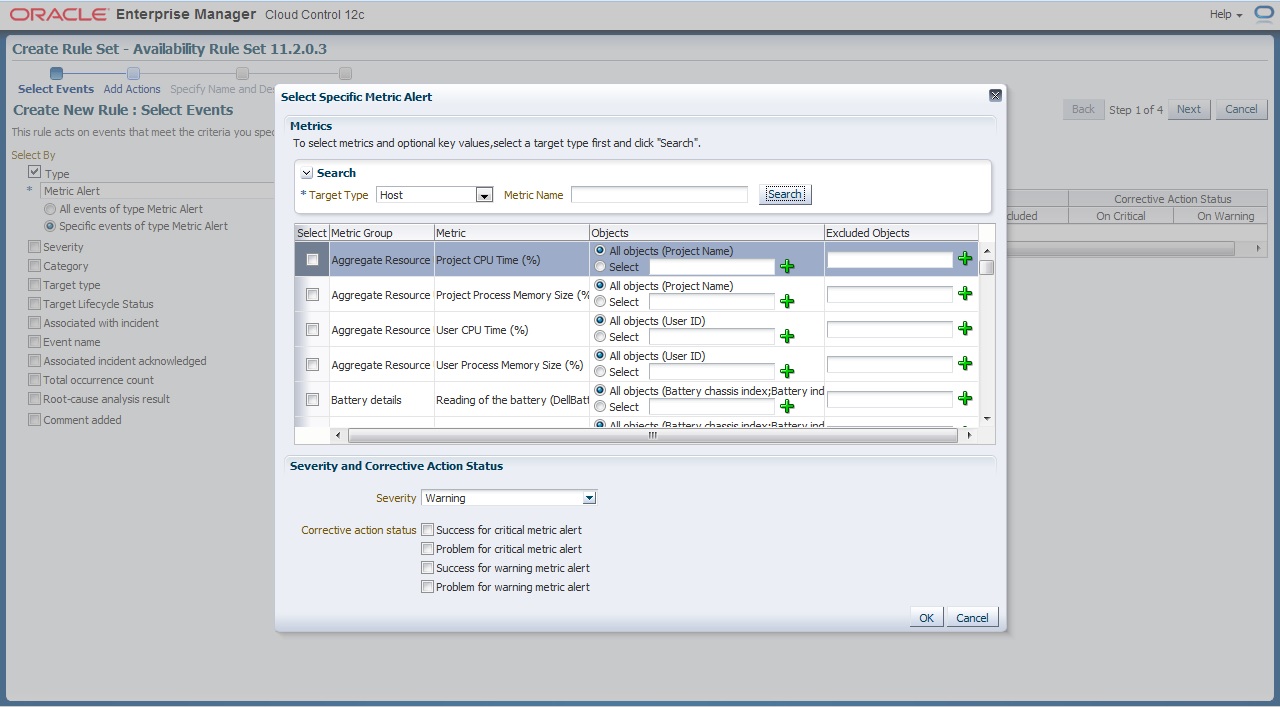
The below Picture describe what happened if you choose Option #2
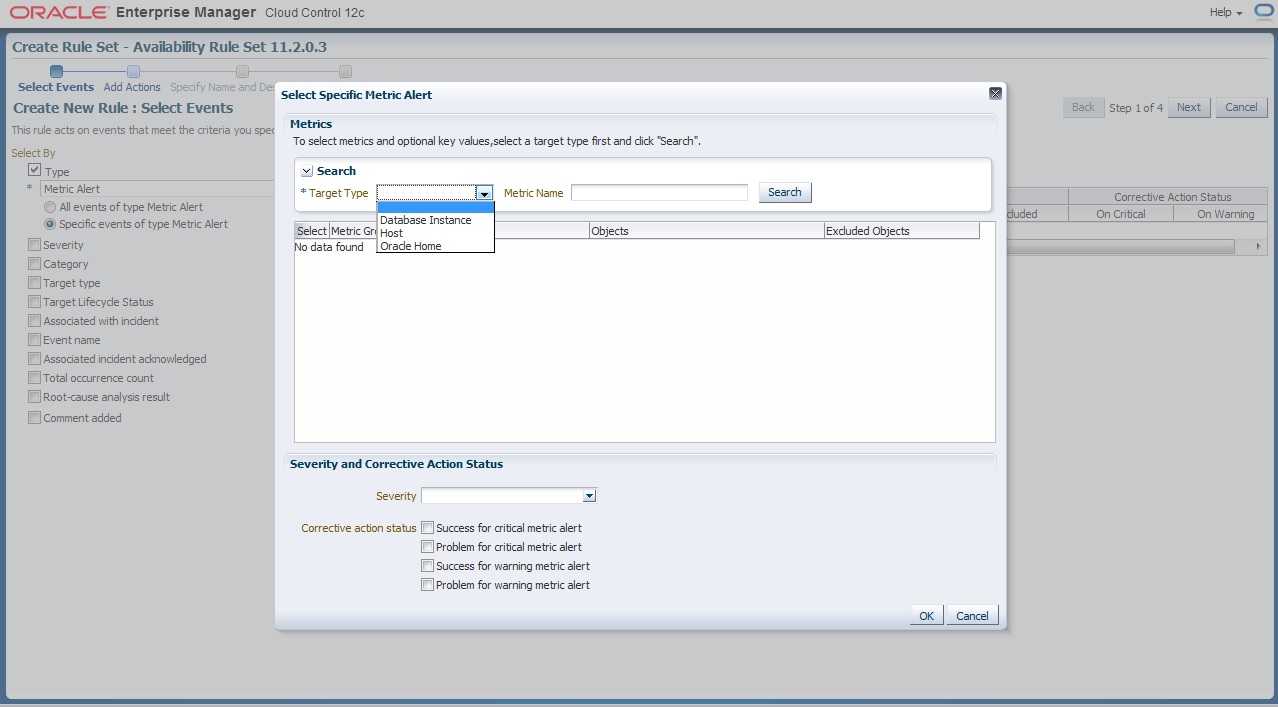
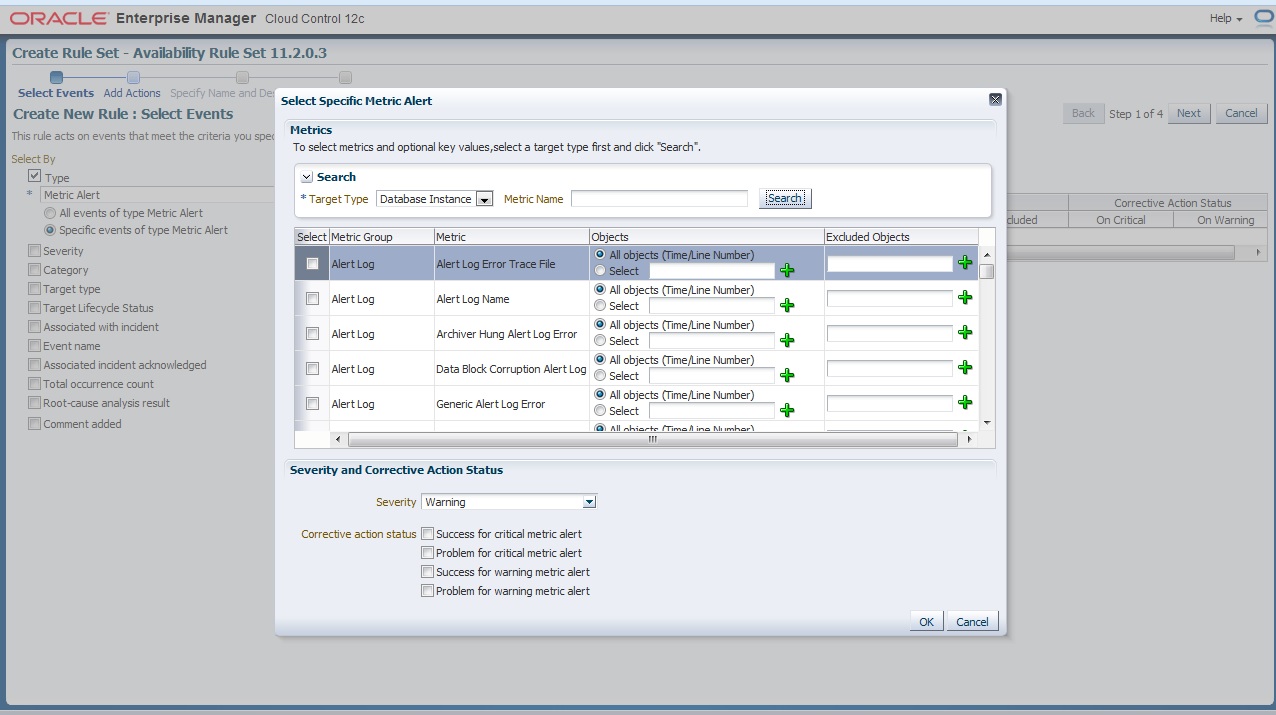
Now what we choose before will appear to us here now you want to enable metrics for Which Target
and i provide some example for predefined metrics group
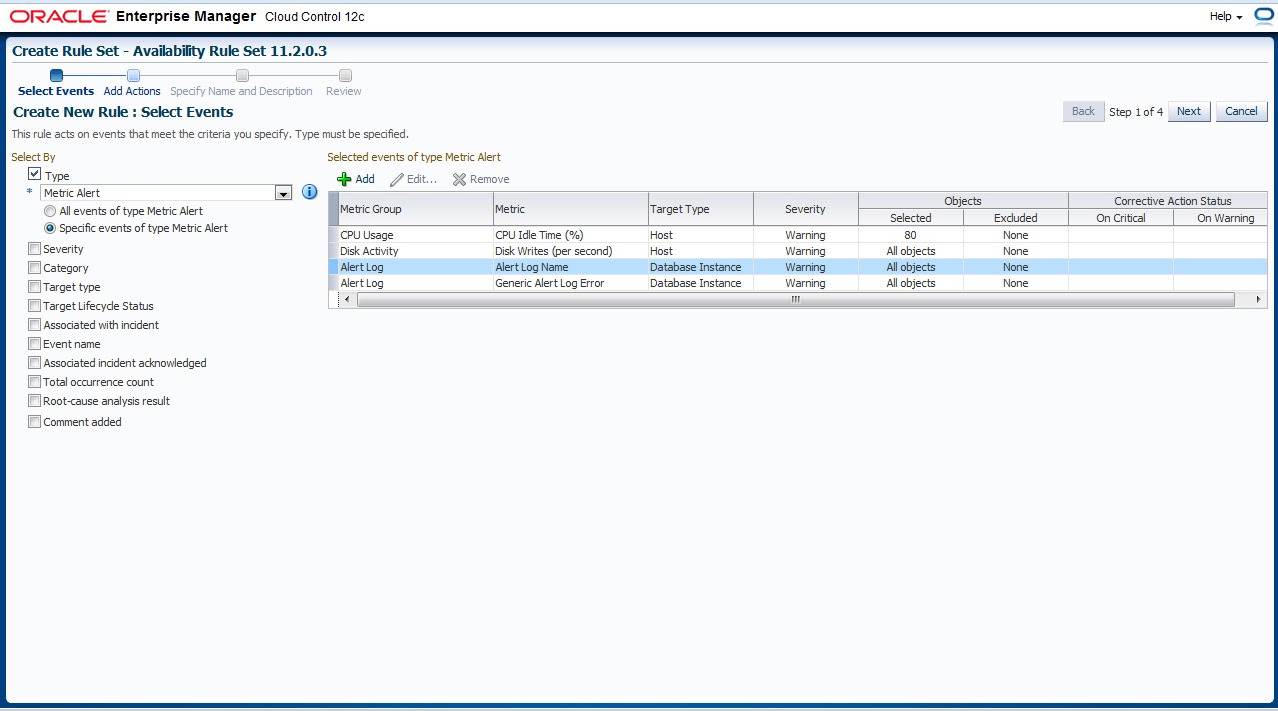
The Overall will be look like this
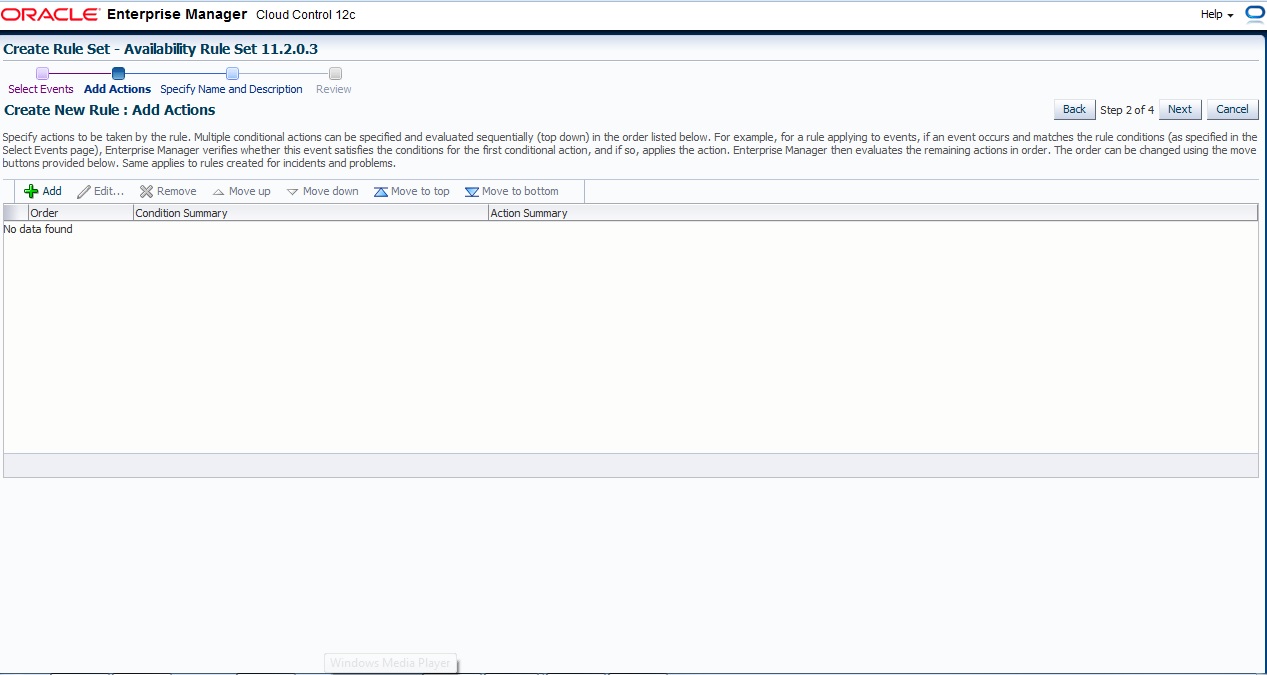
Next , and Add Action page press add like usual
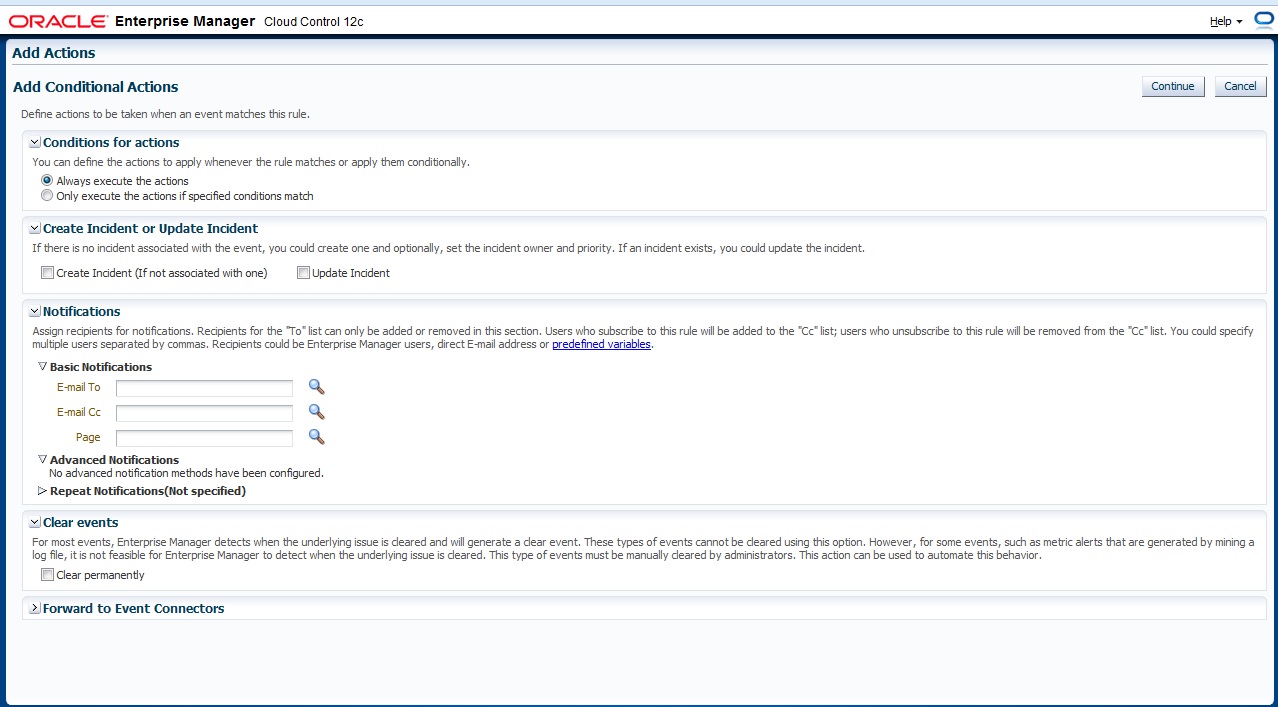
Define Which action will taken if event match
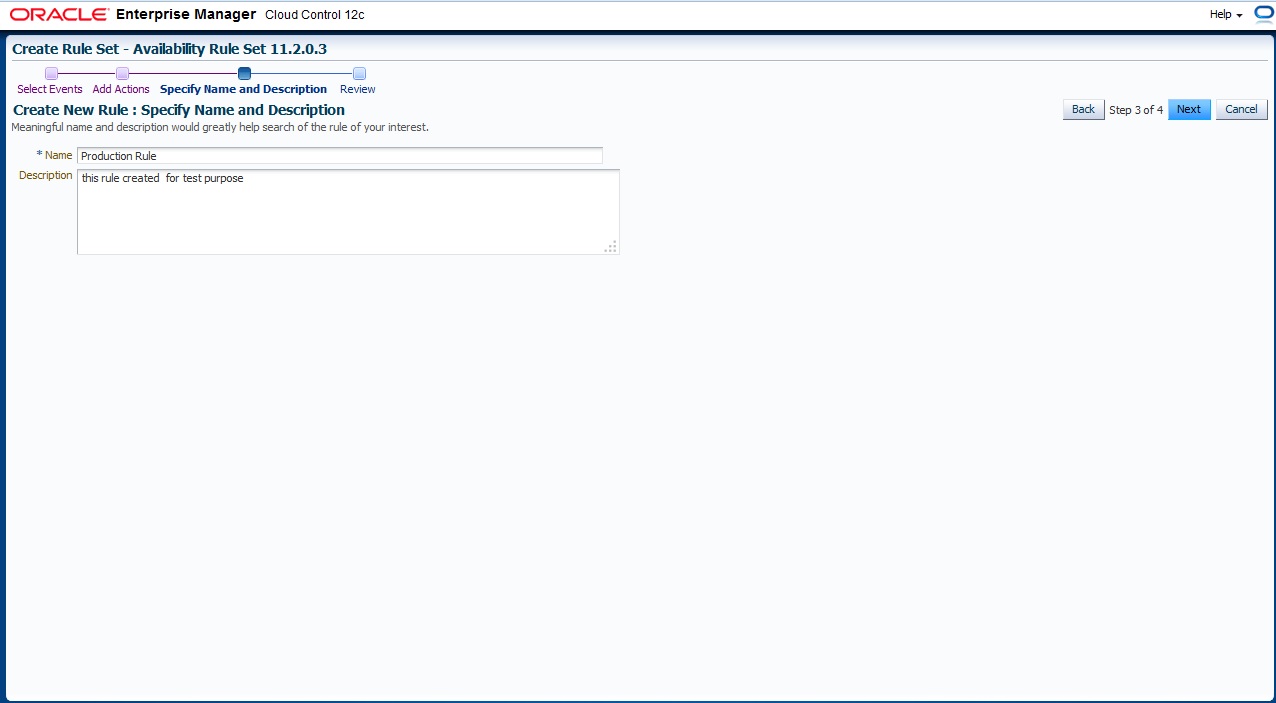
Finally Name For Rule Set
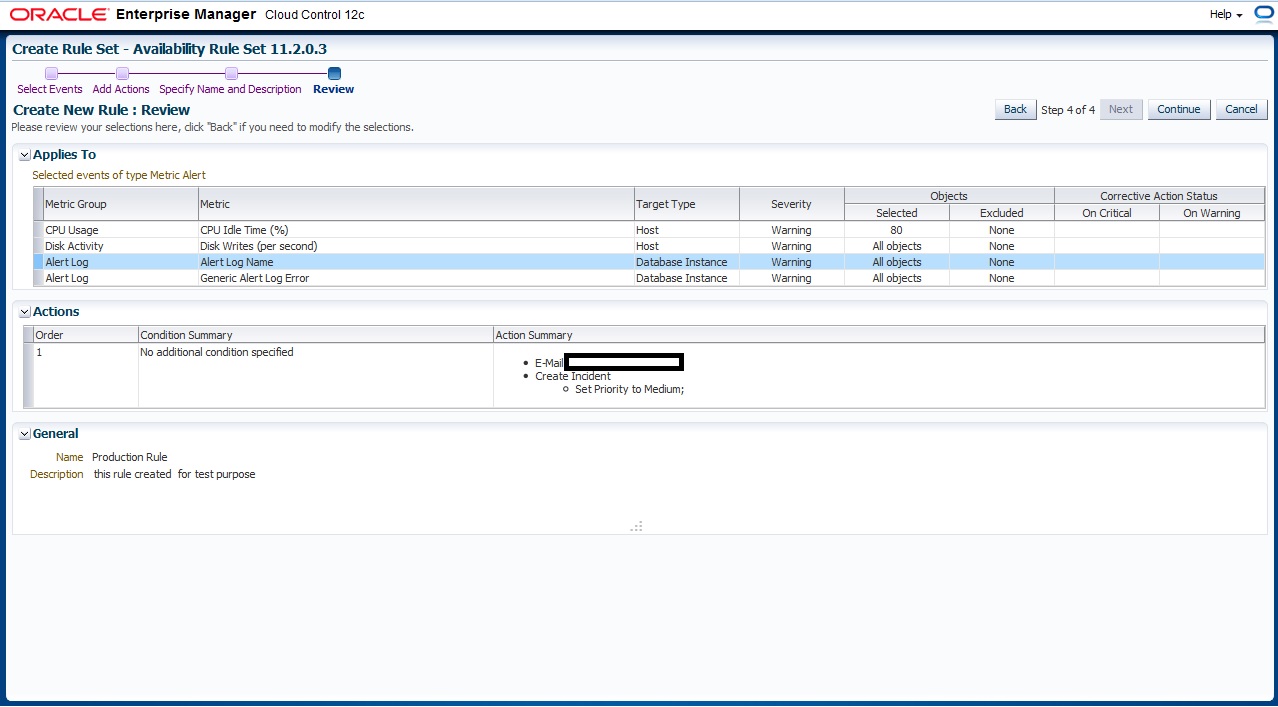
Review Page
you can download this article from here
Thank you
Osama Mustafa