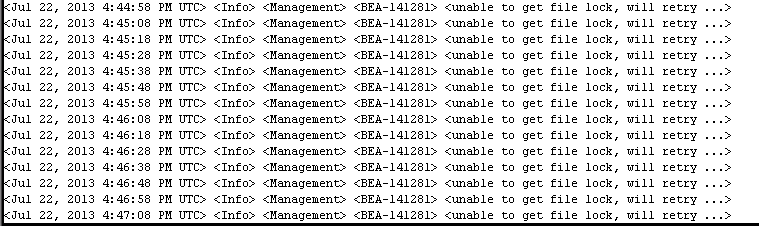
This Solutions for this errors :
Change Directory to Domain directory
cd /u01/app/oracle/domains/IDMDomain/servers/AdminServer
if you have lock you will find folder called tmp
rm -rf AdminServer.lok
Thank you
Osama mustafa
For the people who think differently Welcome aboard
This Solutions for this errors :
Change Directory to Domain directory
cd /u01/app/oracle/domains/IDMDomain/servers/AdminServer
if you have lock you will find folder called tmp
rm -rf AdminServer.lok
Thank you
Osama mustafa
SQL> select name from v$pdbs ;
NAME
——————————
PDB$SEED
TEST_1
TEST_2
[oracle@test12c u01]$ mkdir clone
[oracle@test12c u01]$ cd clone/
[oracle@test12c clone]$ pwd
/u01/clone
Open Test_1 Read Only :
SQL> alter pluggable database test_1 close immediate;Pluggable database altered.
SQL> alter pluggable database test_1 open read only ;Pluggable database altered.
Set this parameter to our created directory above :
SQL> show parameter db_create_file_dest ;
NAME TYPE VALUE
———————————— ———–
db_create_file_dest string
SQL> alter system set db_create_file_dest=’/u01/clone’; System altered.
SQL> show parameter db_create_file_dest ;
NAME TYPE VALUE
———————————— ———–
db_create_file_dest string /u01/clone
SQL> create pluggable database clone from test_1 ;Pluggable database created.
SQL> alter pluggable database clone open ;Pluggable database altered.
[oracle@test12c ~]$ sqlplus sys/sys@test12c:1521/clone as sysdba
SQL*Plus: Release 12.1.0.1.0 Production on Sat Jul 13 20:20:24 2013
Copyright (c) 1982, 2013, Oracle. All rights reserved.Connected to:
Oracle Database 12c Enterprise Edition Release 12.1.0.1.0 – 64bit Production
With the Partitioning, OLAP, Advanced Analytics, Real Application Testing
and Unified Auditing options
SQL> show con_name ;CON_NAME
——————————
CLONE
SQL> select name from v$pdbs ;
NAME
——————————
PDB$SEED
TEST_1
TEST_2
CLONE
You can drop Clone Database using the below command
SQL > Alter Pluggable database Clone Including Datafiles ;

Thank you
Osama mustafa
In This topic :
SQL> select name, con_id from v$active_services ;
NAME CON_ID
——————————— ———-
new2 4
new 3
db12cXDB 1
db12c 1
SYS$BACKGROUND 1
SYS$USERS 1
SQL> alter pluggable database new close immediate ;
Pluggable database altered.
SQL> alter pluggable database new2 close immediate ;
Pluggable database altered.
SQL> alter pluggable database new unplug into ‘/u01/app/oracle/oradata/new.xml’;Pluggable database altered.
SQL> alter pluggable database new2 unplug into ‘/u01/app/oracle/oradata/new_2.xml’;Pluggable database altered.
SQL> drop pluggable database new keep datafiles ;Pluggable database dropped.
SQL> drop pluggable database new2 keep datafiles ;Pluggable database dropped.
make sure you drop database :
SQL> select pdb_name, status from cdb_pdbs ;
PDB_NAME STATUS
———– ————-
PDB$SEED NORMAL
Before Plug Database to any Container you need to make sure from compatibility , there’s PL/SQL code written by Oracle to check compatibility.
SQL > DECLARE
compatible BOOLEAN := FALSE;
BEGIN
compatible := DBMS_PDB.CHECK_PLUG_COMPATIBILITY(
pdb_descr_file => ‘/u01/app/oracle/oradata/new.xml’);
if compatible then
DBMS_OUTPUT.PUT_LINE(‘Is pluggable PDB1 compatible? YES’);
else DBMS_OUTPUT.PUT_LINE(‘Is pluggable PDB1 compatible? NO’);
end if;
END;
/
Is pluggable PDB1 compatible? YES
PL/SQL procedure successfully completed.
The Same will be for new2.xml
Now Let’s Create Database Using With Two Way :
SQL> create pluggable database newdb_plug using ‘/u01/app/oracle/oradata/new.xml’ nocopy tempfile reuse ;
Pluggable database created.
SQL> select pdb_name, status from cdb_pdbs;
PDB_NAME STATUS
—————— ————-
NEWDB_PLUG NEW
PDB$SEED NORMAL
Another method to plug database :
SQL> create pluggable database new_plug_copy using ‘/u01/app/oracle/oradata/new_2.xml’
2 copy
3 FILE_NAME_CONVERT=(‘/u01/app/oracle/oradata/New2′,’/u01/app/oracle/oradata/new_plug_copy’);
Pluggable database created.
SQL> select name,open_mode from v$pdbs;
NAME OPEN_MODE
—————————— ———-
PDB$SEED READ ONLY
NEWDB_PLUG MOUNTED
NEW_PLUG_COPY MOUNTED
Therefore
The above error is normal because i already create pluggable database using new_2.xml to solve it
SQL> create pluggable database new_plug_move as clone using ‘/u01/app/oracle/oradata/new_2.xml’
2 move
3 FILE_NAME_CONVERT=(‘/u01/app/oracle/oradata/New2′,’/u01/app/oracle/oradata/move’);
Pluggable database created.
SQL> select pdb_name, status from cdb_pdbs;
PDB_NAME STATUS——————- ————-NEWDB_PLUG NEWPDB$SEED NORMALNEW_PLUG_COPY NEWNEW_PLUG_MOVE NEW
You can open any database now and work on them.
This article uploaded to Slide Share here.
Reference
1-Oracle Documentation here
Thank you
Osama Mustafa
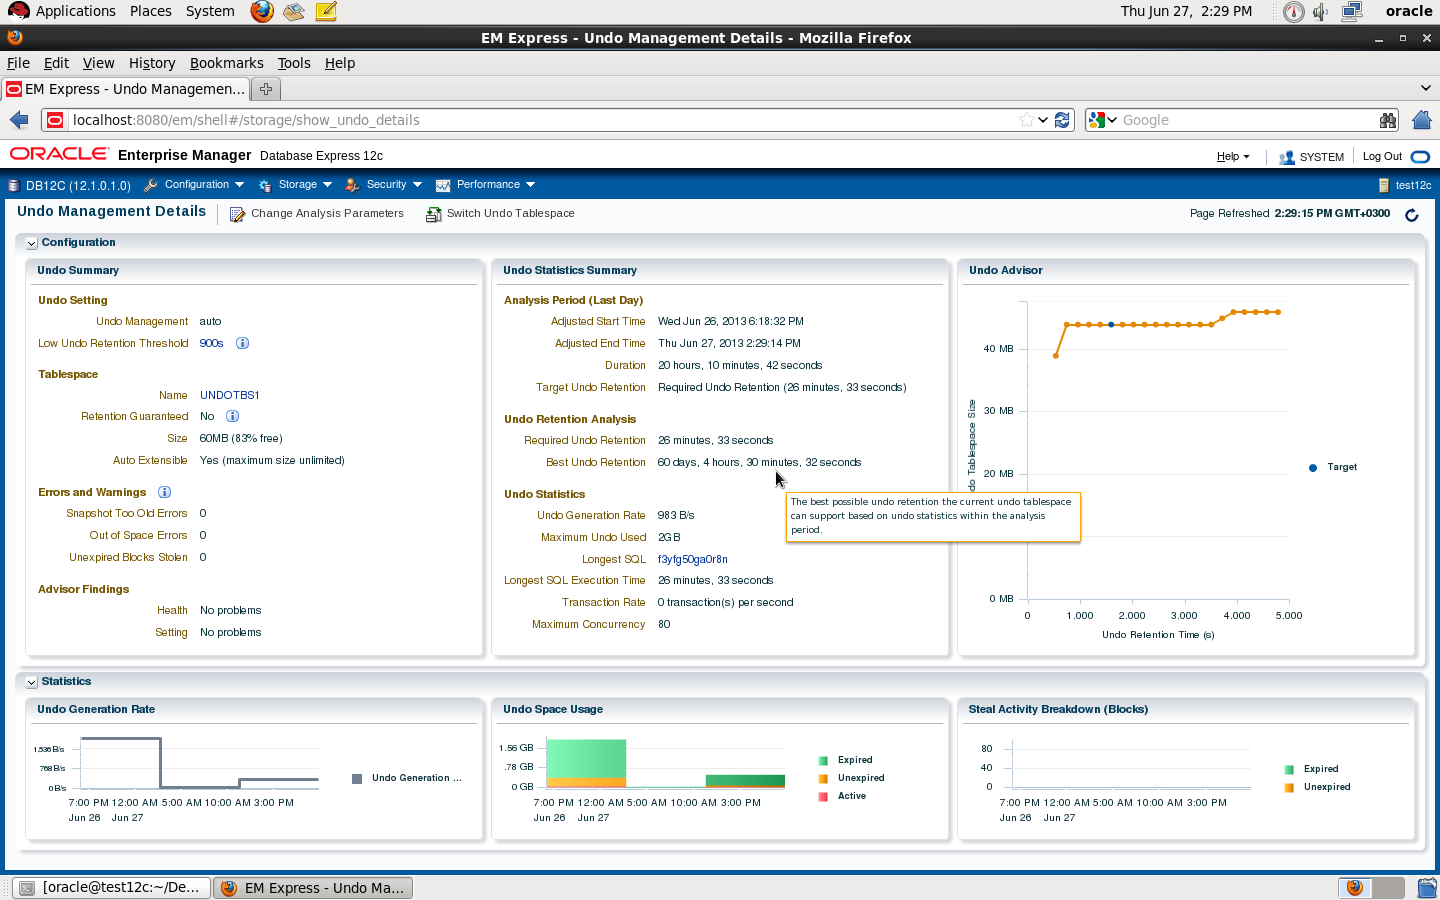
The Benefit of Using Temp Undo Tablespace :
SQL> show parameter TEMP_UNDO_ENABLED;
NAME TYPE VALUE
———————————— ———– ——-
temp_undo_enabled boolean FALSE
SQL> alter session set temp_undo_enabled=TRUE ;
Session altered.
also you set this parameter on database level :
SQL> alter system set temp_undo_enabled=true;
System altered.
SQL> show parameter temp_undo_enabled ;
NAME TYPE VALUE
———————————— ———– ——-
temp_undo_enabled boolean TRUE
View Related to temp undo tablespace :
SQL> desc V$TEMPUNDOSTAT;
Name Null? Type
—————————————– ——– —————————-
BEGIN_TIME DATE
END_TIME DATE
UNDOTSN NUMBER
TXNCOUNT NUMBER
MAXCONCURRENCY NUMBER
MAXQUERYLEN NUMBER
MAXQUERYID VARCHAR2(13)
UNDOBLKCNT NUMBER
EXTCNT NUMBER
USCOUNT NUMBER
SSOLDERRCNT NUMBER
NOSPACEERRCNT NUMBER
CON_ID NUMBER
sqlplus / as sysdba
SQL> show parameter dispatcher ;
NAME TYPE VALUE
———————————— ———– ——————————
dispatchers string (PROTOCOL=TCP) (SERVICE=db12cX
DB)
SQL> exec DBMS_XDB_CONFIG.setHTTPPort (8080);
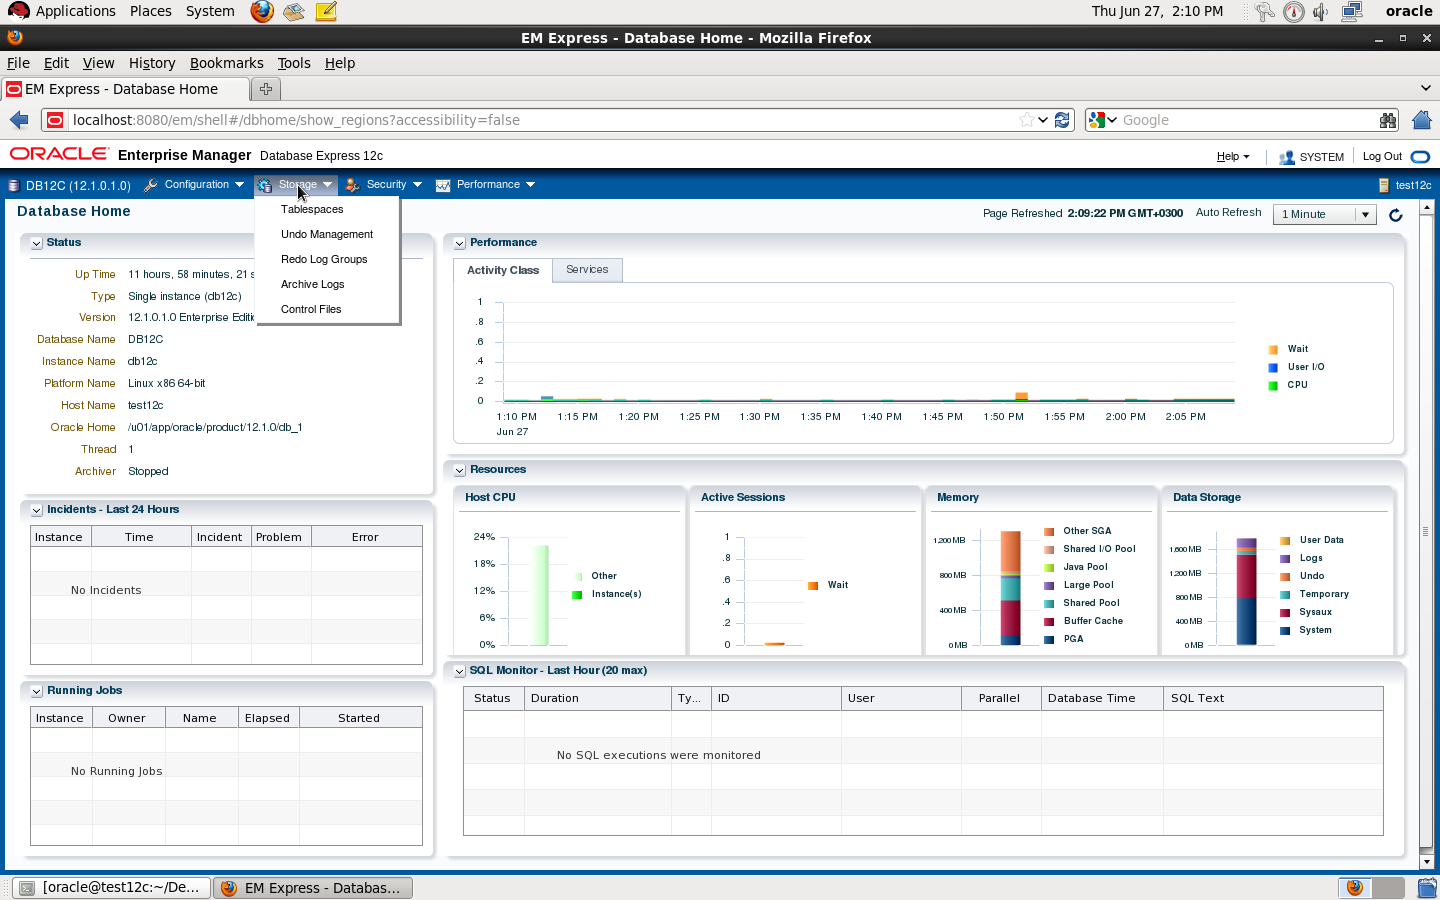
Check the below pictures that describe EM Express :
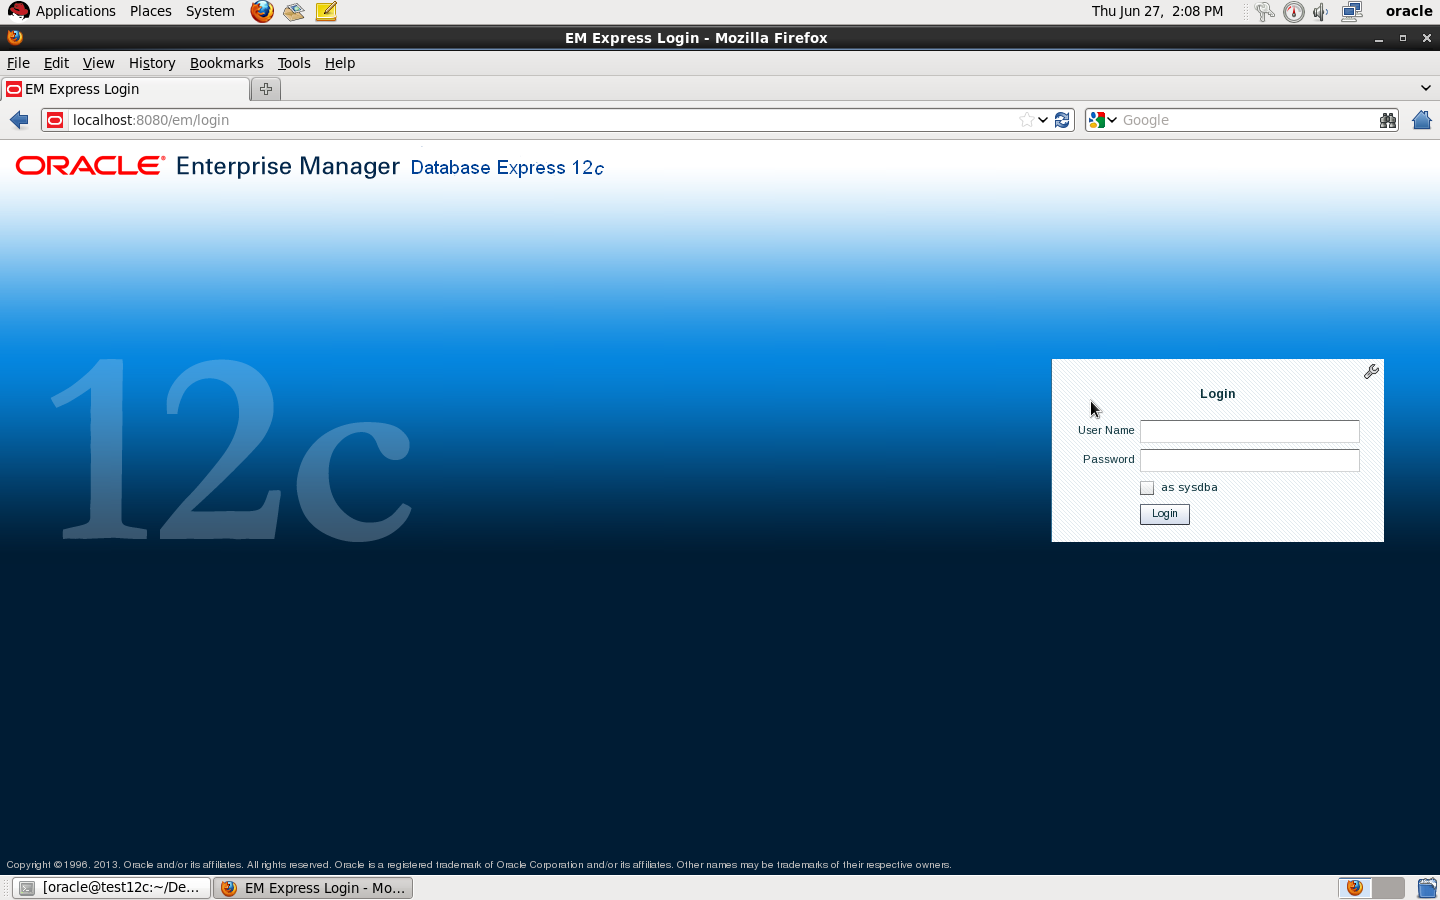
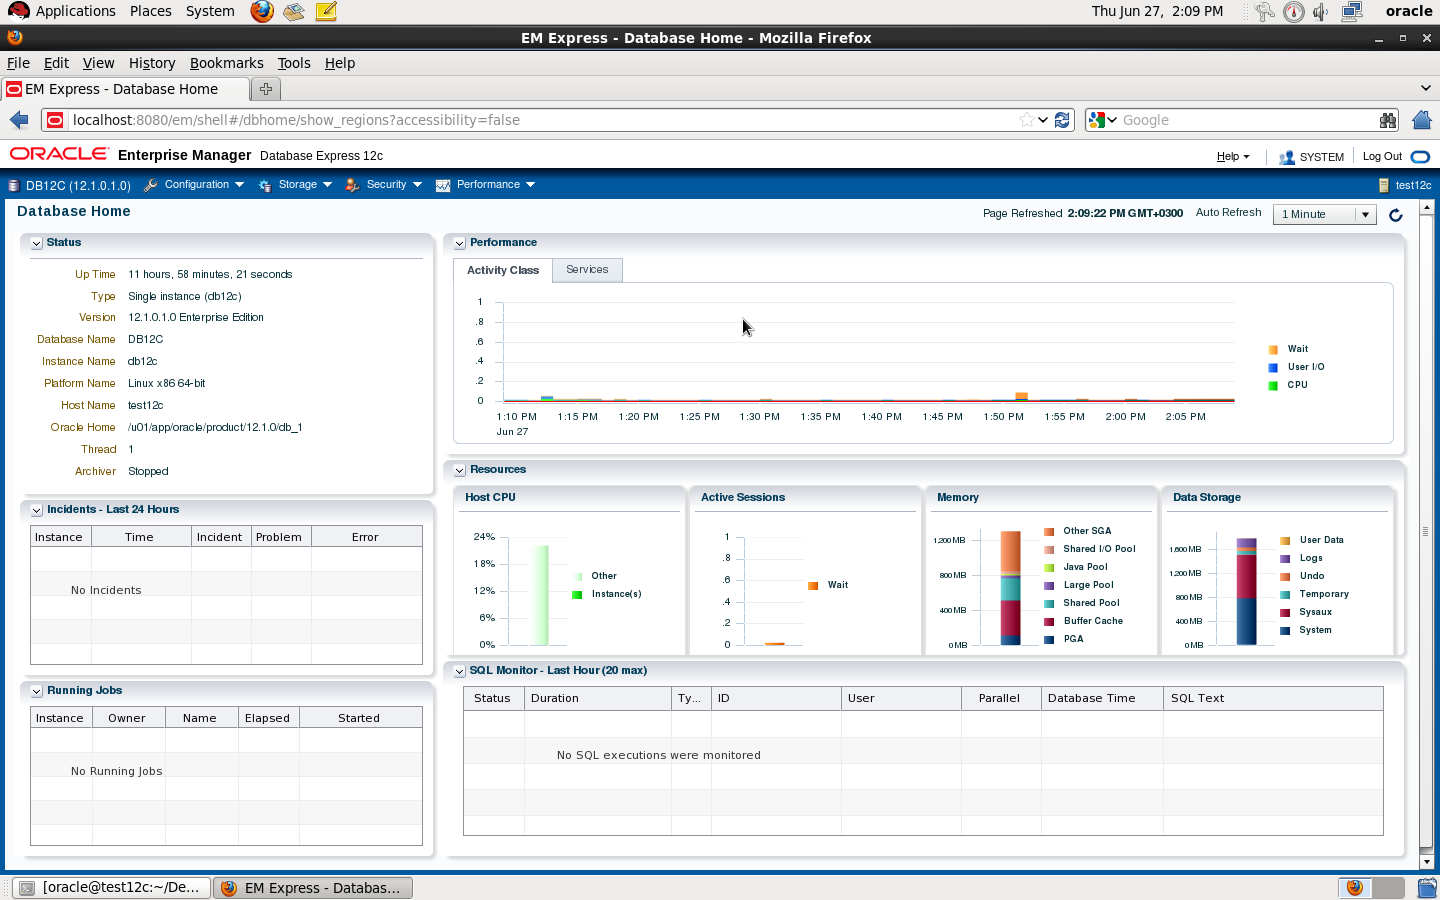
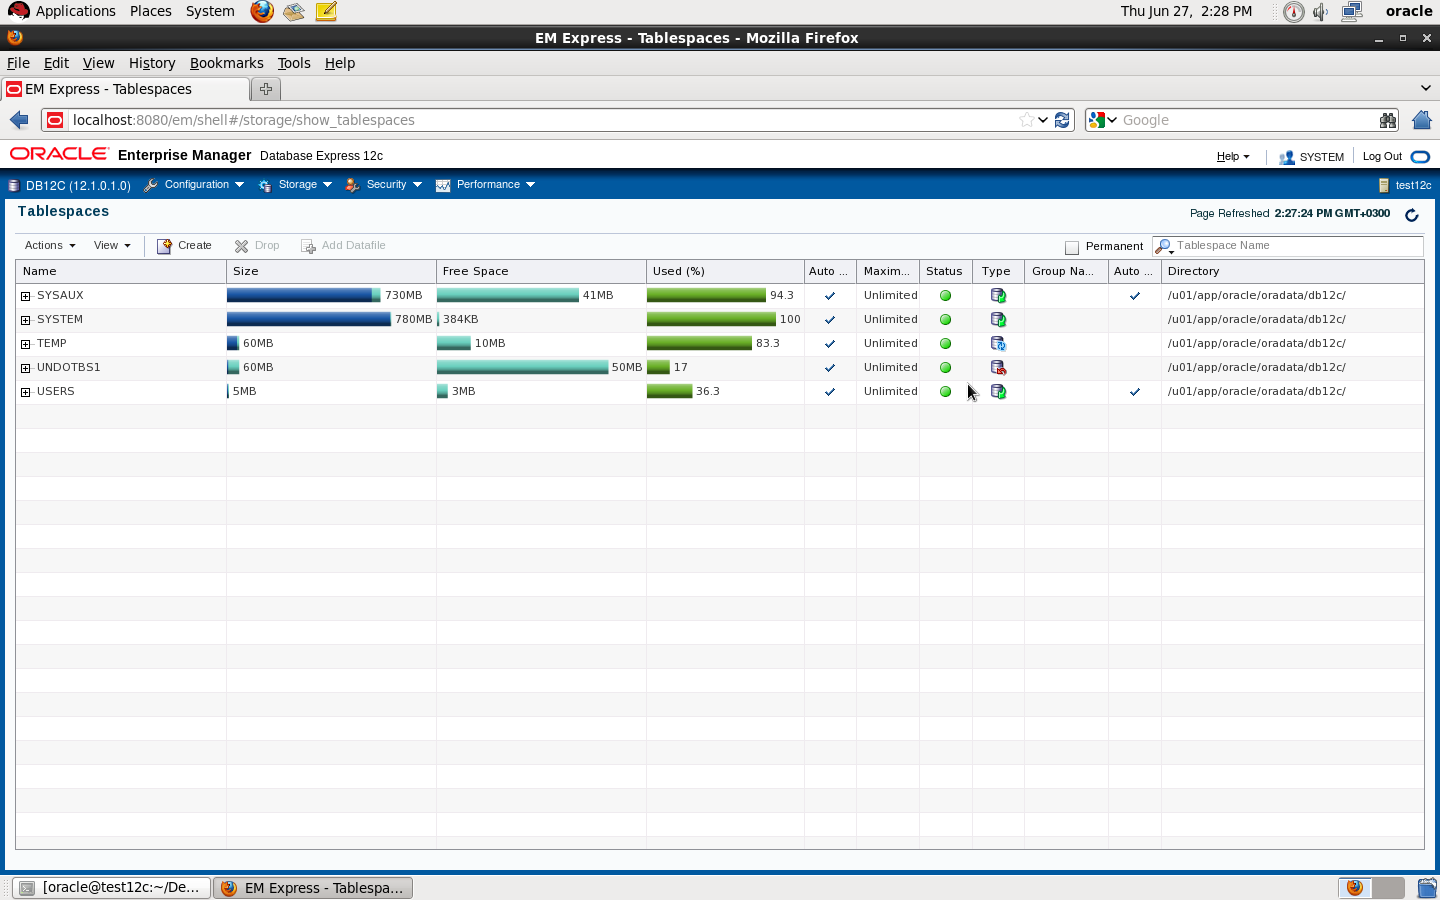

DBMS_XDB.setHTTPPort is deprecated
Thank you
Osama mustafa
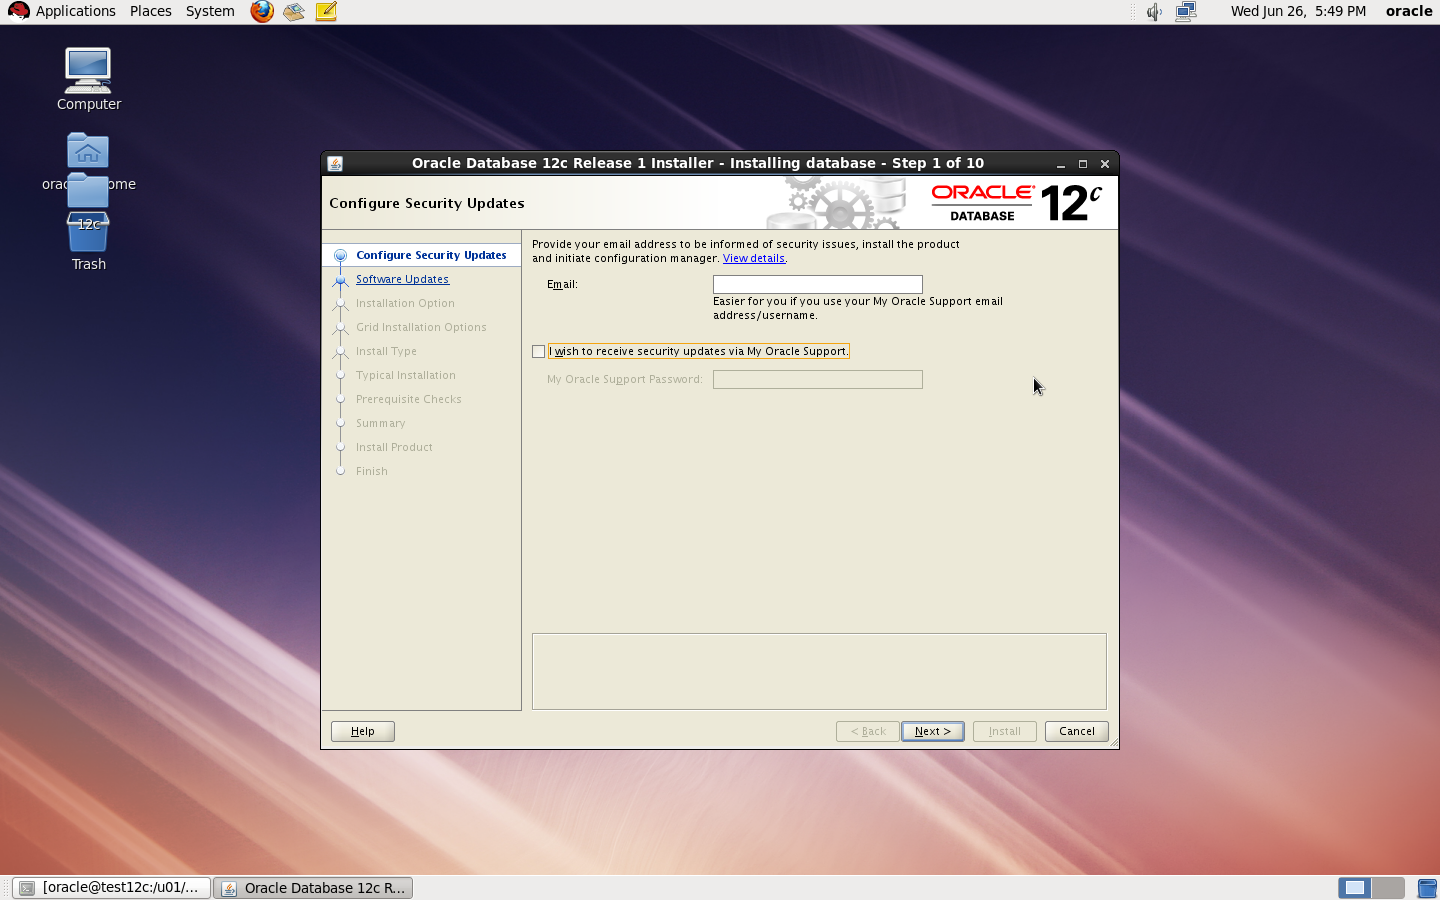
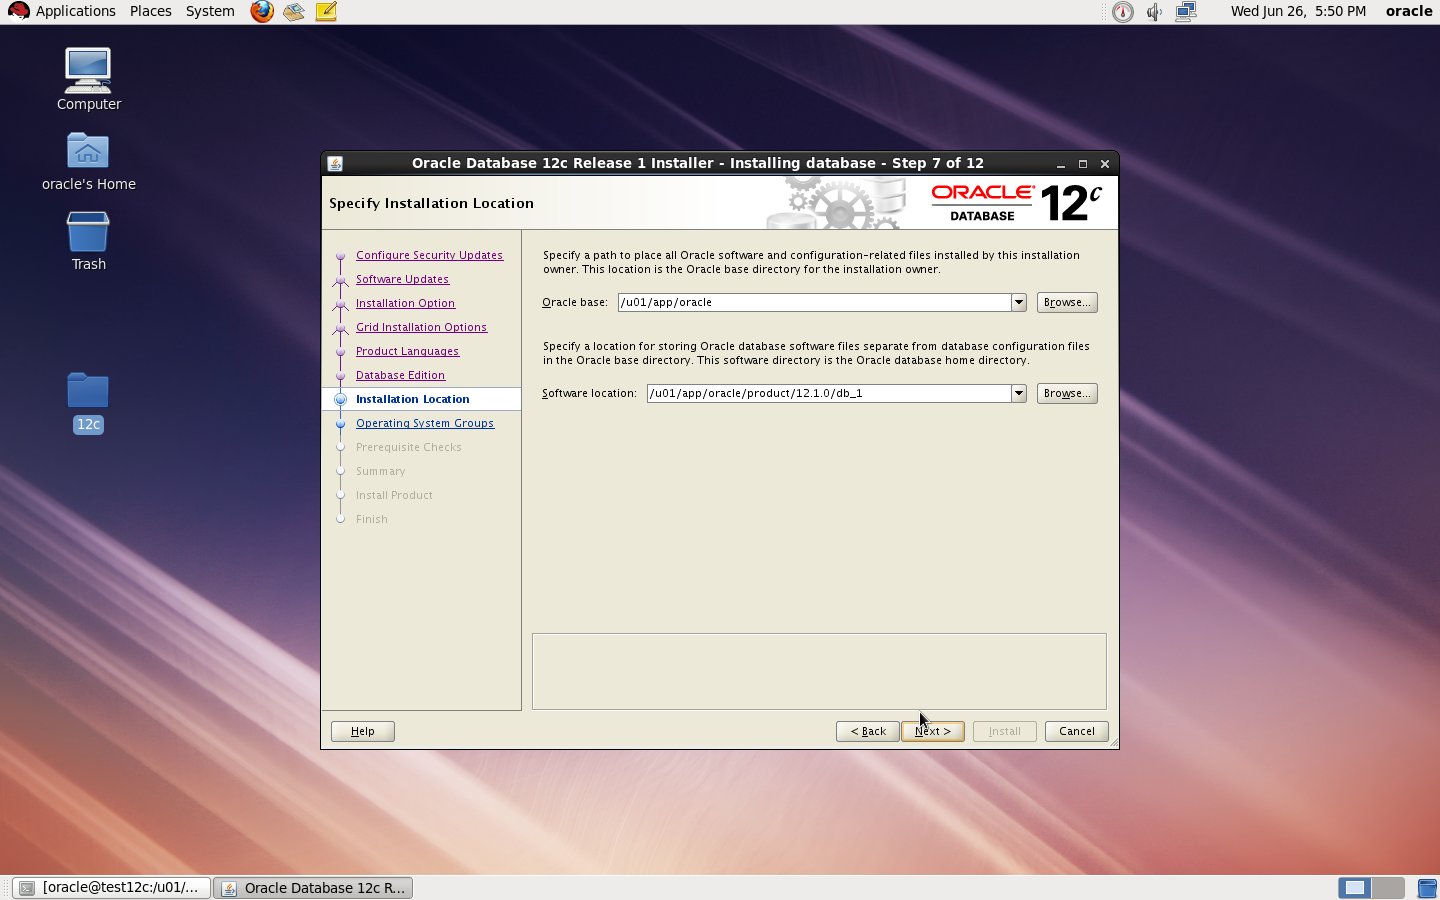
Hardware
you need to configure Swap Memory And make sure you RAM is enough to avoid Out Of memory during the installation.
Software
as i mention before check certified OS with database, in my case i will use Redhat 6 update 4.
install Packages :
binutils-2.20.51.0.2-5.11.el6 (x86_64)
glibc-2.12-1.7.el6 (x86_64)
libgcc-4.4.4-13.el6 (x86_64)
libstdc++-4.4.4-13.el6 (x86_64)
libaio-0.3.107-10.el6 (x86_64)
libXext-1.1 (x86_64)
libXtst-1.0.99.2 (x86_64)
libX11-1.3 (x86_64)
libXau-1.0.5 (x86_64)
libxcb-1.5 (x86_64)
libXi-1.3 (x86_64)
make-3.81-19.el6sysstat-9.0.4-11.el6 (x86_64)
compat-libcap1-1.10-1 (x86_64)
compat-libstdc++-33-3.2.3-69.el6 (x86_64)
gcc-4.4.4-13.el6 (x86_64)
gcc-c++-4.4.4-13.el6 (x86_64)
glibc-devel-2.12-1.7.el6 (x86_64)
ksh <== any version of ksh is acceptable
libstdc++-devel-4.4.4-13.el6 (x86_64)
libaio-devel-0.3.107-10.el6 (x86_64)
inside /etc/sysctl.conf
fs.file-max = 6815744
kernel.sem = 250 32000 100 128
kernel.shmmni = 4096
kernel.shmall = 1073741824
kernel.shmmax = 4398046511104
net.core.rmem_default = 262144
net.core.rmem_max = 4194304
net.core.wmem_default = 262144
net.core.wmem_max = 1048576
fs.aio-max-nr = 1048576
net.ipv4.ip_local_port_range = 9000 65500
Use this command to restart kernel /sbin/sysctl -p
/etc/hosts
Serverip Hostname
/etc/security/limits.conf
oracle soft nofile 1024
oracle hard nofile 65536
oracle soft nproc 2047
oracle hard nproc 16384
oracle soft stack 10240
oracle hard stack 32768
/etc/pam.d/login
session required pam_limits.so
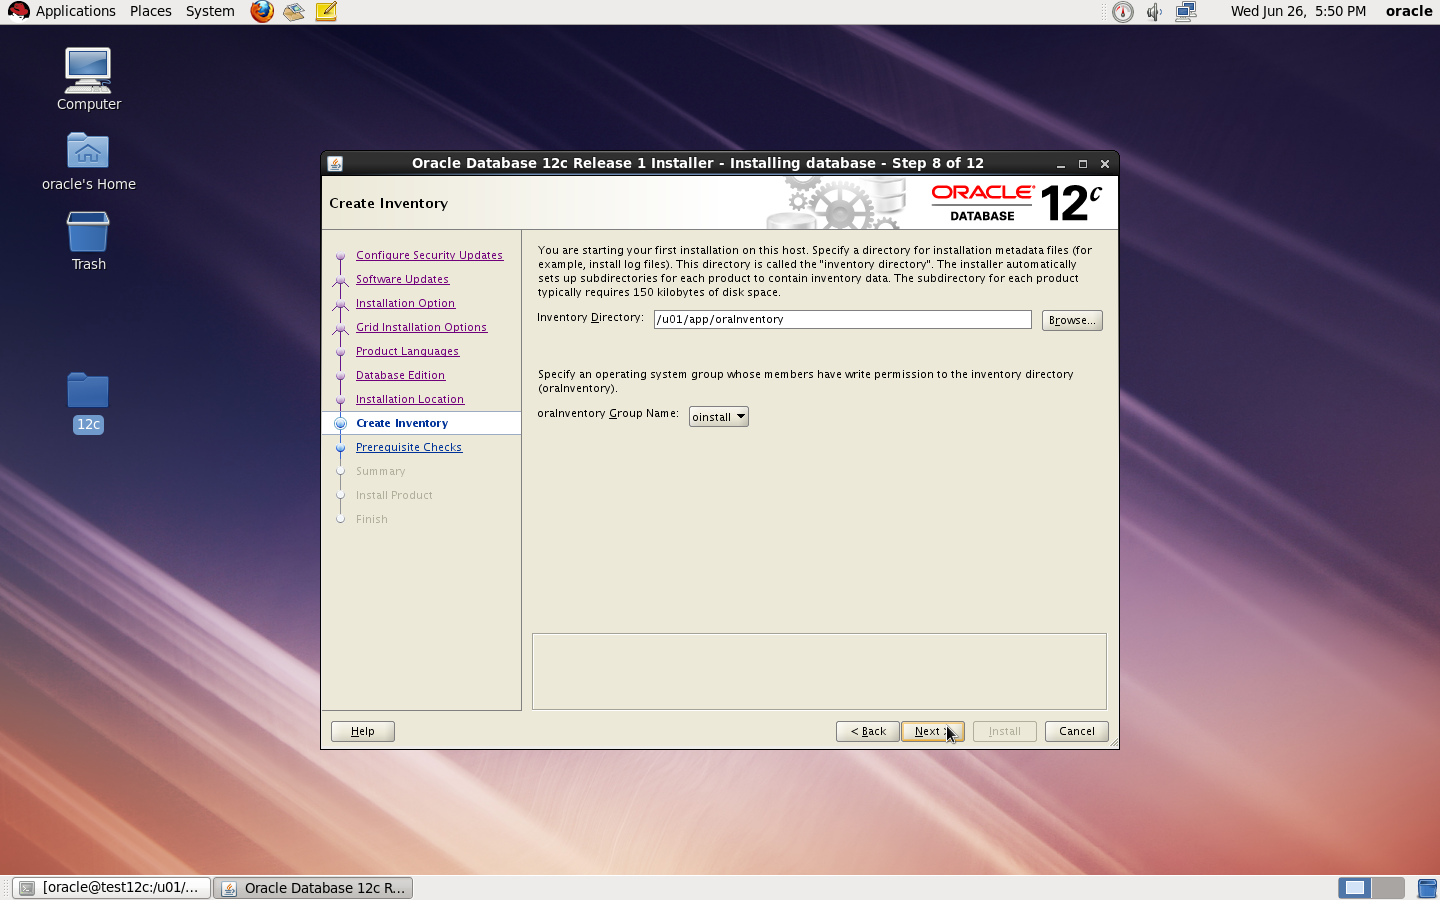
after edit OS parameter you need to create Oracle user :
groupadd -g 101 oinstall
groupadd -g 102 dba
groupadd -g 103 oper
useradd -u 100 -g oinstall -G dba,oper oracle
passwd oracle
copy media to your Server , and do the following :
chown -R oracle:oinstall /u01/database
chmod -R 775 /u0/database
mkdir -p /u01/app/oracle/product/12.1.0/db_1
chown -R oracle:oinstall /u01
chmod -R 775 /u01
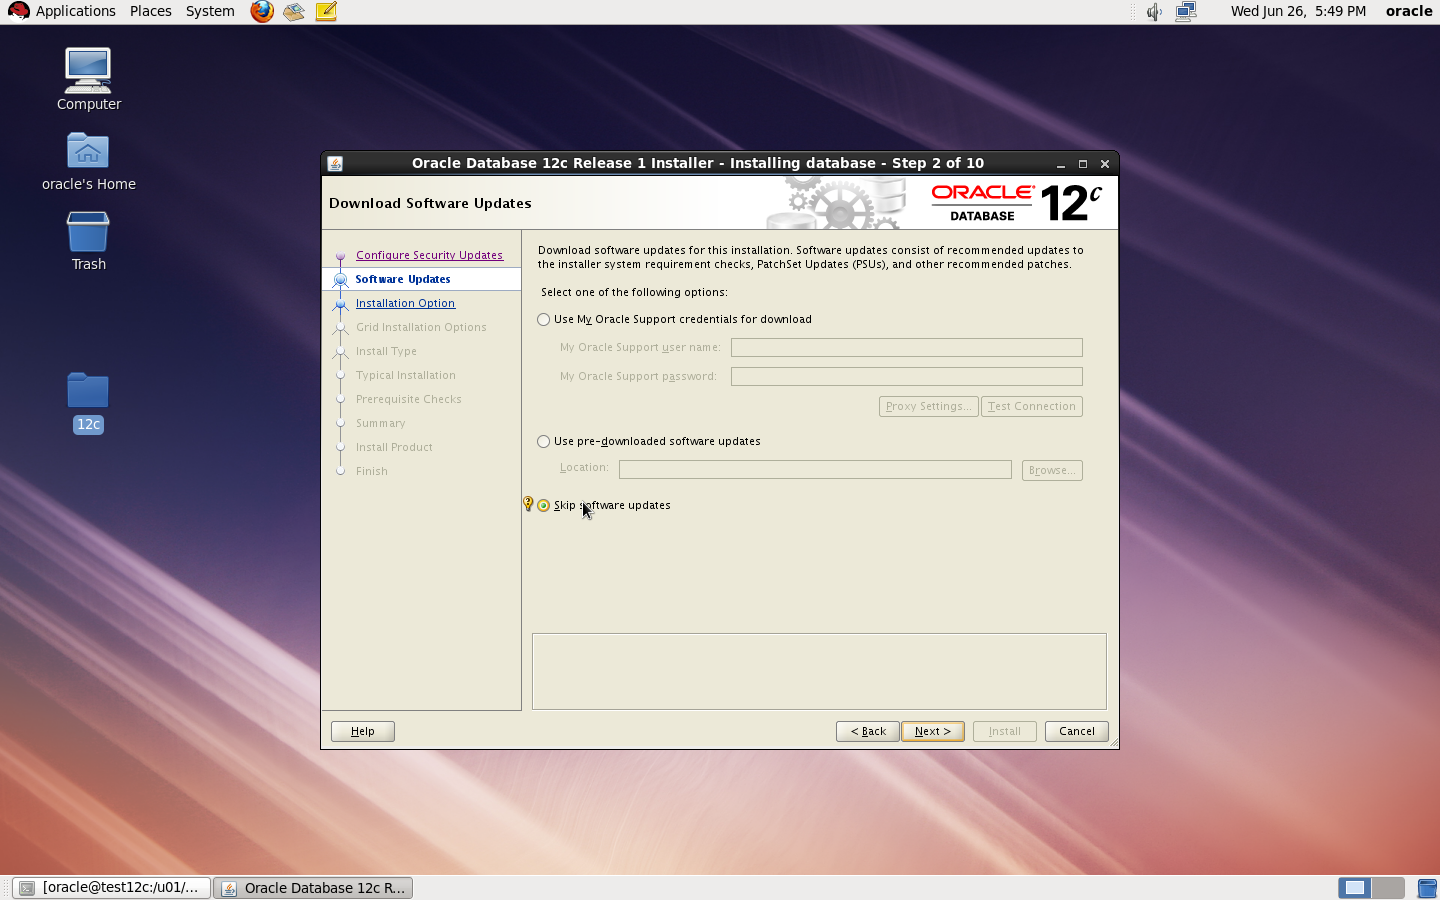
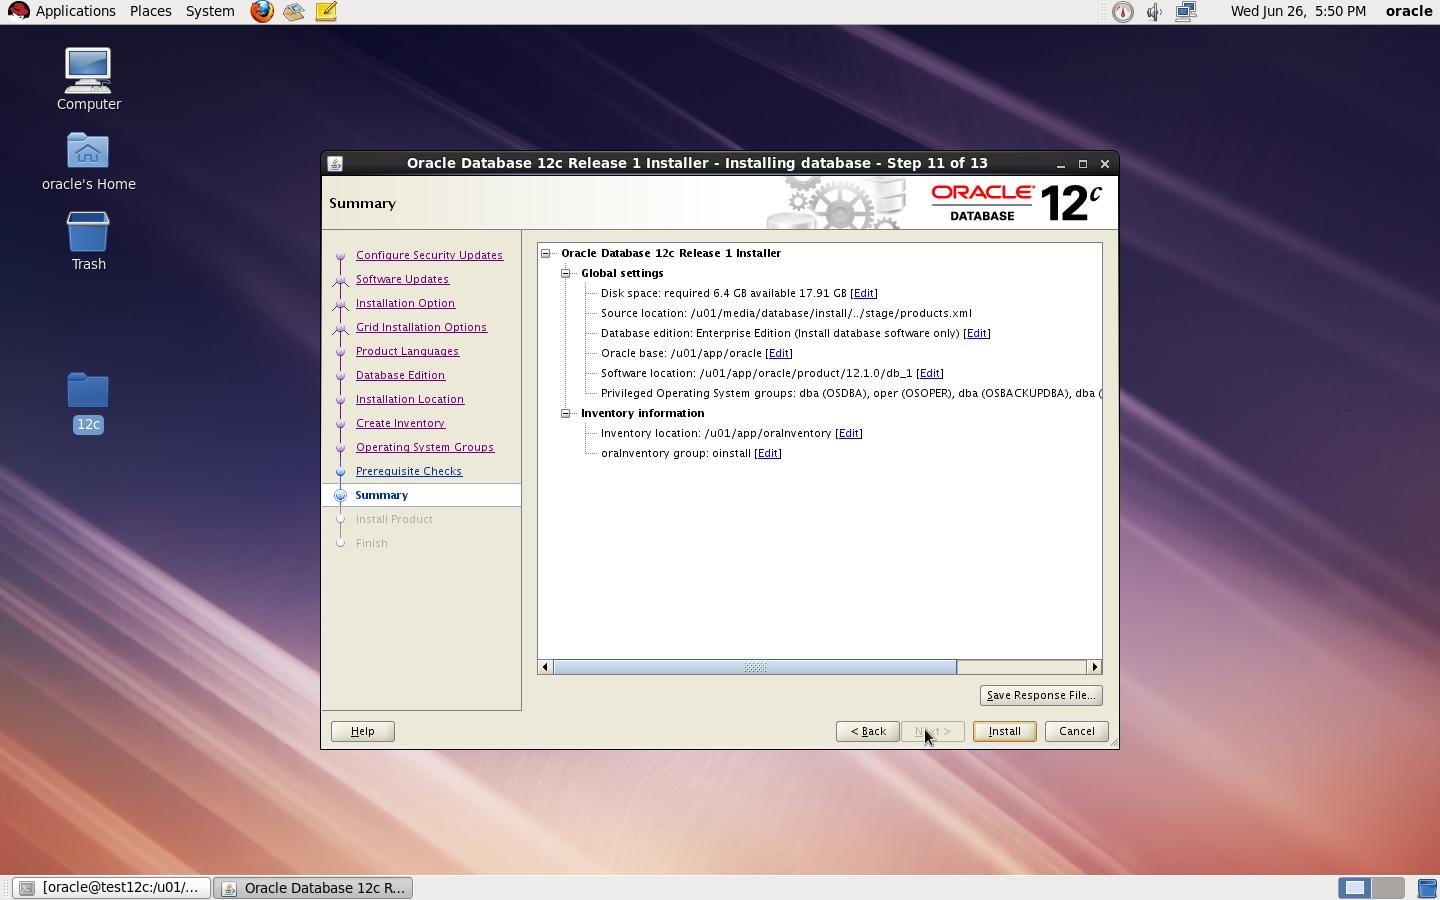
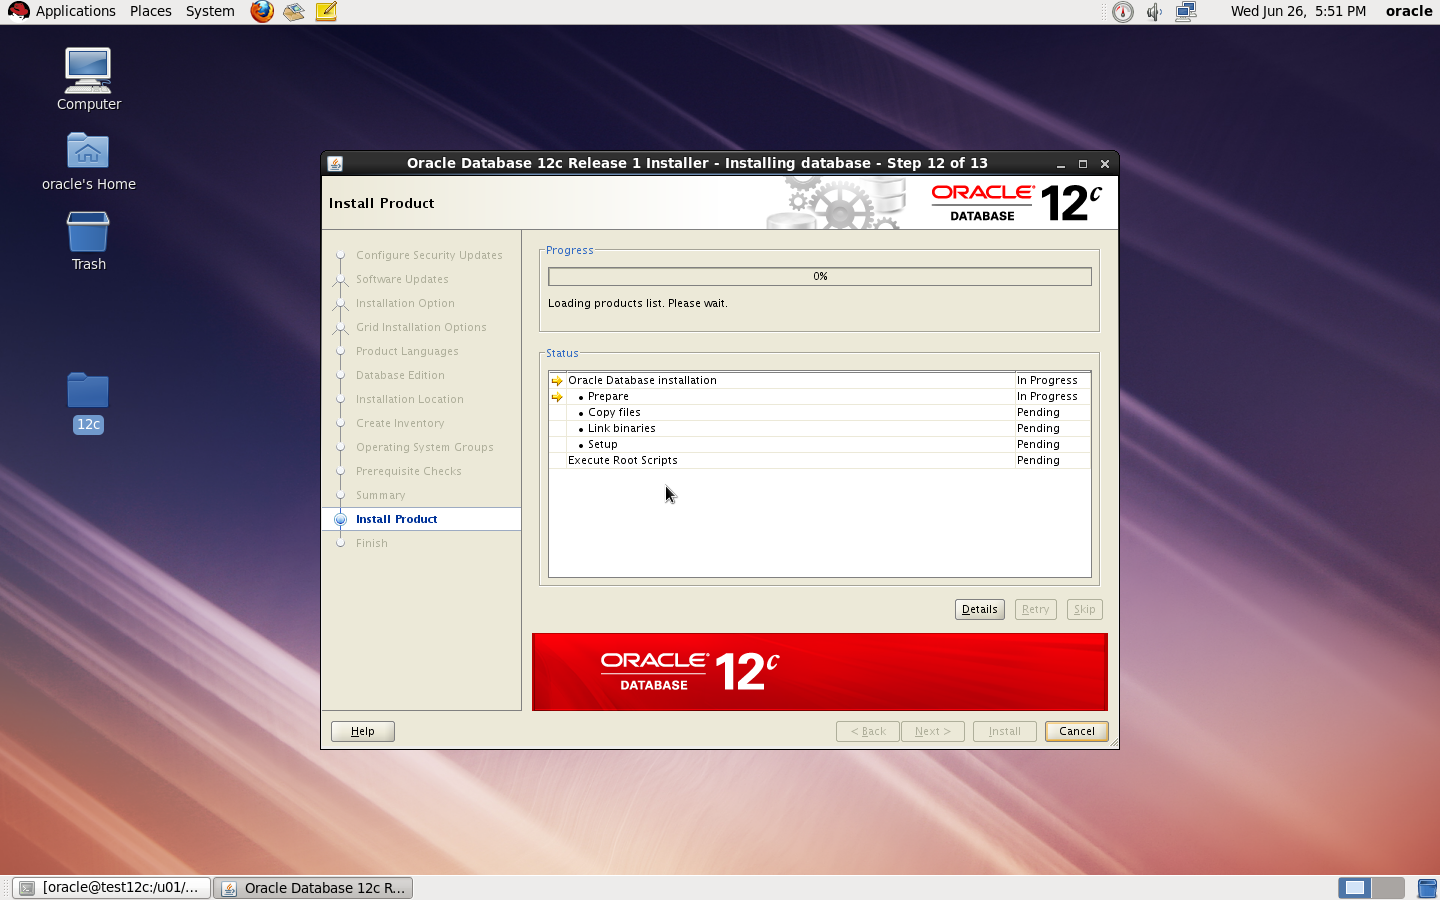
now start installation by ./runInstaller
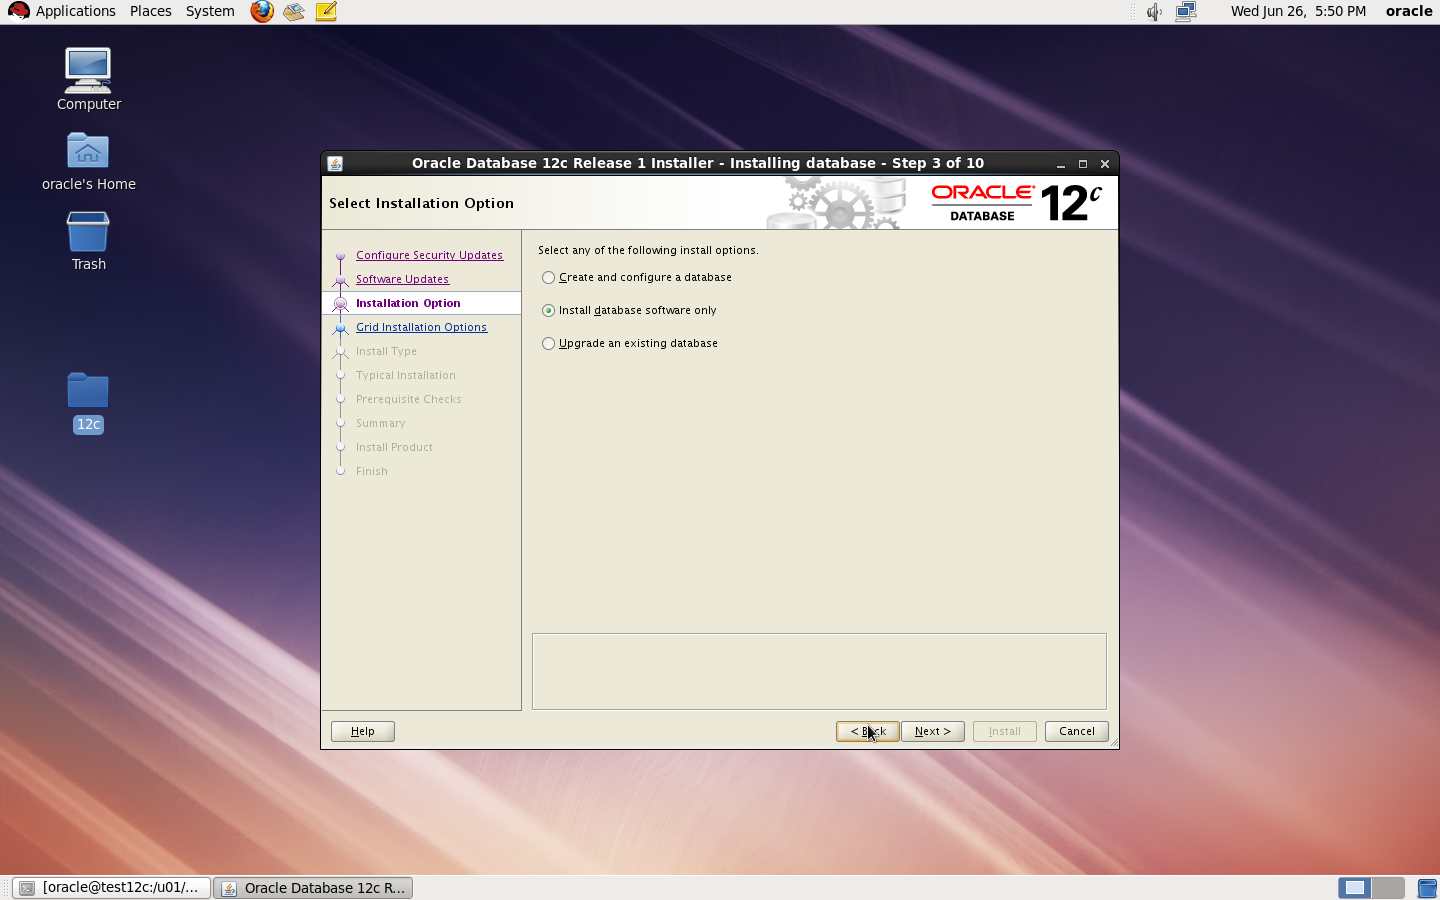
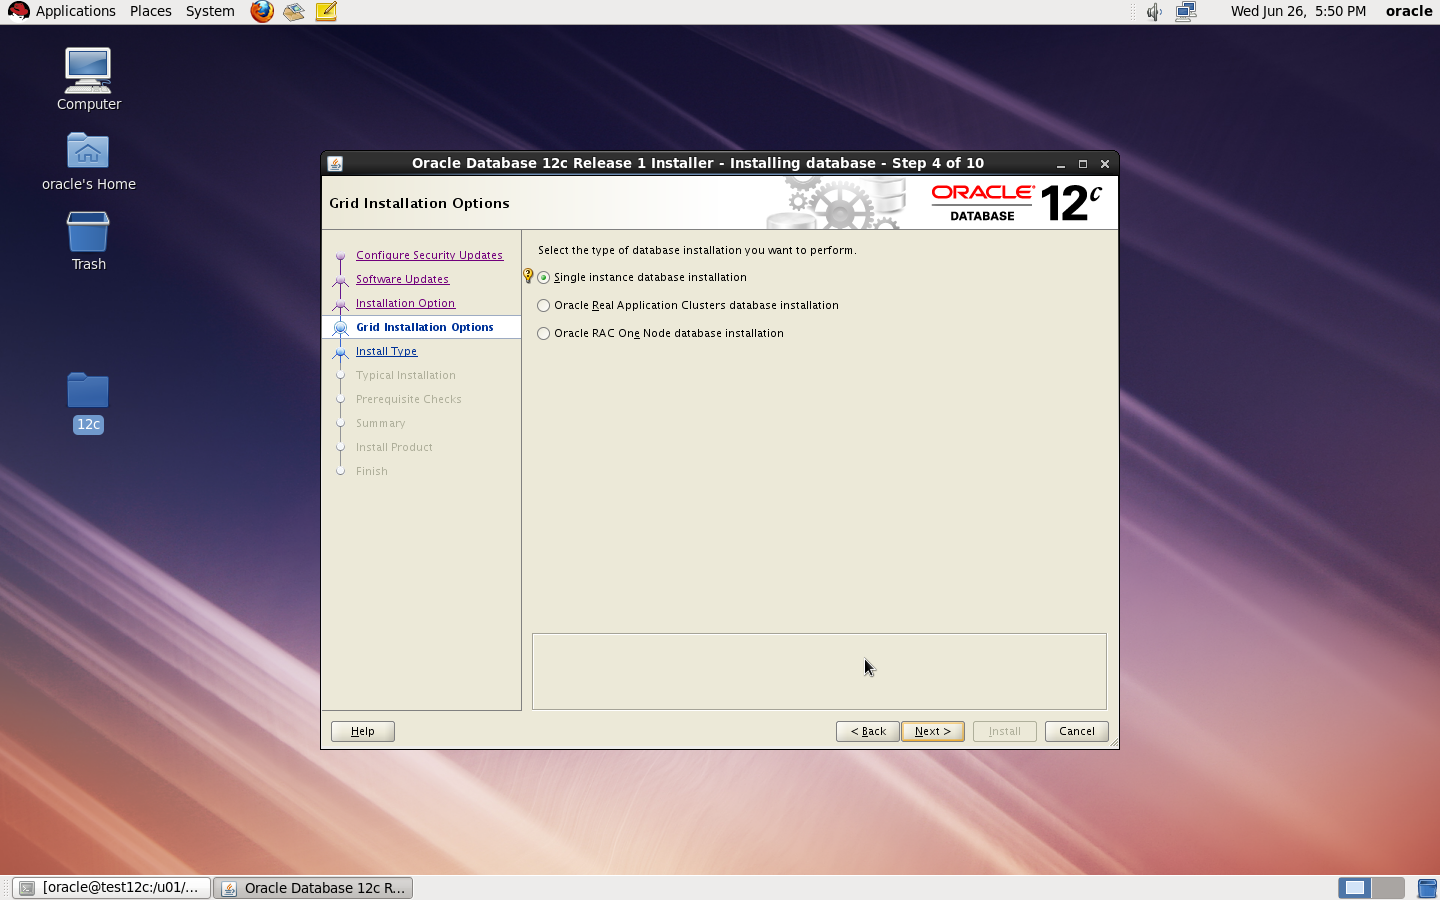
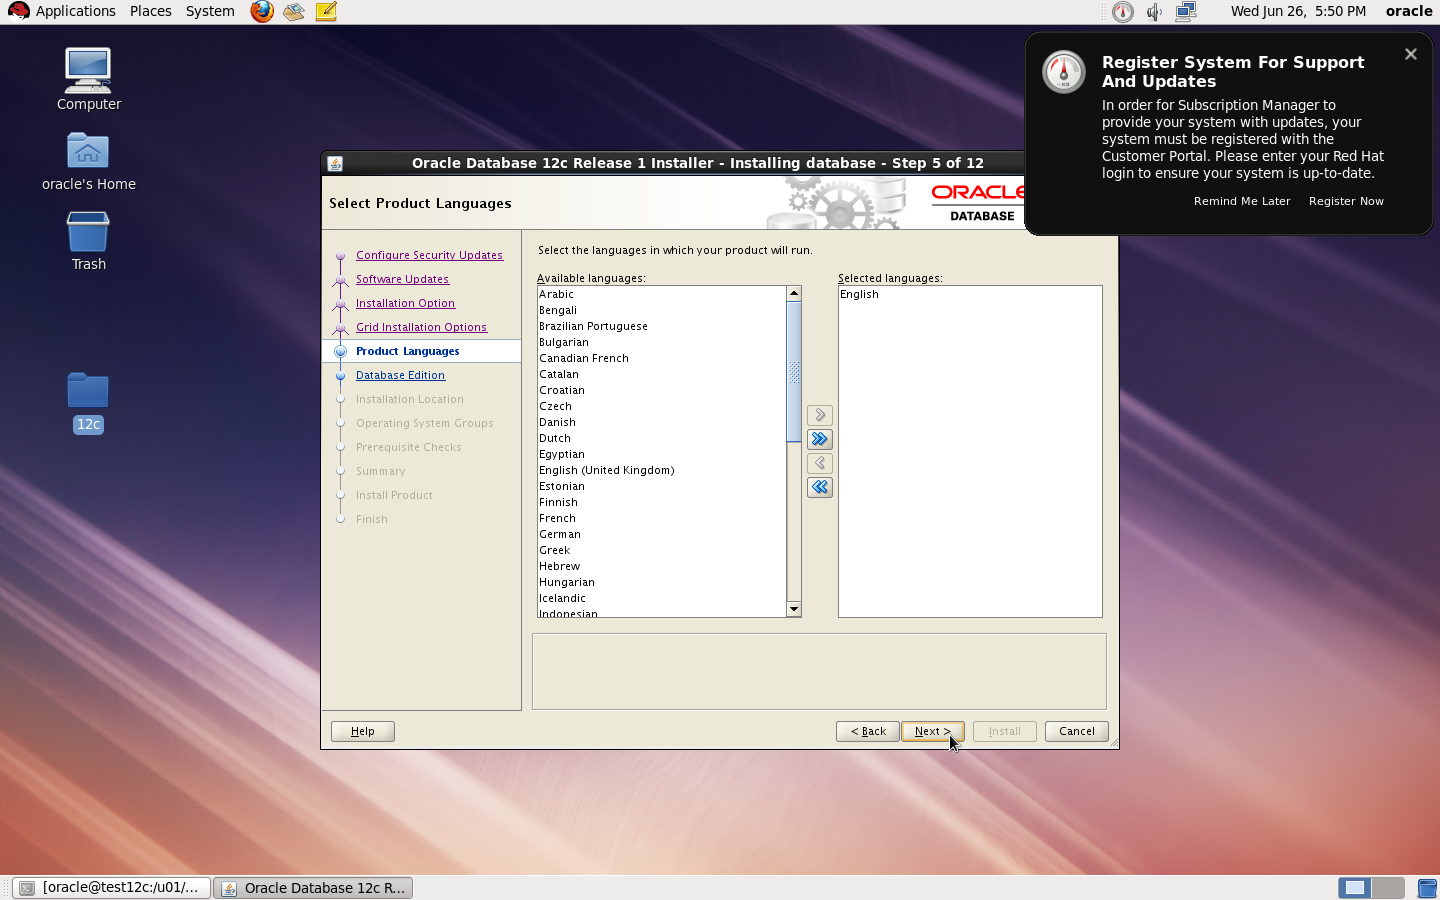
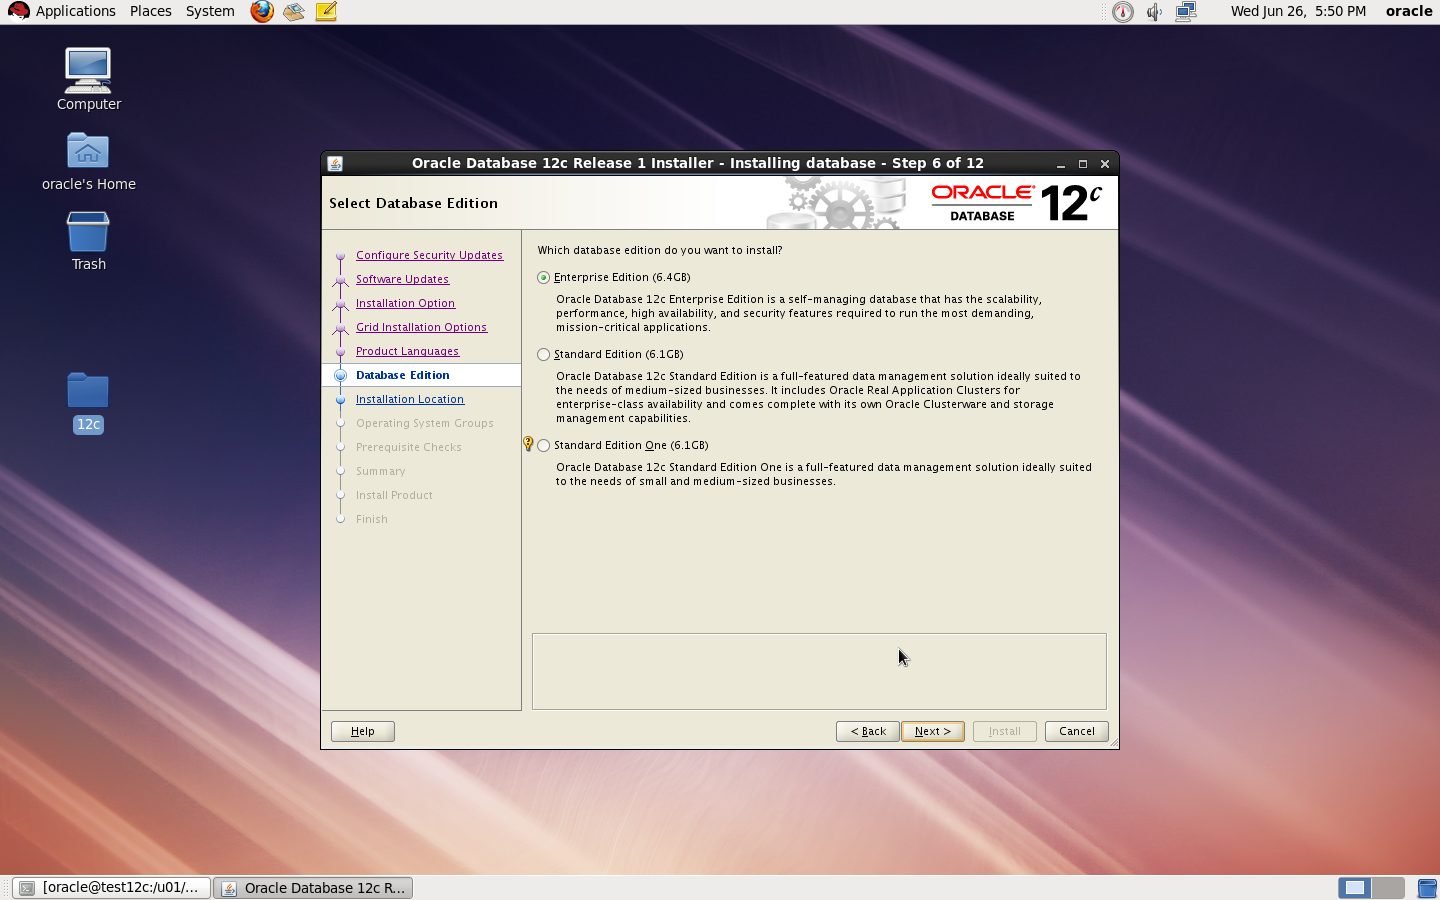

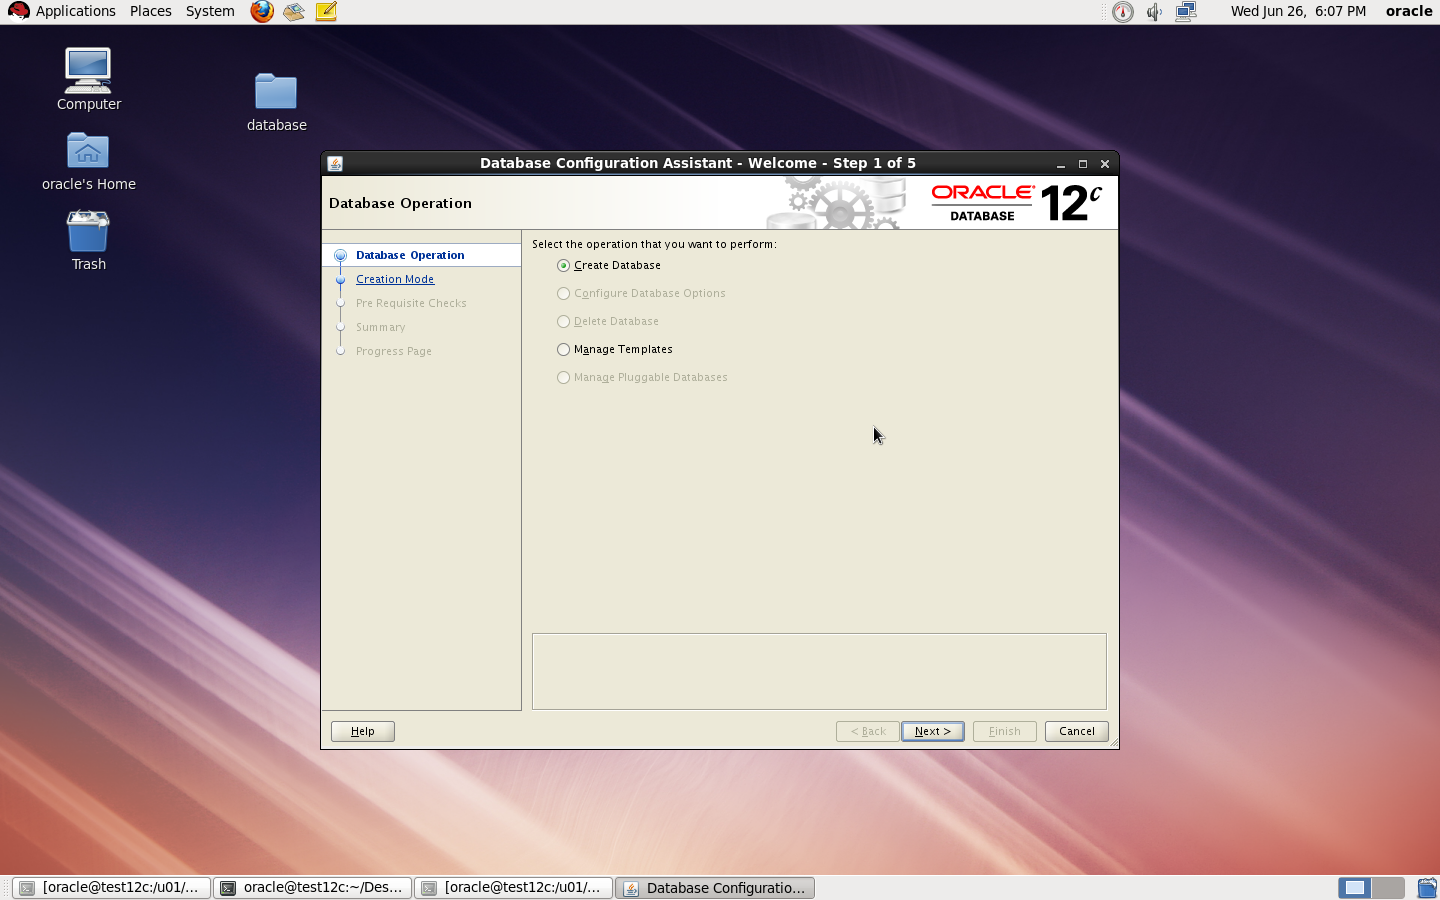
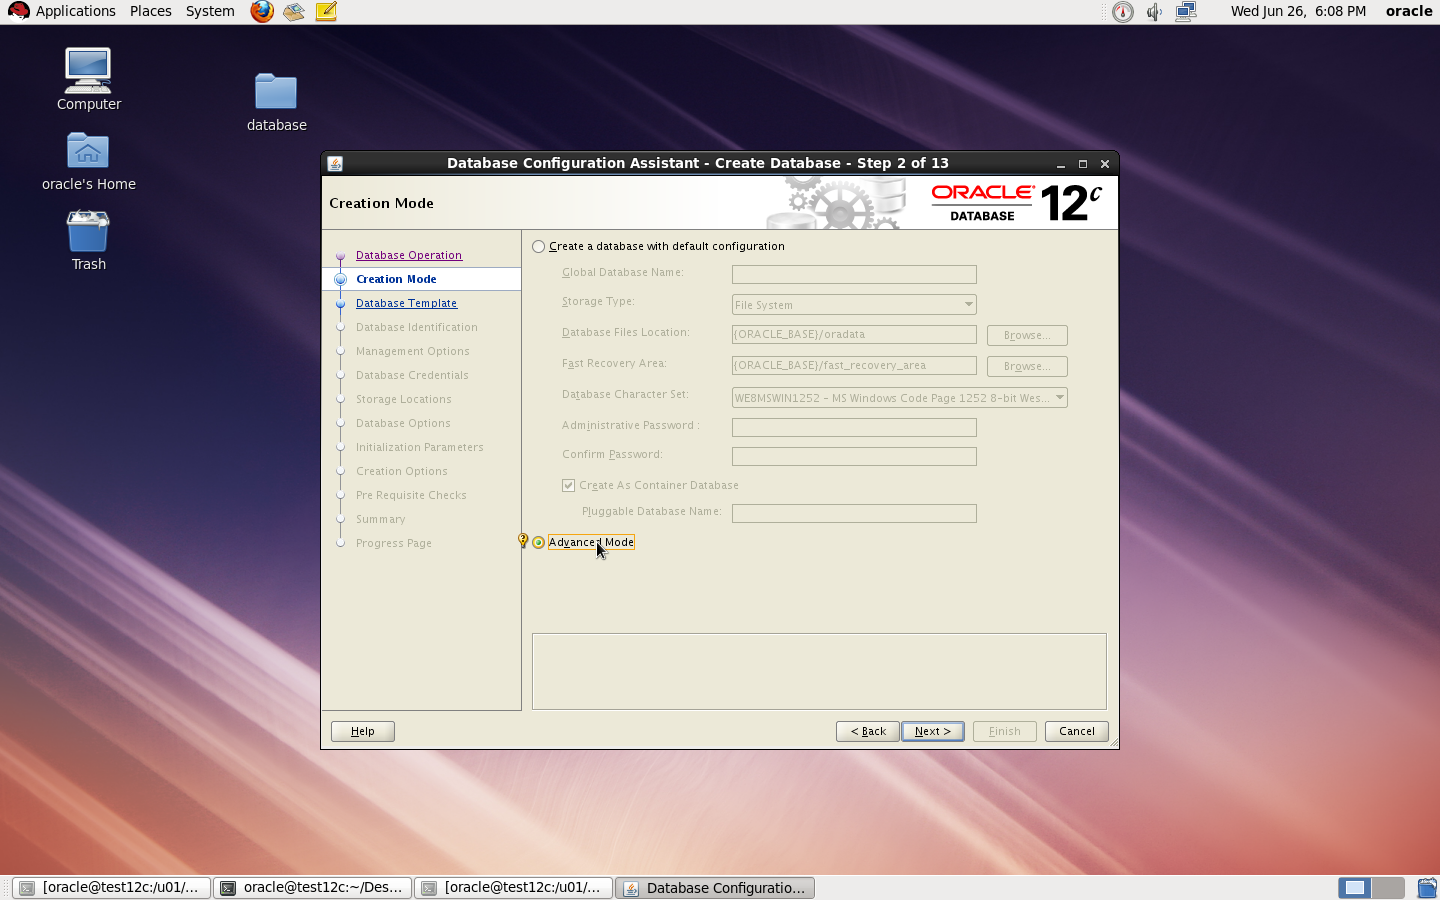
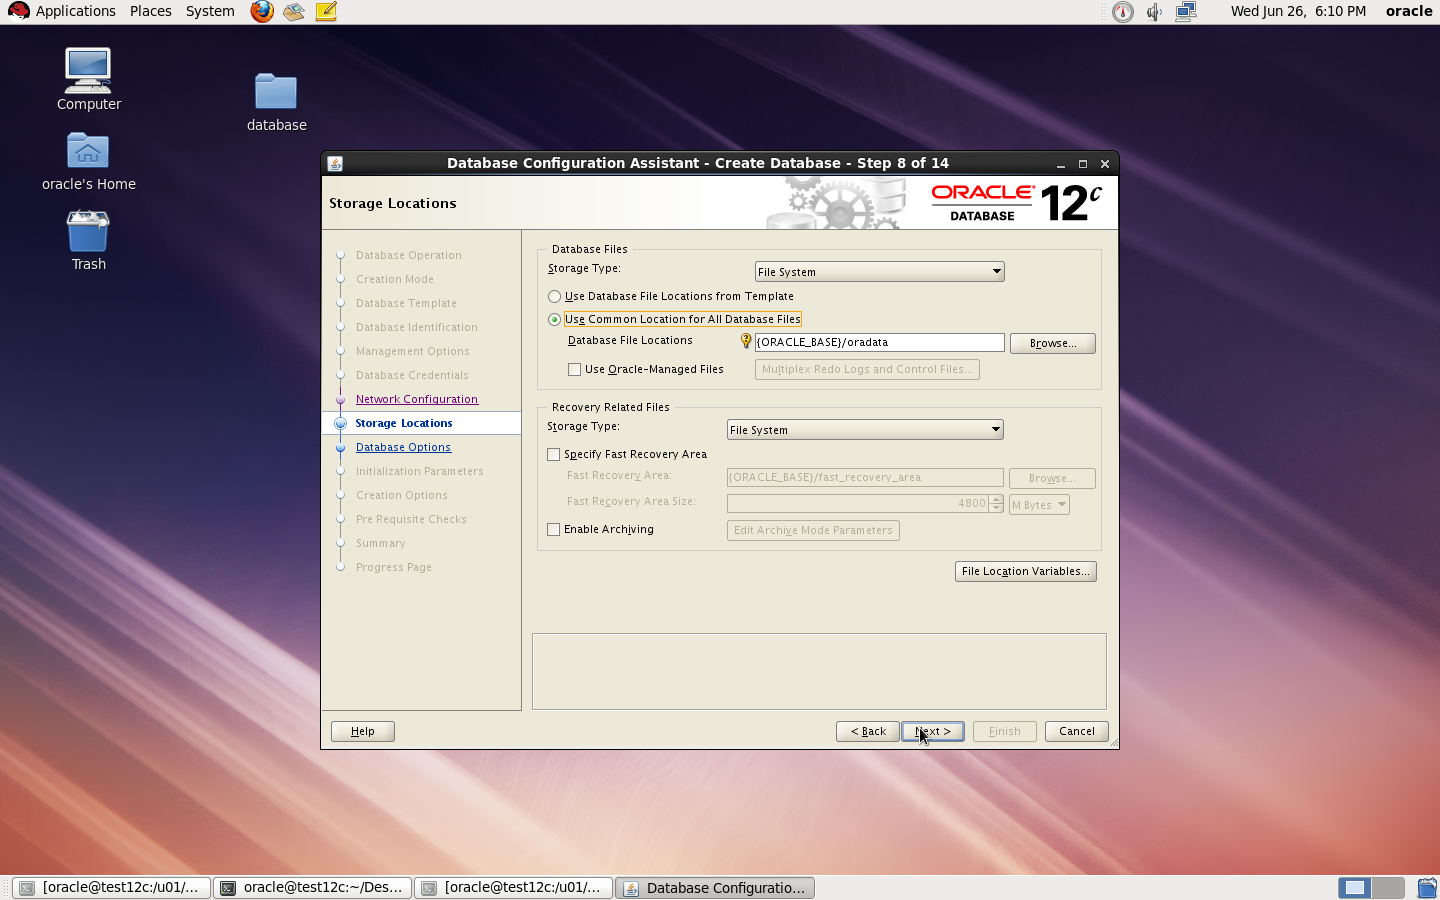
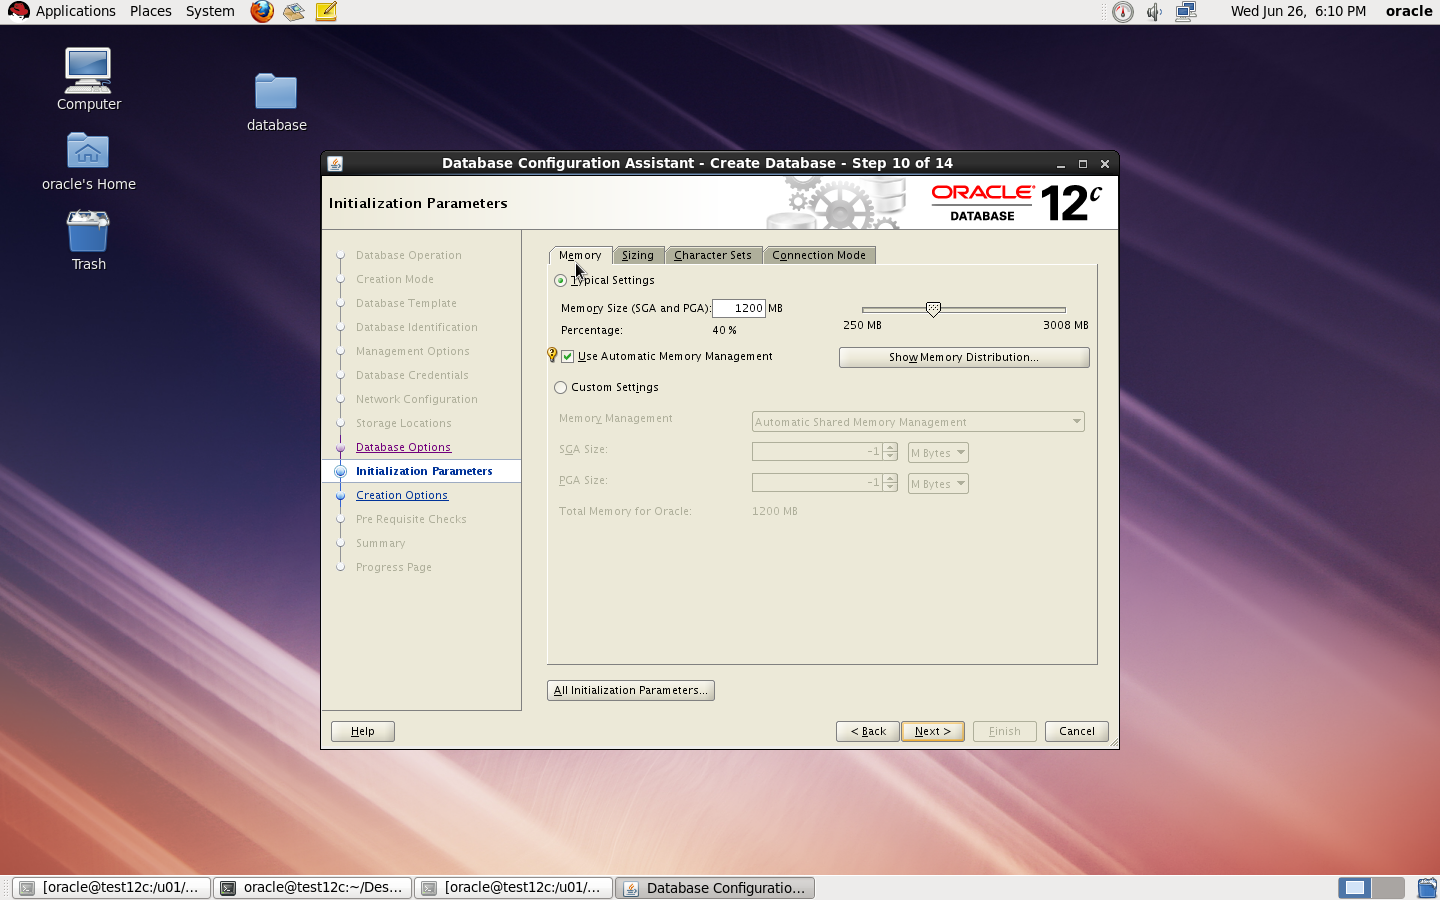
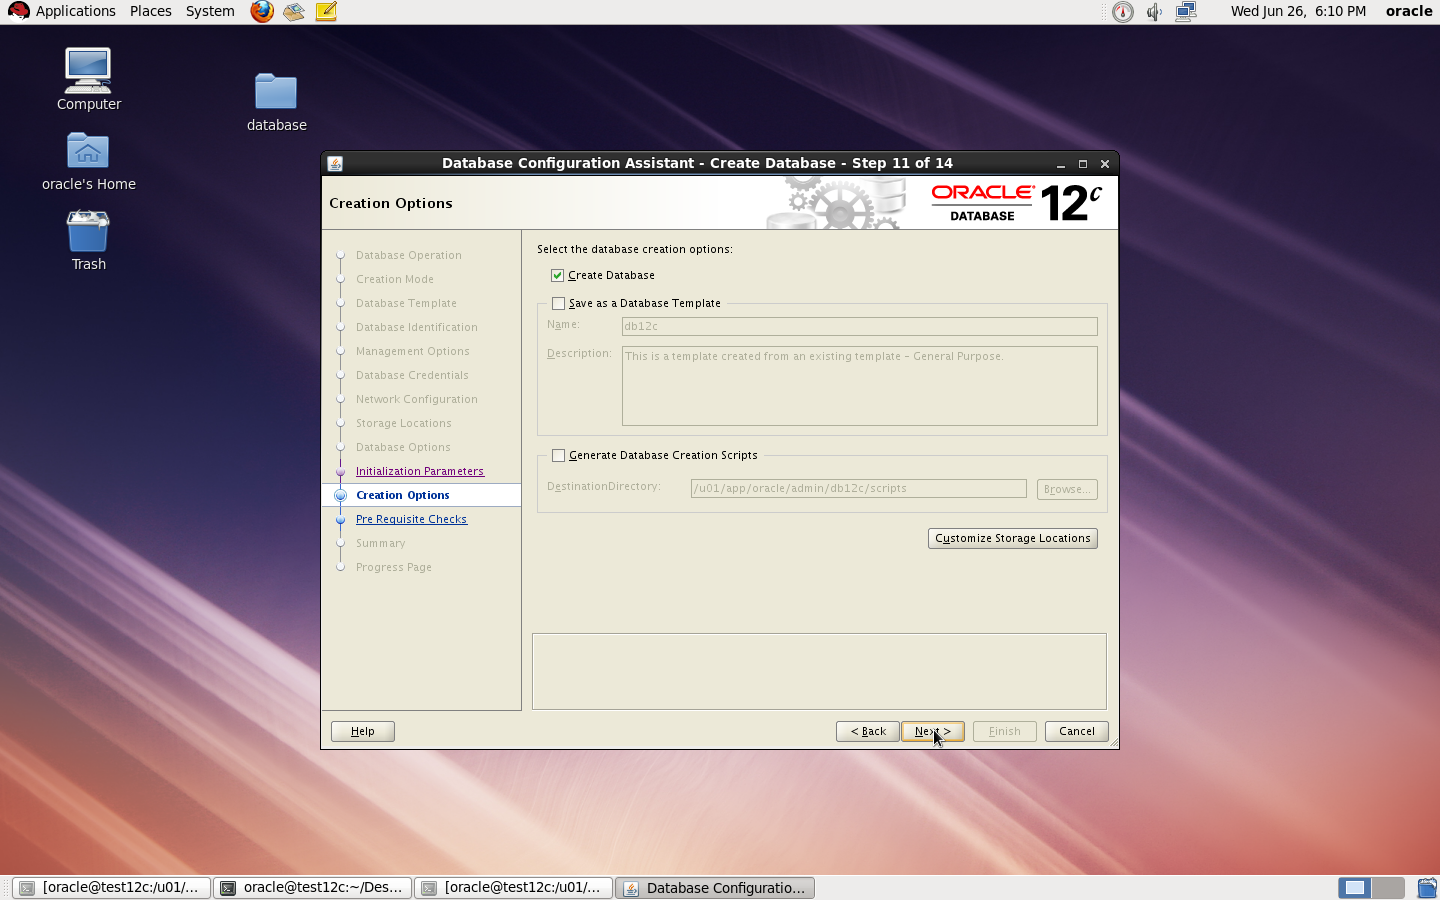
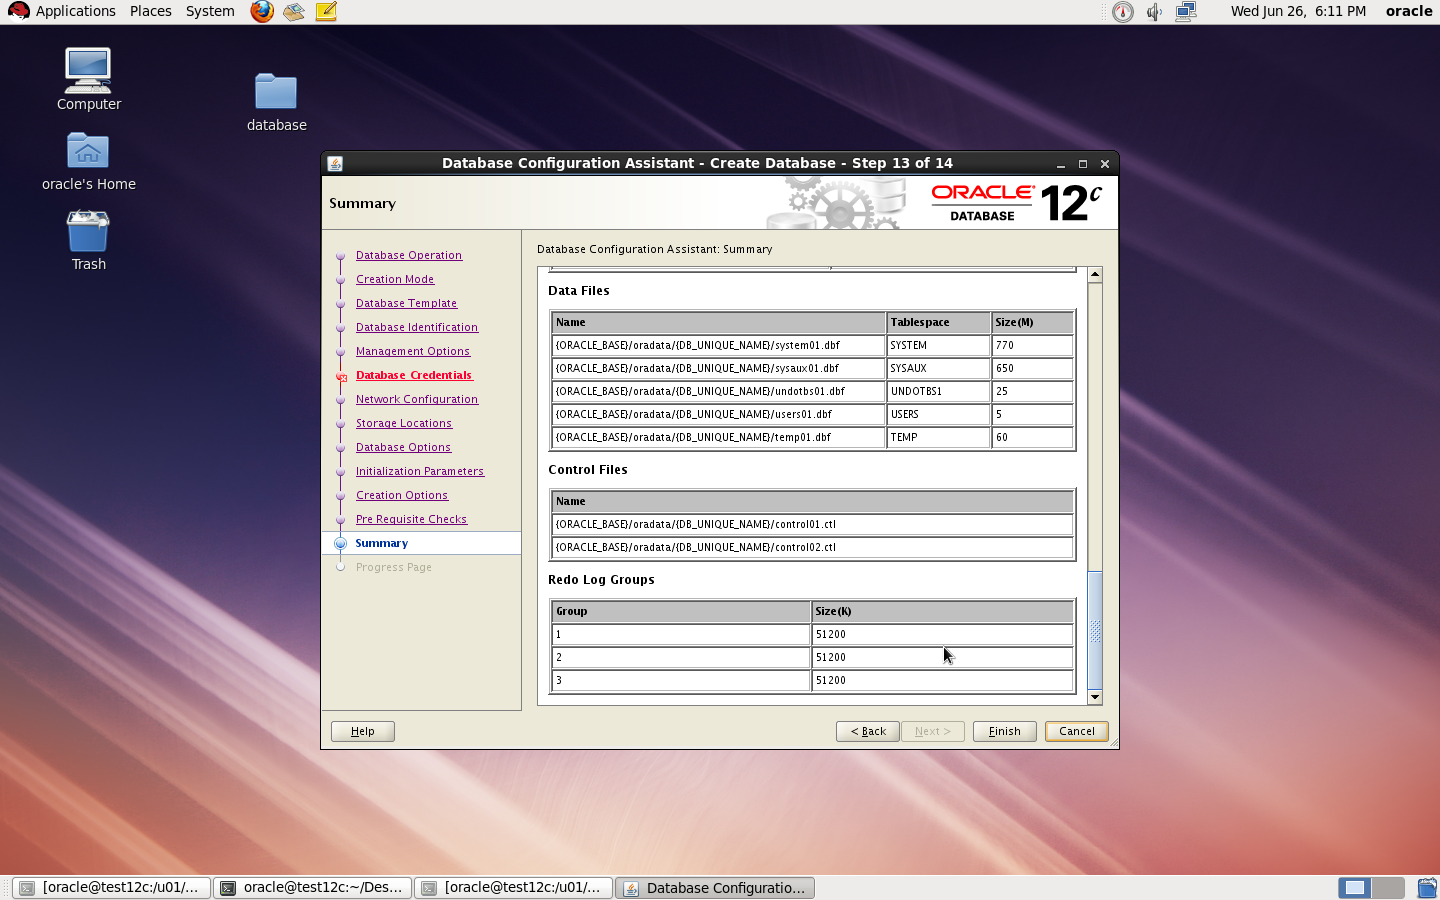
to Create Database you need to configure listener using netca and after finished successfully use dbca like below :


I Upload the article Here
Thank you
Osama mustafa
/u01/app/oracle/product/11.2.0/dbhome_1/sysman/config
under this directory you will work on
share [-F fstype] [ -o options] [-d “”] [resource]
share -F nfs -o rw -d “codereview dirs” /u01/Shared –> my Shared Folder
root@Host:/u01# cat /etc/dfs/sharetab
/u01/hmmdb u01_hmmdb nfs sec=sys,rw codereview
/u01/Shared u01_Shared nfs sec=sys,rw
Exports list on :
/u01/Shared All Machines
/u01/hmmdb All Machines
