Are we in the Cloud

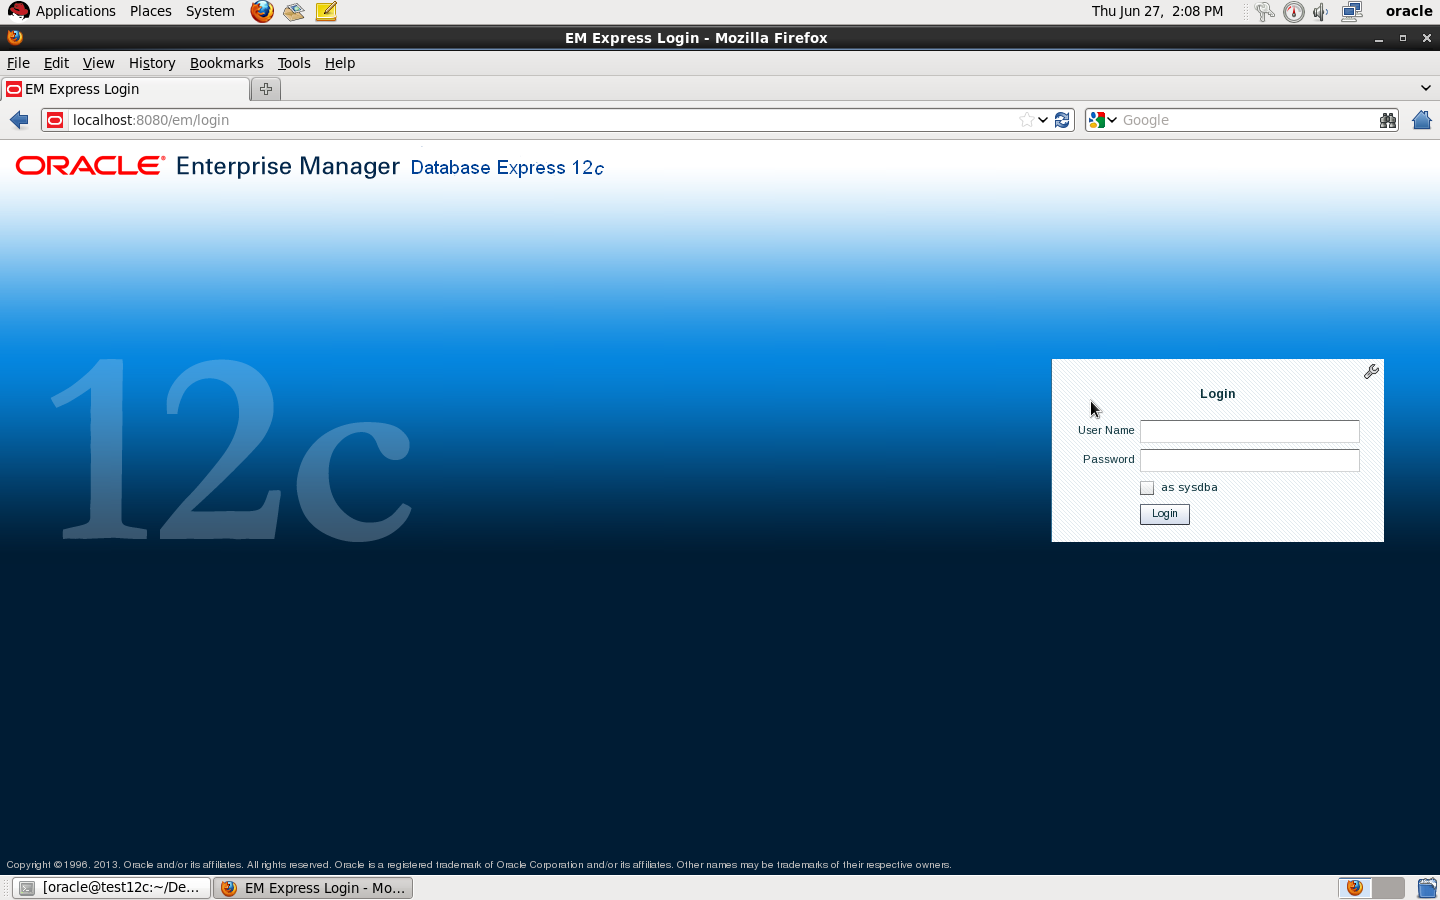
What is The Cloud Computing ? Are We in the Cloud ? Where Can I Find it ? Simple Question but It’s has been asked a lot.

Simply Cloud Computing Storing and accessing Data and programs Using Over Internet instead of Local Computer.

I Found the Below Chart on the internet and it’s The Best Describe for the cloud “Source Cloud For Dummies” :

Cloud is the next Stage for everything, Because it can be defined as set of hardware,Platforms , Databases, Networking it will safe lot of money for the companies.

Check the below video :

You need to know some  Definition you will heard when we are talking about Cloud:
Xaas is Term said for number of things “X as a Services” / ” Anything as a Services”

The Most Common Examples on the above :

  • DBaas : Database as a Service.
  • Paas : Platform as a Service.
  • SaaS : Software as a Service/Storage as a Service.
  • IaaS : Infrastructure as a Service.
  • Caas : Communication as Service.
  • Naas : Network as Service.
It’s New Future.
Thank you 
Osama mustafa

Step by Step Configure SSO Using Oracle Fusion Middle-ware

I would like to share this document , which is describe step by step dealing with :

  • WebLogic
  • Oracle Internet Directory
  • Oracle Content Server
  • Oracle Access manager 
Every thing mentioned with Installation &  Configuration Steps.
I tried To make it simple as i can, Included with Screen Shots ,Step By Step how to install The above Oracle Products and how to configure them to prepare your application for Single-Sing-On 
Please if you would like to share this document ask me before.

You can View and Download the Document from Here
Thank you 
Osama mustafa

Pluggable Database Tutorial (12c) Part 2

In my Part 1 Tutorial for how to deal with Pluggable database 12c I mentioned how to use pluggable database , How to create pluggable database , how to create tablespace , and how to open/close pluggable database .

Please check the Part ( 1 ) before continue reading this article here.

Welcome to Pluggable database Part 2 

  • Rename Pluggable Database 
  • Manage Pluggable database
  • Drop Pluggable database
  • Security In Pluggable database


SQL> select name, con_id from v$active_services order by 1;

NAME     CON_ID
—————————– ———-
TEST  3

as you see in the above query, I already created pluggable database called test. and it’s in Read write Mode.
Rename Pluggable database 

SQL> alter pluggable database TEST close immediate ;Pluggable database altered.

SQL> alter pluggable database TEST open restricted ;Pluggable database altered.

SQL> select name, open_mode from v$pdbs;

NAME                OPEN_MODE
—————————— ———-
TEST       READ WRITE

SQL> alter pluggable database TEST rename global_name to new ;Pluggable database altered.

SQL> select name, con_id from v$active_services order by 1;

NAME      CON_ID
————————————— ———-
new   3

if you are not connected to pluggable database or set session container then you will recicve error message  

ORA-65046: operation not allowed from outside a pluggable 

SQL> alter pluggable database new close immediate ;Pluggable database altered.

SQL> alter pluggable database new open ;Pluggable database altered.

Manage Pluggable Database

Back to root container using / as sysdba like below :

SQL> conn / as sysdba
Connected.

SQL> select name, con_id from v$active_services order by 1;NAME     CON_ID
————————————————— ———-
SYS$BACKGROUND   1
SYS$USERS  1
db12c  1
db12cXDB  1
new           3

We Control which list for for tablespace & datafiles by using con_id.

  • List tablespace in root container 

SQL> select tablespace_name, con_id from cdb_tablespaces where con_id=1; 

TABLESPACE_NAME       CON_ID
—————————— ———-
SYSTEM 1
SYSAUX 1
UNDOTBS1 1
TEMP 1
USERS 1
CDATA 1

  • List Database In root Container 

 SQL> select file_name, con_id from cdb_data_files where con_id=1;

FILE_NAME CON_ID
————————————————————————— ———-
/u01/app/oracle/oradata/db12c/users01.dbf      1
/u01/app/oracle/oradata/db12c/undotbs01.dbf      1
/u01/app/oracle/oradata/db12c/sysaux01.dbf      1
/u01/app/oracle/oradata/db12c/system01.dbf      1
/u01/app/oracle/oradata/db12c/gls/test.dbf      1

  • Temp Tablespace  in root container 

SQL> select file_name, con_id from cdb_temp_files where con_id=1; 

FILE_NAME CON_ID
—————————————————————————– ———-
/u01/app/oracle/oradata/db12c/temp01.dbf      1

  • Create Tablespace  ( already mentioned in Part (1)) 

SQL> create tablespace test datafile ‘/u01/app/oracle/oradata/db12c/gls/test03.dbf’ size 20M; Tablespace created.

SQL> select tablespace_name, con_id from cdb_tablespaces order by con_id;

TABLESPACE_NAME   CON_ID
—————————— ———-
SYSTEM 1
TEST 1
CDATA 1
SYSAUX 1
TEMP 1
UNDOTBS1 1
USERS 1
SYSAUX 2
TEMP 2
SYSTEM 2
TEMP 3
SYSAUX 3
PDB_TEST 3
SYSTEM 3
14 rows selected.

  •  Create temp tablespace 

SQL> create temporary tablespace temp_test tempfile ‘/u01/app/oracle/oradata/db12c/gls/temp_test.dbf’ size 20M ;
Tablespace created.

SQL> select file_name, con_id from cdb_temp_files where con_id=1;

FILE_NAME CON_ID
————————————————————————— ———-
/u01/app/oracle/oradata/db12c/temp01.dbf      1
/u01/app/oracle/oradata/db12c/gls/temp_test.dbf      1

The Same Steps in root container for create tablespace and temp tablespace for pluggable database.
Security In Pluggable Database

In This Section we will discuss how to manage Users, roles and privileges.
before Demonstration you need to know what is the difference between two users  type :
  • Common  : when you create this kind of users in root it’s automatically replicated in all Pluggable database.
  • Local : this kind of users only created on pluggable database that you are connected to it now. and dose not effect on others pluggable database.
To Create Common Users you need to be connected to root container.

SQL> conn / as sysdba
Connected.

SQL> create user c##osama identified by osama ;User created.

SQL> select username, common, con_id from cdb_users where username like ‘C##%’;

USERNAME COM CON_ID
———————————— — ———-
C##TEST YES      1
C##OSAMA YES      1
C##TEST YES      3
C##OSAMA YES      3

SQL> grant create session to c##osama ;Grant succeeded.

SQL> conn c##osama/osama@test12c:1521/db12c ;
Connected.

Let’s connect to pluggable database :

The user i will created it here will not appear in root container.

SQL> conn sys/sys@test12c:1521/new as sysdba
Connected.

SQL> create user test identified by test ;User created.

SQL> grant create session to test ;Grant succeeded.

 SQL> select username, common, con_id  from cdb_users where username =’TEST’;

USERNAME      COM CON_ID
—————— ———-
TEST  NO      3

 SQL> conn test/test@test12c:1521/new ;
Connected.

 Same rules and conditions applied on Roles if you created in Root Container it will be replicated to pluggable database, on other hand if you created in Pluggable database it will be local without effecting Container.

Let’s connect to Root Container

SQL> conn / as sysdba
Connected.

SQL> create role c##root_role ;Role created.

SQL> select role, common, con_id from cdb_roles where role=’C##ROOT_ROLE’;

ROLE  COM CON_ID
——————— — ———-
C##ROOT_ROLE  YES      1
C##ROOT_ROLE  YES      3

SQL> conn sys/sys@test12c:1521/new as sysdba
Connected.

SQL> create role test2;Role created.

 SQL> select role, common, con_id from cdb_roles where role=’TEST2′;

ROLE COM CON_ID
—————- — ———-
TEST2 NO      3

SQL> create role hr container=all ;
create role hr container=all
*
ERROR at line 1:
ORA-65050: Common DDLs only allowed in CDB$ROOT

SQL> create user hr identified by hr container=all ;
create user hr identified by hr container=all
                             *
ERROR at line 1:
ORA-65050: Common DDLs only allowed in CDB$ROOT

—> you cannot create a common role inside a PDB.
Check user privileges :

SQL> select grantee, privilege, common, con_id from cdb_sys_privs
where privilege=’CREATE SESSION’ and grantee=’TEST’; 

GRANTEE PRIVILEGE  COM  CON_ID
————– —————————————
TEST CREATE SESSION  NO       3

Drop Pluggable Database

SQL > drop pluggable database new  including datafiles;
Pluugable database dropped.

This document also available on slidshare here

Thank you
Osama mustafa 

Enable Enterprise Express for Database 12c

Oracle Database 12c comes with new feature called Enterprise manager 12c express, this new enterprise manager control Database 12c using GUI , manager storage , performance , user, roles, accounts and others new features added , No command to start or shutdown EM 12c express by default when you start/shutdown database it will be up/down.

  • export ORACLE_SID
  • Make sure listener is up and database is registered.

sqlplus / as sysdba
SQL> show parameter dispatcher ;
NAME     TYPE VALUE
———————————— ———– ——————————
dispatchers     string (PROTOCOL=TCP) (SERVICE=db12cX
DB)

  • Configure HTTP PORT 

SQL> exec DBMS_XDB_CONFIG.setHTTPPort (8080);

Check the below pictures that describe EM Express :

DBMS_XDB.setHTTPPort is deprecated

Thank you
Osama mustafa

New Features 12c EXPDP

While i am testing Oracle 12c i notice new features in expdp , which you can export view like the following :

SQL> create table test ( id number);
Table created.

SQL> create view test_vw as select * from test ;
View created.

SQL> create directory dump as ‘/u01/dump’;
Directory created.

SQL> grant read,write on directory dump to osama ;
Grant succeeded.

[oracle@test12c u01]$ expdp directory=dump dumpfile=test.dmp logfile=test.log VIEWS_AS_TABLES=test_vw
Export: Release 12.1.0.1.0 – Production on Wed Jun 26 18:33:52 2013
Copyright (c) 1982, 2013, Oracle and/or its affiliates.  All rights reserved.
Username: osama
Password: 
Connected to: Oracle Database 12c Enterprise Edition Release 12.1.0.1.0 – 64bit Production
With the Partitioning, OLAP, Advanced Analytics and Real Application Testing options
Starting “OSAMA”.”SYS_EXPORT_TABLE_01″:  osama/******** directory=dump dumpfile=test.dmp logfile=test.log VIEWS_AS_TABLES=test_vw 
Estimate in progress using BLOCKS method…
Processing object type TABLE_EXPORT/VIEWS_AS_TABLES/TABLE_DATA
Total estimation using BLOCKS method: 0 KB
Processing object type TABLE_EXPORT/VIEWS_AS_TABLES/TABLE
. . exported “OSAMA”.”TEST_VW”                              0 KB       0 rows
Master table “OSAMA”.”SYS_EXPORT_TABLE_01″ successfully loaded/unloaded
******************************************************************************
Dump file set for OSAMA.SYS_EXPORT_TABLE_01 is:
  /u01/dump/test.dmp
Job “OSAMA”.”SYS_EXPORT_TABLE_01″ successfully completed at Wed Jun 26 18:34:15 2013 elapsed 0 00:00:17
I dropped the view 

SQL> drop view Test_vw ;
View dropped.
impdp directory=dump dumpfile=test.dmp logfile=test.log VIEWS_AS_TABLES=test_vw


Thank you 
Osama mustafa

Database 12c Installation

1. Download the Oracle Database 12.1 Software from OTN
2. Make sure Oracle Database Software and OS are certified using https://support.oracle.com
3. Make sure of the following

Hardware

you need to configure Swap Memory And make sure you RAM is enough to avoid Out Of memory during the installation.

Software

as i mention before check certified OS with database, in my case i will use Redhat 6 update 4.

install Packages :

binutils-2.20.51.0.2-5.11.el6 (x86_64)
glibc-2.12-1.7.el6 (x86_64)
libgcc-4.4.4-13.el6 (x86_64)
libstdc++-4.4.4-13.el6 (x86_64)
libaio-0.3.107-10.el6 (x86_64)
libXext-1.1 (x86_64)
libXtst-1.0.99.2 (x86_64)
libX11-1.3 (x86_64)
libXau-1.0.5 (x86_64)
libxcb-1.5 (x86_64)
libXi-1.3 (x86_64)
make-3.81-19.el6sysstat-9.0.4-11.el6 (x86_64)
compat-libcap1-1.10-1 (x86_64)
compat-libstdc++-33-3.2.3-69.el6 (x86_64)
gcc-4.4.4-13.el6 (x86_64)
gcc-c++-4.4.4-13.el6 (x86_64)
glibc-devel-2.12-1.7.el6 (x86_64)
ksh  <== any version of ksh is acceptable
libstdc++-devel-4.4.4-13.el6 (x86_64)
libaio-devel-0.3.107-10.el6 (x86_64)

inside /etc/sysctl.conf

fs.file-max = 6815744
kernel.sem = 250 32000 100 128
kernel.shmmni = 4096
kernel.shmall = 1073741824
kernel.shmmax = 4398046511104
net.core.rmem_default = 262144
net.core.rmem_max = 4194304
net.core.wmem_default = 262144
net.core.wmem_max = 1048576
fs.aio-max-nr = 1048576
net.ipv4.ip_local_port_range = 9000 65500

Use this command to restart kernel  /sbin/sysctl -p

/etc/hosts

  Serverip                Hostname

 /etc/security/limits.conf

oracle   soft   nofile    1024
oracle   hard   nofile    65536
oracle   soft   nproc    2047
oracle   hard   nproc    16384
oracle   soft   stack    10240
oracle   hard   stack    32768

/etc/pam.d/login

session required pam_limits.so

after edit OS parameter you need to create Oracle user :

groupadd -g 101 oinstall
groupadd -g 102 dba
groupadd -g 103 oper

 useradd -u 100 -g oinstall -G dba,oper oracle

passwd oracle

copy media to your Server , and do the following :

chown -R oracle:oinstall /u01/database
chmod -R 775 /u0/database
mkdir -p /u01/app/oracle/product/12.1.0/db_1
chown -R oracle:oinstall /u01
chmod -R 775 /u01

now start installation by ./runInstaller


to Create Database you need to configure listener using netca and after finished successfully use dbca like below : 

I Upload the article Here
Thank you
Osama mustafa
  

Oracle Enterprise Manager unable to Start

When I checked the log Located $ORACLE_HOME/SID_HOSTNAME/sysman/log

I found the below errors :

app.ContextInitializer contextInitialized.420 – Integration Class not found

and

ERROR main: nmectla_agentctl: Error connecting to

First you need to make sure that the link in emd.properties and ports and configured right and hostname is correct, restrat dbconsole if this not works then check the below

On Host :

oracle@TEST:/u01/app/$ echo $TZ
localtime

oracle@TEST:/u01/app/$ export TZ=Etc/GMT+2

emctl config agent updateTZ

emctl resetTZ agent 

Restart Dbconsole

Emctl start dbconsole 

 Thank you
Osama mustafa

Share Folder On Solaris For Window Purpose

In this article i will show how to share folder in Solaris and use this folder for Copy/Paste in windows , I will use NFS so you need to make sure it’s already enable in Windows

  • Select Control Panel.
  • Select Programs.
  • Select Programs and Features.
  • Select Turn Windows Features on or off.
  • Select Services for NFS.
  • Select the check box Client for NFS and click OK.
Now On Solaris Side , Using Share command 

share [-F fstype] [ -o options] [-d “”] [resource]

Create Folder and use the below command to share 

share -F nfs -o rw -d “codereview dirs” /u01/Shared –> my Shared Folder


root@Host:/u01# cat /etc/dfs/sharetab 

/u01/hmmdb u01_hmmdb nfs sec=sys,rw codereview
/u01/Shared u01_Shared nfs sec=sys,rw

Now back to windows open Command Prompt “cmd”
and run the below command :
showmount -e Server-IP 

Exports list on :
/u01/Shared                        All Machines
/u01/hmmdb                         All Machines

Command to share on windows :
mount -o mtype=hard Server-IP:Path_for_share_folder name drive letter or *
mount -o mtype=hard server-ip:/u01/Shared Z:
Done
Thank you 
Osama mustafa